Purple and Orange Halloween Cookies
October baking finally gave me a reason to share Purple and Orange Halloween Cookies, because the marbled colors make a plain sugar cookie feel much more fun without complicated decorating. This version leans on a soft vanilla dough and two gel colors, so it’s simple to mix and still looks bold after baking. The cookies stay tender in the middle and lightly crisp around the edges.
People sometimes assume colorful Halloween cookies need royal icing or hours of piping. No piping bags needed. But these get their look from twisting purple and orange dough together before baking, and that little bit of unevenness makes every batch feel homemade.
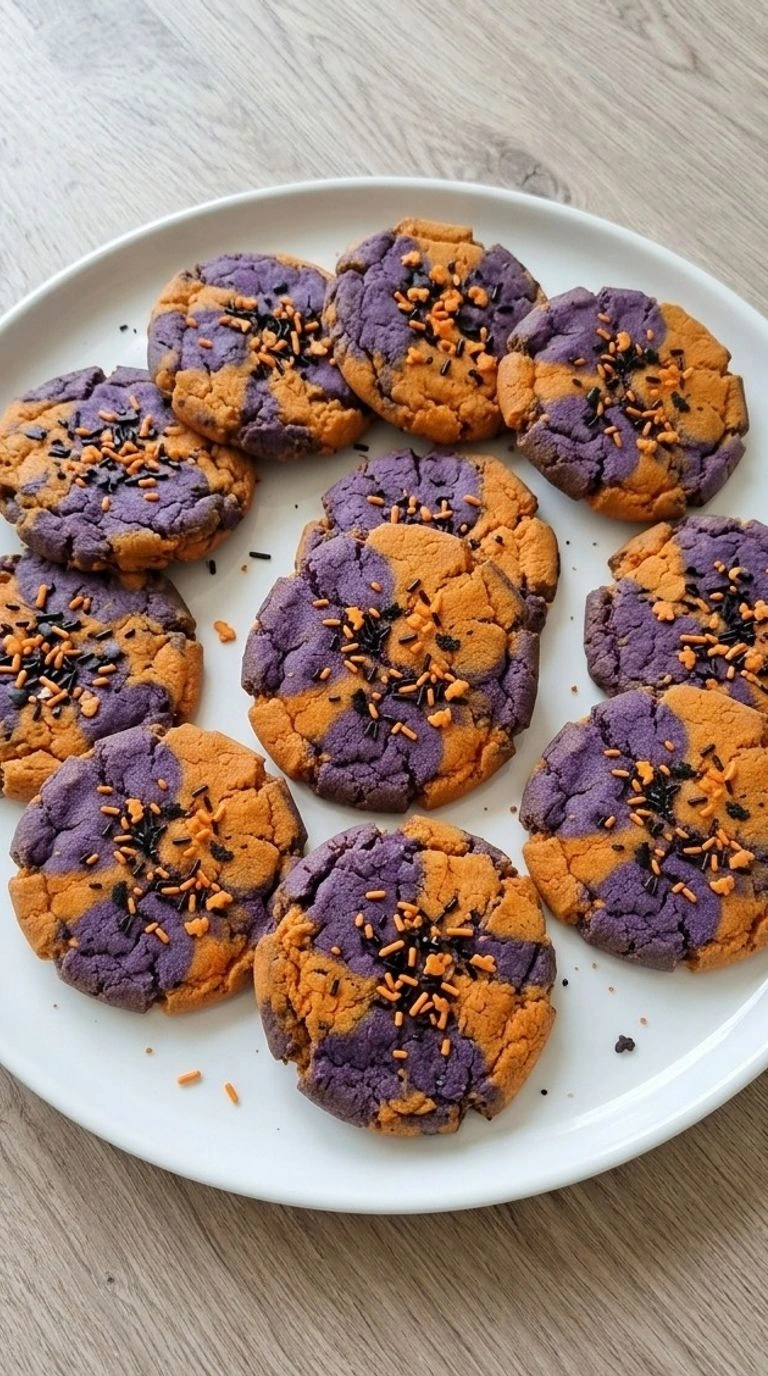
They’re quick enough for a school-night bake and festive enough for a party tray. I like them when I want a bright Halloween dessert that doesn’t turn the kitchen into a decorating station.
Why This Recipe Works
Purple and Orange Halloween Cookies hold their shape because softened butter near 68°F and a 20-minute chill firm the fat before baking, so the two colors stay distinct. That rest matters.
Baking at 350°F for 10 to 12 minutes sets the edges while the centers remain slightly soft, and gel food coloring adds strong color without thinning the dough. Pull them when the tops lose their wet shine because an extra two minutes makes the cookies noticeably drier.
Ingredients
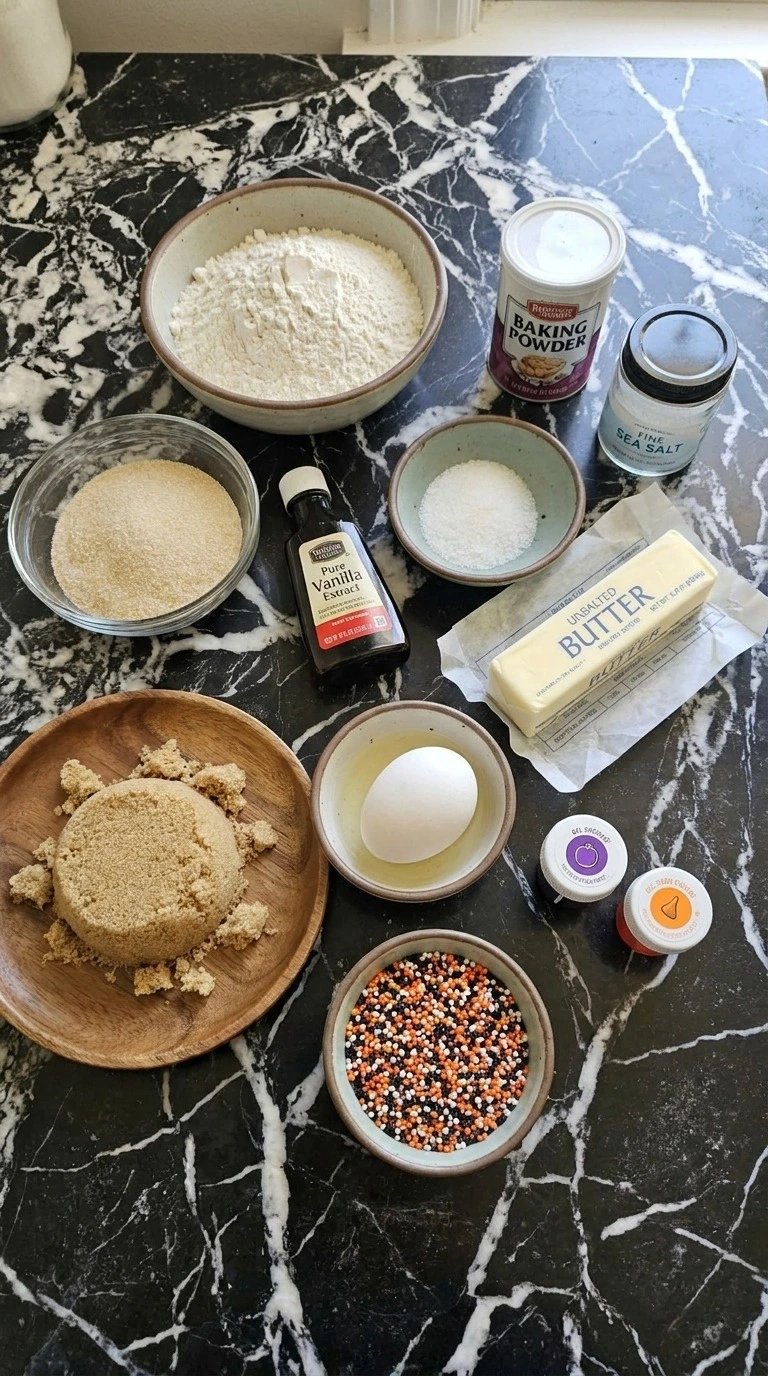
- Unbleached all-purpose flour: Spoon into the measuring cup and level it so the dough stays soft instead of dry.
- Unsalted butter: Soften to about 68°F so it creams smoothly without turning greasy.
- Granulated cane sugar: Adds sweetness and helps the cookie edges turn lightly crisp.
- Light brown sugar: Pack lightly to bring moisture and a softer center to the cookies.
- Large egg: Bring close to room temperature so it blends smoothly into the creamed butter.
- Pure vanilla extract: Adds a clear vanilla aroma that stays noticeable after baking.
- Baking powder: Provides gentle lift so the cookies stay tender without becoming cakey.
- Fine sea salt: Balances the sugars and sharpens the vanilla flavor.
- Purple gel food coloring: Use concentrated gel color so the purple stays vivid without adding extra liquid.
- Orange gel food coloring: Use concentrated gel color so the orange stays bright without loosening the dough.
- Halloween nonpareil sprinkles: Press lightly into the shaped dough for an uneven festive finish that stays visible after baking.
Kitchen Equipment
- Electric hand mixer: A mixer with at least five speeds creams the butter and sugars evenly, while a weak single-speed model can overwork the mixture before it turns light.
- Large mixing bowl: Use a bowl around 4 quarts so the dough can fold without spilling, because a smaller bowl makes it harder to combine the flour gently.
- Medium mixing bowl: A 2-quart bowl gives enough room to whisk the dry ingredients evenly, while a cramped bowl leaves pockets of baking powder and salt.
- Rubber spatula: Choose a flexible heat-safe spatula with a firm edge so it can scrape and fold the dough cleanly, because a very soft one leaves unmixed streaks.
- Rimmed baking sheet: A heavy 13 by 18-inch sheet helps the 12 cookies bake evenly, while a thin dark pan can brown the bottoms before the centers set.
- Cooling rack: Use a rack at least 10 by 15 inches so air can circulate under all 12 cookies, because cooling on a flat plate traps heat and softens the bottoms.
How to Make It
Step 1: Cream the butter and sugars into a smooth base
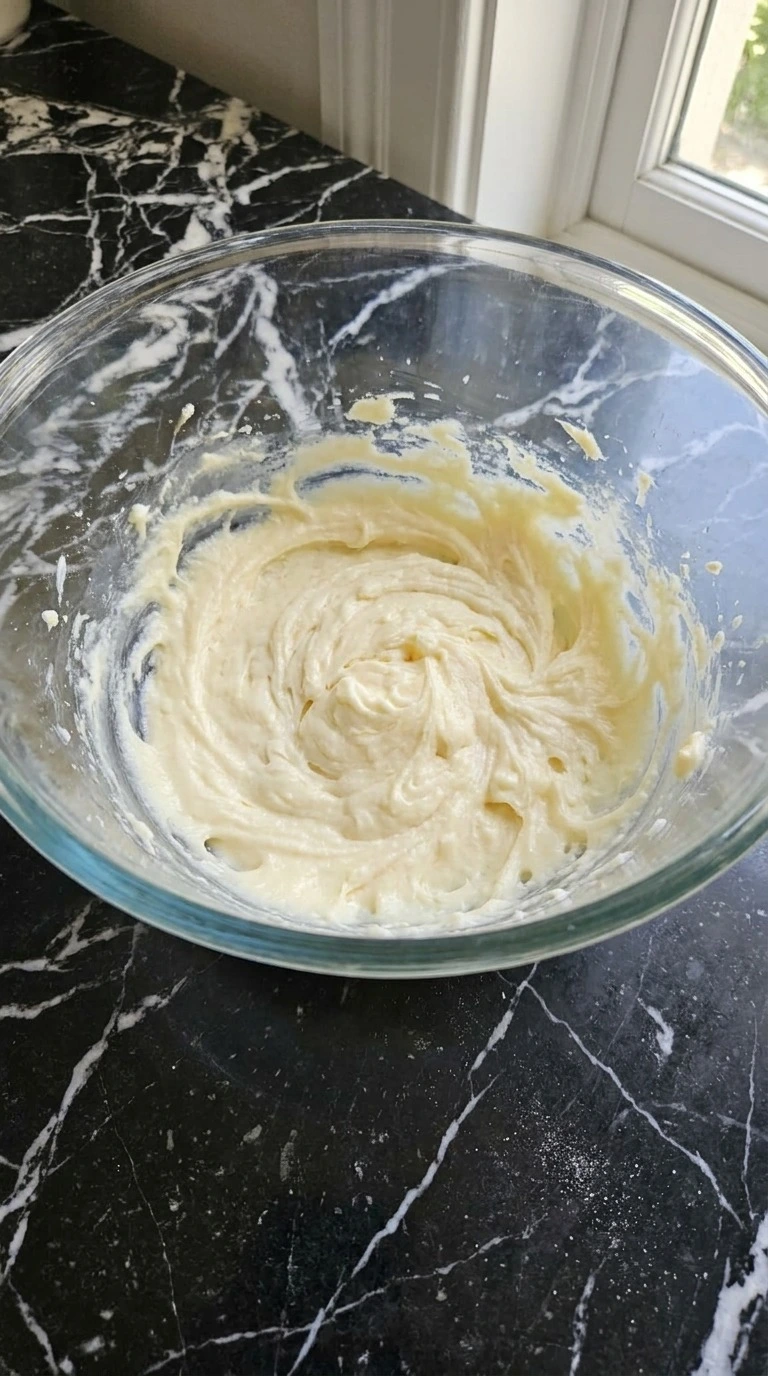
Keep the unsalted butter near 68°F, then beat it with granulated cane sugar and light brown sugar for 2 to 3 minutes until the mixture looks pale and slightly fluffy. Add the large egg and pure vanilla extract, then mix for 45 to 60 seconds and scrape the bowl once halfway through. Stop as soon as the batter looks smooth.
Overbeating after the egg can make the cookies spread more than you want. You’ll see the sugar crystals become less obvious and the mixture will smell strongly of vanilla and butter. It should look creamy rather than greasy.
Purple and Orange Halloween Cookies need this even base so both colored doughs bake at the same rate. Cream only until light and smooth because trapped air controls the final spread.
Tip: Use butter that’s soft enough to dent with a finger but still cool, around 68°F, for the most predictable cookie spread.
Step 2: Fold in the dry ingredients and tint both doughs
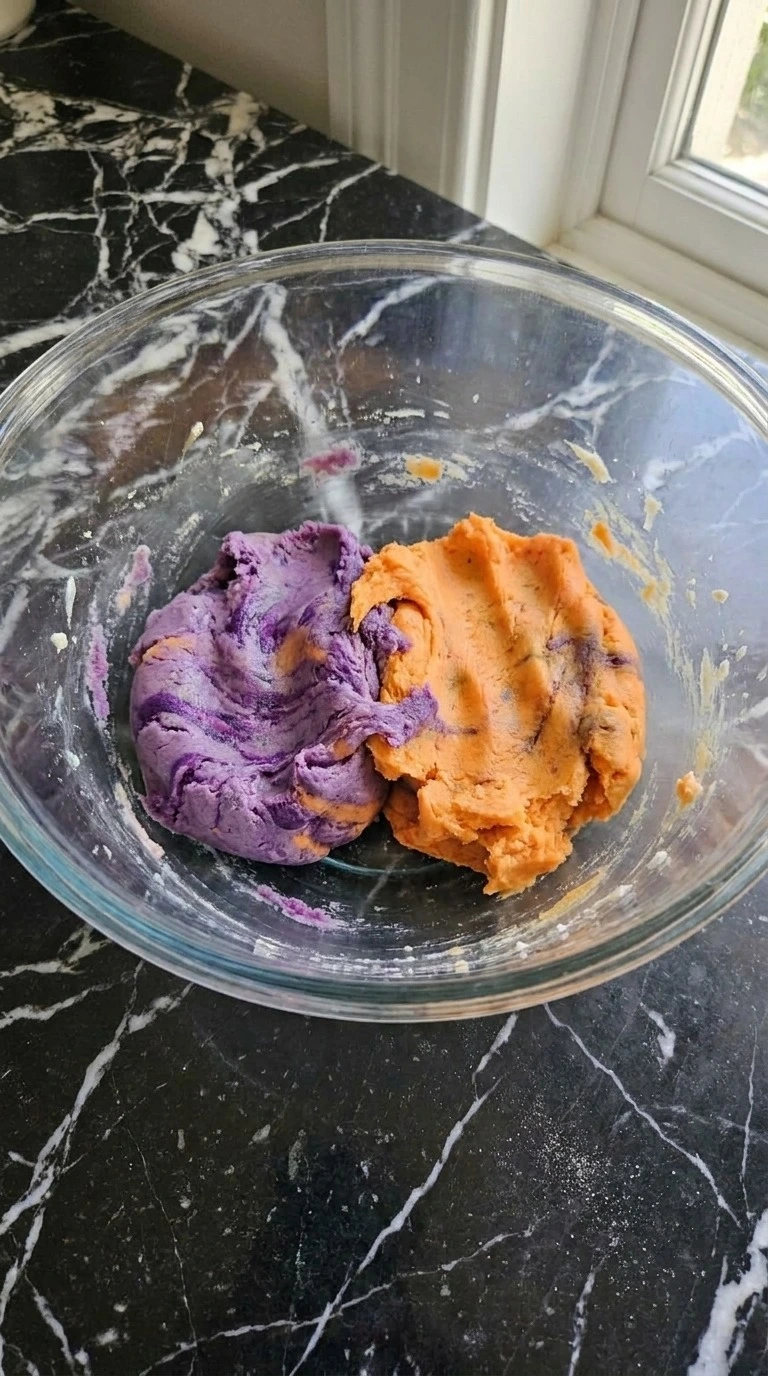
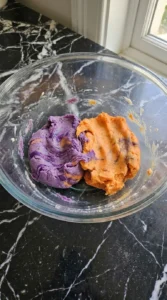
Whisk unbleached all-purpose flour with baking powder and fine sea salt, then add it to the butter mixture at about 70°F. Fold with a rubber spatula for 30 to 45 seconds until no dry pockets remain. Divide the dough evenly and work 1 teaspoon purple gel food coloring into one half and 1 teaspoon orange gel food coloring into the other for about 60 seconds each.
Stop there. The colors should look mostly even. The dough should feel soft but not sticky and each half should show a few natural streaks rather than one flat artificial tone.
You’ll notice the floury smell disappear as the dough comes together. Mix too long and the cookies can turn firm instead of tender. Fold gently because limited gluten development keeps the crumb soft.
Tip: If one color looks too pale, add gel food coloring 1/8 teaspoon at a time so you don’t loosen the dough.
Step 3: Twist the two colors and shape the cookies
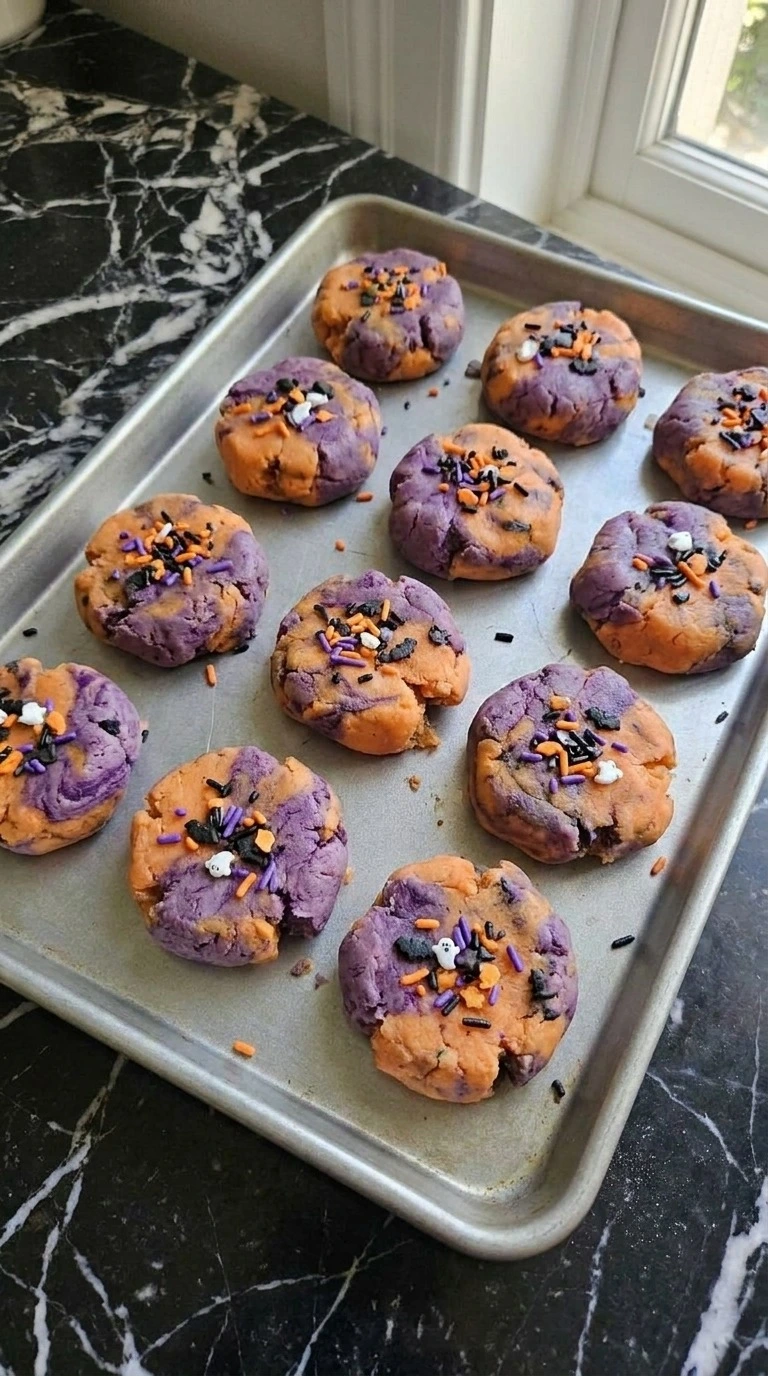
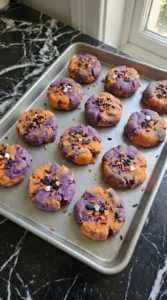
Pinch off 1 tablespoon of purple dough and 1 tablespoon of orange dough for each cookie, press the pieces together and twist once before rolling lightly into a rough ball. Make 12 cookies and press each to about 1/2 inch thick, then add Halloween sprinkles with a light fingertip press. Chill the shaped dough at 38°F for 20 minutes. Skip the chill and the color pattern can blur as the butter softens.
The balls should look marbled rather than perfectly split, with irregular purple and orange seams running across each surface. Some sprinkles will sit deeper than others. That’s good. (My first batch stayed at room temperature too long.
The swirls spread into wide flat cookies. ) Chill before baking because firm fat delays spread long enough for the edges to set.
Tip: Keep each shaped cookie close to 2 tablespoons of dough so all 12 finish within the same 10 to 12 minute window.
Step 4: Bake until the edges set and centers stay soft
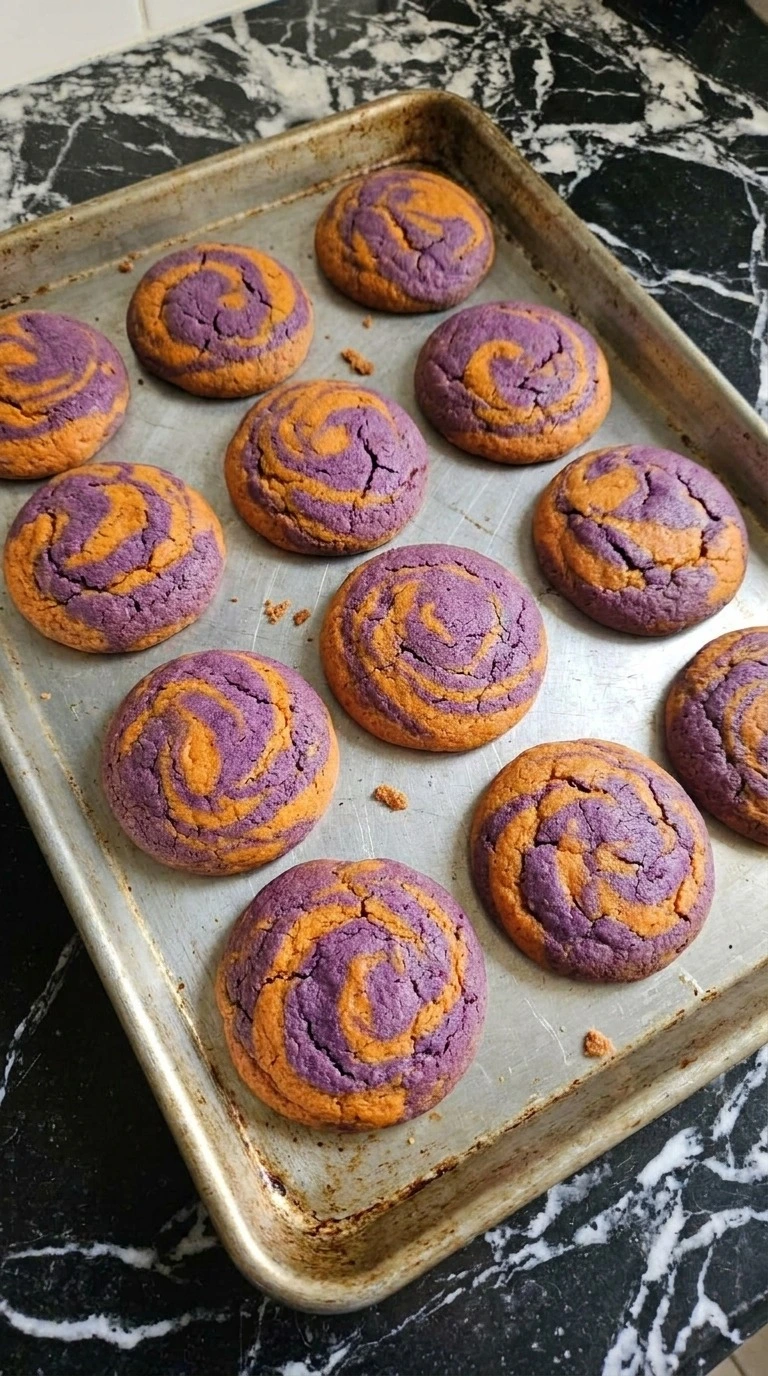
Bake the chilled cookies in a 350°F preheated oven for 10 to 12 minutes on the center rack, keeping the 12 rounds spaced about 2 inches apart. Check early. At minute 9, check the front row and rotate the tray 180 degrees only if your oven browns unevenly.
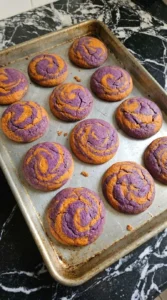
Pull the tray as soon as the edges look set and the centers no longer appear wet. Go past 12 minutes and the bottoms can darken before the centers stay tender. The orange sections deepen slightly and the purple stays bold while the tops develop tiny cracks around the marbled seams.
You’ll smell toasted butter and vanilla right before they’re ready. Purple and Orange Halloween Cookies should still feel soft in the center when they leave the oven. Bake at 350°F because moderate heat sets the edges before the centers dry out.
Tip: Bake one test cookie first if your oven runs hot, because even a 15°F difference can change spread and edge color.
Step 5: Cool the cookies and plate a single serving
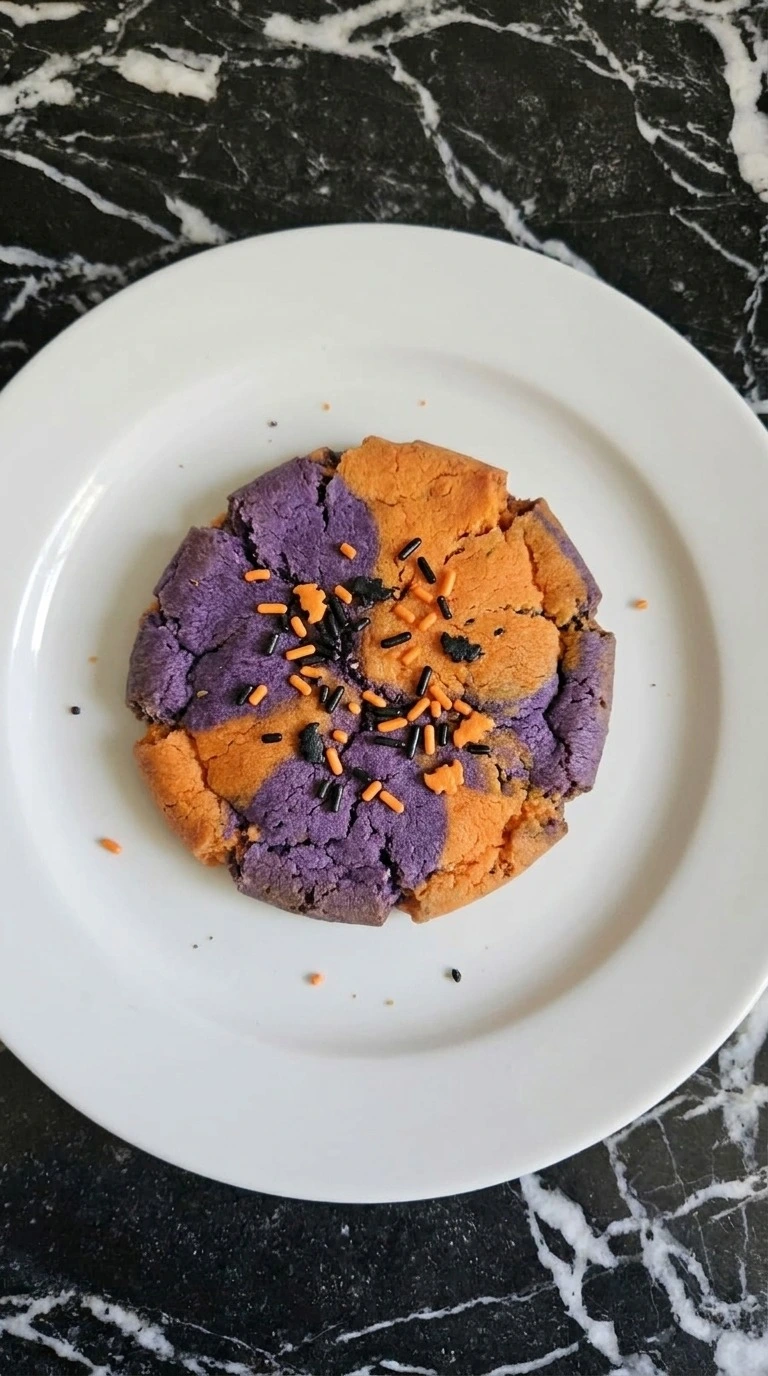
Leave the cookies on the hot tray for 10 minutes, then transfer them to a cooling rack for another 20 minutes at about 70°F before serving. Move them with a thin spatula while the centers are still slightly flexible, and let them finish setting before stacking or plating. They’ll firm as they cool.
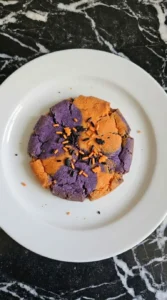
Move them too early and the soft centers can bend or crack around the marbled seams. Purple and Orange Halloween Cookies should have lightly crisp edges and soft centers with nonuniform purple and orange patches across every round. A few sprinkles may sink or tilt, which keeps the batch looking homemade.
Plate one cookie once it’s fully cool. Cool for 30 minutes total because residual heat finishes the center without overbaking it.
Tip: For the cleanest bite, wait the full 30 minutes before serving because warm sugar cookies can seem softer than their final texture.
Pro Tips
- Keep the butter near 68°F before mixing. Softer butter above 72°F can make the cookies spread too far before the edges set.
- Measure the flour by spooning it into the cup and leveling it. Even 2 extra tablespoons can make Purple and Orange Halloween Cookies dry.
- Chill the shaped dough for the full 20 minutes at about 38°F. This keeps the purple and orange swirls sharper during baking.
- Use gel food coloring in 1/8 teaspoon additions if you deepen the shades. Extra liquid coloring can loosen the dough and blur the marbling.
- Space each cookie about 2 inches apart on the tray. If they sit closer, the edges can merge before minute 10.
- Check the first tray at minute 9 if your oven runs hot. Pull them when the centers lose their wet shine but still feel soft.
- Let the cookies rest on the tray for 10 minutes before moving them. The centers finish setting from residual heat during this time.
- Add the sprinkles before chilling and press them about 1/8 inch into the surface. Loose sprinkles can roll off as the cookies spread.
- Add 1/2 teaspoon almond extract with the vanilla for a sharper bakery-style flavor while keeping the same baking time.
- Mix 1/3 cup white chocolate chips into the finished dough before dividing it for sweeter pockets throughout the marbled cookies.
- Replace the orange gel with bright green gel and keep the purple half unchanged for a witch-themed Halloween color combination.
- Add 1 teaspoon finely grated orange zest to the dough before coloring it for a light citrus note that pairs well with vanilla.
Substitutions & Variations
- Unsalted butter: Plant-based baking butter — Use a 1 to 1 swap with a firm baking stick, not tub spread. The cookies may spread slightly more and taste less buttery.
- Unbleached all-purpose flour: 1 to 1 gluten-free baking flour with xanthan gum — Replace the flour cup for cup. The cookies become slightly more fragile, so cool them for 15 minutes before moving them.
- Large egg: Unsweetened applesauce — Use 3 tablespoons of unsweetened applesauce for the egg. The cookies turn softer and spread less, with a slightly cakier center.
- Gel food coloring: Powdered food coloring — Start with 1/4 teaspoon per dough half and add more gradually. Powder keeps the dough firmer but may produce a less glossy color.
- Halloween nonpareil sprinkles: Purple and orange sanding sugar — Use the same 2 tablespoons and press it lightly into the dough. Sanding sugar gives more crunch and slightly sweeter edges.
Storage Instructions
Store completely cooled Purple and Orange Halloween Cookies in an airtight container at room temperature for up to 4 days. For longer storage, wrap portions tightly and freeze them for up to 2 months.
Rewarm one cookie at 275°F for 4 to 5 minutes if you want a softer center again. Discard cookies that smell stale, feel unusually damp or show any mold spots.
Purple and Orange Halloween Cookies
Ingredients
Method
- Keep the unsalted butter near 68°F, then beat it with granulated cane sugar and light brown sugar for 2 to 3 minutes until the mixture looks pale and slightly fluffy. Add the large egg and pure vanilla extract, then mix for 45 to 60 seconds and scrape the bowl once halfway through. Stop as soon as the batter looks smooth. Overbeating after the egg can make the cookies spread more than you want. You’ll see the sugar crystals become less obvious and the mixture will smell strongly of vanilla and butter. It should look creamy rather than greasy. Purple and Orange Halloween Cookies need this even base so both colored doughs bake at the same rate. Cream only until light and smooth because trapped air controls the final spread.
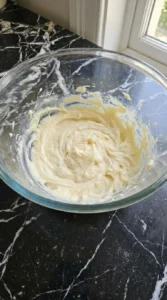
- Whisk unbleached all-purpose flour with baking powder and fine sea salt, then add it to the butter mixture at about 70°F. Fold with a rubber spatula for 30 to 45 seconds until no dry pockets remain. Divide the dough evenly and work 1 teaspoon purple gel food coloring into one half and 1 teaspoon orange gel food coloring into the other for about 60 seconds each. Stop there. The colors should look mostly even. The dough should feel soft but not sticky and each half should show a few natural streaks rather than one flat artificial tone. You’ll notice the floury smell disappear as the dough comes together. Mix too long and the cookies can turn firm instead of tender. Fold gently because limited gluten development keeps the crumb soft.
- Pinch off 1 tablespoon of purple dough and 1 tablespoon of orange dough for each cookie, press the pieces together and twist once before rolling lightly into a rough ball. Make 12 cookies and press each to about 1/2 inch thick, then add Halloween sprinkles with a light fingertip press. Chill the shaped dough at 38°F for 20 minutes. Skip the chill and the color pattern can blur as the butter softens. The balls should look marbled rather than perfectly split, with irregular purple and orange seams running across each surface. Some sprinkles will sit deeper than others. That’s good. (My first batch stayed at room temperature too long. The swirls spread into wide flat cookies.) Chill before baking because firm fat delays spread long enough for the edges to set.
- Bake the chilled cookies in a 350°F preheated oven for 10 to 12 minutes on the center rack, keeping the 12 rounds spaced about 2 inches apart. Check early. At minute 9, check the front row and rotate the tray 180 degrees only if your oven browns unevenly. Pull the tray as soon as the edges look set and the centers no longer appear wet. Go past 12 minutes and the bottoms can darken before the centers stay tender. The orange sections deepen slightly and the purple stays bold while the tops develop tiny cracks around the marbled seams. You’ll smell toasted butter and vanilla right before they’re ready. Purple and Orange Halloween Cookies should still feel soft in the center when they leave the oven. Bake at 350°F because moderate heat sets the edges before the centers dry out.
- Leave the cookies on the hot tray for 10 minutes, then transfer them to a cooling rack for another 20 minutes at about 70°F before serving. Move them with a thin spatula while the centers are still slightly flexible, and let them finish setting before stacking or plating. They’ll firm as they cool. Move them too early and the soft centers can bend or crack around the marbled seams. Purple and Orange Halloween Cookies should have lightly crisp edges and soft centers with nonuniform purple and orange patches across every round. A few sprinkles may sink or tilt, which keeps the batch looking homemade. Plate one cookie once it’s fully cool. Cool for 30 minutes total because residual heat finishes the center without overbaking it.
Notes
Frequently Asked Questions
Yes. Shape the dough up to 24 hours ahead and refrigerate it at 38°F in a covered container. Bake straight from the fridge for 11 to 13 minutes because the colder centers need slightly longer.
Store the cooled cookies in an airtight container at room temperature for 4 days. Keep a sheet of parchment between layers so the sprinkles don’t scrape the marbled surfaces.
The butter was probably too warm or the dough skipped its 20-minute chill. Keep butter near 68°F and chill shaped cookies at 38°F before baking.
Yes. Double every ingredient exactly and divide the colored dough evenly before shaping 24 cookies. Bake one tray at a time at 350°F so airflow stays consistent.
Yes. Freeze the shaped rounds on a tray for 2 hours and then seal them for up to 2 months. Bake from frozen at 350°F for 12 to 14 minutes.
For gluten-free cookies, use a 1 to 1 flour blend with xanthan gum. For egg-free cookies, use 3 tablespoons applesauce and expect a softer, slightly cakier texture.
Final Thoughts
Making this batch takes me back to the first time I twisted the colors together and expected everything to blur in the oven. Purple and Orange Halloween Cookies are much more forgiving than they look, especially when the dough gets its full chill.
You can make the marbling uneven like I do and every cookie still comes out fun and homemade. If you try these purple and orange Halloween cookies, share your batch or leave me a comment because I love seeing how the swirls turn out.
Gel coloring works better than most liquid coloring here because it adds strong Halloween color without adding enough moisture to noticeably soften the dough.