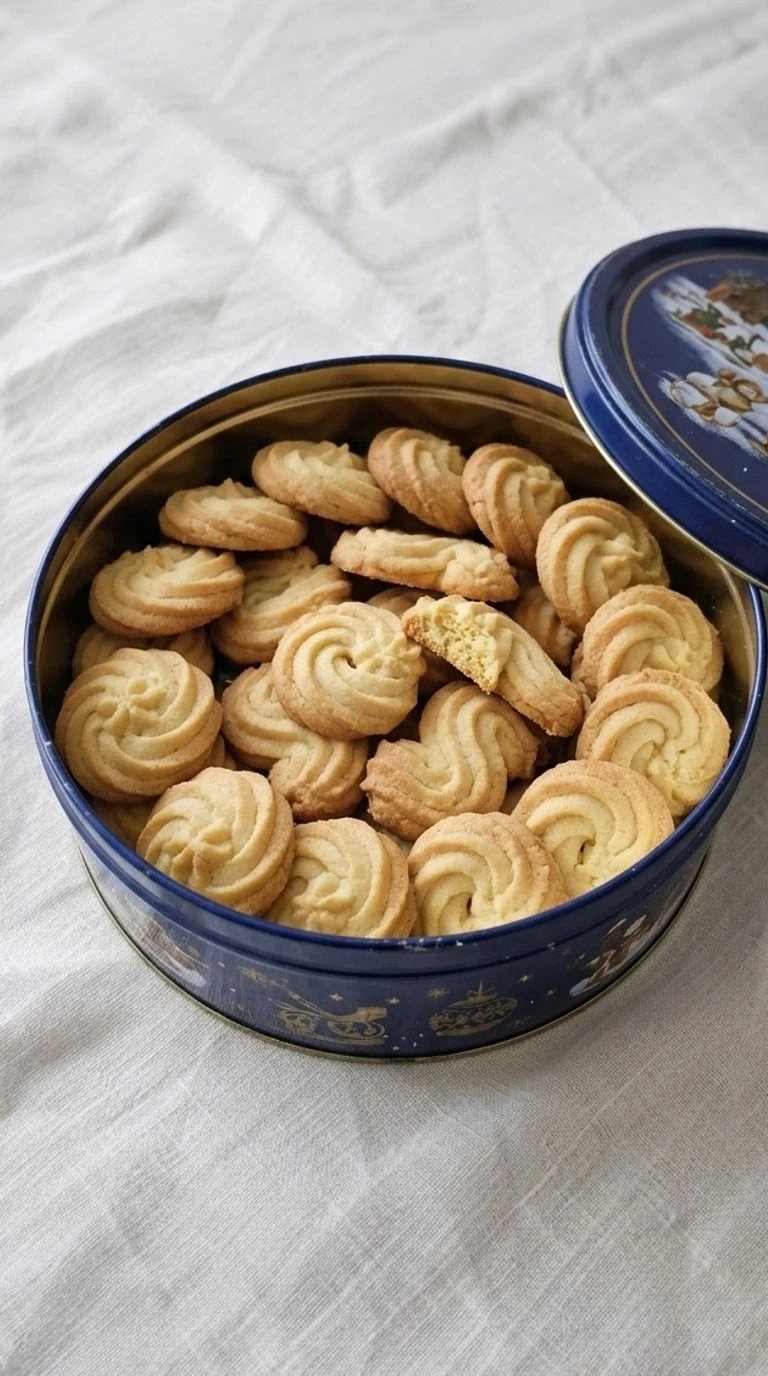
Ingredients
Method
- Put 1 cup of softened unsalted butter in a large mixing bowl and add 2/3 cup of powdered cane sugar. The butter should be cool but soft enough to dent with a finger at about 65°F to 68°F. Beat with an electric mixer on medium speed for 2 to 3 minutes. Stop halfway through and scrape the sides with a rubber spatula so no dense butter stays near the bottom. Keep the motion steady because you're aiming for a smooth cream rather than a bowl full of air. Don't rush it. If you beat for much longer the extra air can make your cookies spread as they bake. The mixture should turn pale ivory and look soft with a smooth buttery texture. You shouldn't see dry pockets of powdered sugar. If it looks shiny and greasy then the butter may be too warm. Cream gently because too much trapped air can blur the piped ridges.

- Add 2 large egg yolks to the creamed butter mixture and pour in 1 teaspoon of pure vanilla extract. Keep the ingredients close to 68°F so the butter doesn't turn firm when you add the yolks. Beat on low speed for 45 to 60 seconds. Then pour in 2 tablespoons of whole milk and mix for another 20 to 30 seconds. Scrape along the bottom once to catch any unmixed butter. The dough base should look smooth and thick rather than foamy. Stop as soon as everything blends because extra mixing adds air that you don't need. You'll notice the color shift from pale ivory to a soft yellow cream. The vanilla smell becomes clear and the mixture should look even without liquid around the edges. If it starts to split then the ingredients may be too cold. Mix briefly so the yolks bind the fat and liquid.
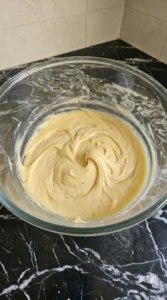
- Add 2 cups of all-purpose wheat flour and 1/4 teaspoon of fine sea salt to the butter mixture. Fold with a rubber spatula by pressing through the center and turning the dough over itself. Keep folding for about 60 to 90 seconds until no dry flour remains. The mixture should form a thick soft dough that holds gentle ridges but still gives when pressed. If you use a mixer then keep it on the lowest speed for no more than 30 seconds after the last dry streak fades. Don't knead it. Too much mixing builds gluten and can turn a delicate cookie into a firm biscuit. At first you'll see flour patches around the edges. Then the mix will turn into one pale yellow mass with uneven folds and a soft matte finish. If it seems stiff then check whether your butter was too cold before adding extra liquid. Fold just until smooth because limited gluten keeps the crumb tender.

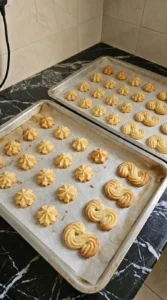
- Fit a large piping bag with an open star tip about 1/2 inch wide and fill it with the soft dough. Pipe 24 small rosettes and 12 ridged S-shaped cookies onto parchment-lined baking sheets. Each cookie should use about 1 tablespoon of dough and measure roughly 1.5 to 2 inches across. Leave about 2 inches between each piece. Press steadily and lift the tip cleanly at the end of each shape. If the dough feels too stiff then warm the filled bag between your hands for 1 to 2 minutes. Chill the shaped cookies for 15 minutes at about 40°F before baking. The ridges should stand up clearly and the dough shouldn't slump into flat puddles. Small differences in each swirl are fine. Butter Cookies Tin Style gets its familiar shape from those raised lines. Skip the chill and the edges may spread too far. Cool the dough so the butter firms and holds each ridge.

- Heat the oven to 350°F and place one sheet of chilled cookies on the middle rack. Bake for 12 to 15 minutes. Turn the sheet from front to back around minute 8 if your oven tends to brown unevenly. Watch the bottoms and outer ridges rather than waiting for the whole cookie to turn dark. The centers should remain pale golden while the thin edges develop a deeper toasted color. Bake the second sheet the same way and keep its dough chilled until the oven is free. Let both batches rest on their trays for 5 minutes before transferring them to a cooling rack. The kitchen should smell strongly of warm butter and vanilla. Look for dry tops with golden outlines and firm ridges that still keep their shape. (I once waited for every cookie to turn brown and lost that soft center. Pale tops taste better.) Baking too long makes them hard. Stop at lightly golden edges because residual heat keeps setting the centers.
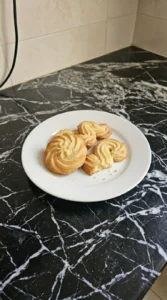
- Leave the cookies on a cooling rack for 20 to 30 minutes until they reach room temperature near 70°F. Don't stack them while warm because trapped moisture can soften those crisp edges. Choose 3 cookies for a serving plate and place the rest in an airtight cookie tin once completely cool. Set one rosette and two S-shaped cookies slightly apart so the ridges don't break when you pick them up. You can gently break one cookie to show the crumb. It should snap with little pressure but still feel tender as you eat it. Keep the tin closed between servings. The finished cookies should feel dry and light with a fine pale yellow interior. Their golden edges will look slightly uneven and that's part of the homemade charm. Stack them too soon and moisture dulls their crisp bite. Cool fully because escaping steam must leave before the tin closes.
Notes
Keep Butter Cookies Tin Style in an airtight metal cookie tin at a cool room temperature for up to 7 days for the best crisp texture. Separate loose layers with parchment so the delicate ridges don't break. The cookies can also stay in an airtight container in the refrigerator for up to 10 days, but they may lose some crispness. For longer storage, freeze fully cooled cookies between parchment layers in a freezer-safe container for up to 2 months. Thaw them while covered to help prevent moisture from forming on their surfaces. If the cookies soften during storage, spread them on a baking sheet and warm them at 275°F for 3 to 5 minutes. Then let them cool for 15 minutes before serving. Don't add liquid because the goal is to dry the surface rather than soften the crumb. Discard cookies that develop mold, an unusual smell or a rancid butter taste. Don't try to refresh cookies showing signs of spoilage.