Ingredients
Method
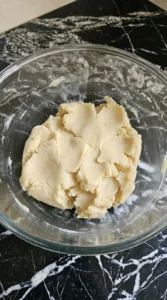
- Start with 1 cup of softened unsalted butter and 1 cup of granulated white sugar. Beat them together for 2 to 3 minutes until the mixture turns pale and fluffy. Add 2 large eggs and 2 teaspoons of pure vanilla extract. Then beat for another 30 to 45 seconds until the eggs blend into the butter. In a separate bowl mix 2 1/2 cups of all-purpose wheat flour with 1 teaspoon of aluminum-free baking powder and 1/2 teaspoon of fine sea salt. Add the dry mix in two batches and fold with a spatula until you can't see loose flour. The dough should look thick and soft with a pale cream color. It won't pour like cake batter. Stop mixing as soon as it holds together because extra stirring makes the bars tough. Keeping the butter near 68°F helps the dough hold its shape while the flour absorbs the moisture.
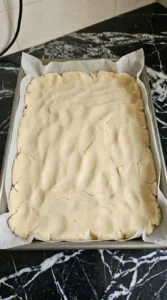
- Line a 9 by 13-inch baking pan with parchment paper and leave 2 inches hanging over the long sides. Transfer the thick dough from the bowl into the pan in several large scoops. Then press the dough outward from the center with your fingertips until it reaches all four corners. Work for about 2 to 3 minutes and aim for a layer roughly 1/2 inch thick. Smooth the top with the flat side of a spatula while keeping the depth as even as you can. Heat your oven to 350°F before baking. You'll see a pale and slightly uneven sheet of dough filling the pan. Small finger marks are fine. But don't leave thick mounds near the corners because they'll bake more slowly. An even layer lets the heat reach the center before the edges dry out.
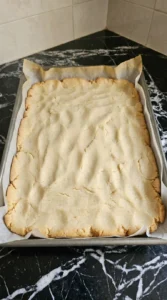
- Place the pan on the middle oven rack and bake at 350°F for 20 to 24 minutes. Check the edges at minute 20. They should have a pale golden color while the center looks set and slightly puffed. If the middle still looks wet, give it another 2 minutes before checking again. Don't wait for the whole surface to turn brown. Remove the pan once the center stops looking shiny and a toothpick comes out without wet batter. Then let the cookie base cool in the pan for 15 minutes before moving it to a rack for another 45 minutes. The kitchen should smell like butter and vanilla. The cookie slab will sink slightly as it cools and develop a soft but firm surface. (I once left a batch in for 28 minutes and the corners turned too crisp.) Don't frost it warm. Cooling for at least 60 minutes keeps the buttercream from melting into the crumb.
- While the baked cookie base cools, put 1/2 cup of softened unsalted butter into a clean mixing bowl. Beat for 2 minutes until the butter turns lighter and looks creamy. Add 2 cups of powdered confectioners' sugar in two batches and mix slowly so the sugar stays in the bowl. Next pour in 1 teaspoon of pure vanilla extract and 1 tablespoon of whole milk. Beat for another 2 to 3 minutes until the frosting feels airy. If it's too thick to spread, add the remaining tablespoon of milk a little at a time. The frosting should form soft peaks and hold shallow swirls without running. You'll smell the vanilla as it whips. If it turns thin or shiny, the butter may be too warm. Keep the butter near 68°F because cool softened fat traps air and holds the frosting's shape.
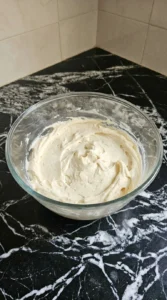
- Once the cookie slab feels cool all the way through, leave it in the parchment-lined pan and spoon the vanilla buttercream onto the center. Spread it toward the edges in long gentle strokes while leaving a few shallow swirls across the top. This should take about 2 to 3 minutes. Then scatter 1/3 cup of red, green and white Christmas sprinkles over the frosting. Add them within 2 minutes of spreading so they stick before the buttercream begins to crust. For a firmer topping, chill the frosted slab at 40°F for 15 minutes. You'll see a thick ivory layer with patches of bright red and green across the top. Some sprinkles will gather in the frosting ridges. That's fine. Avoid pressing them down because the colors can bleed into the cream. The short chill firms the butter so the topping won't drag during slicing.
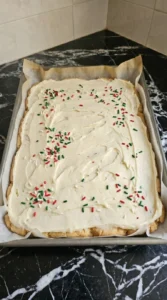
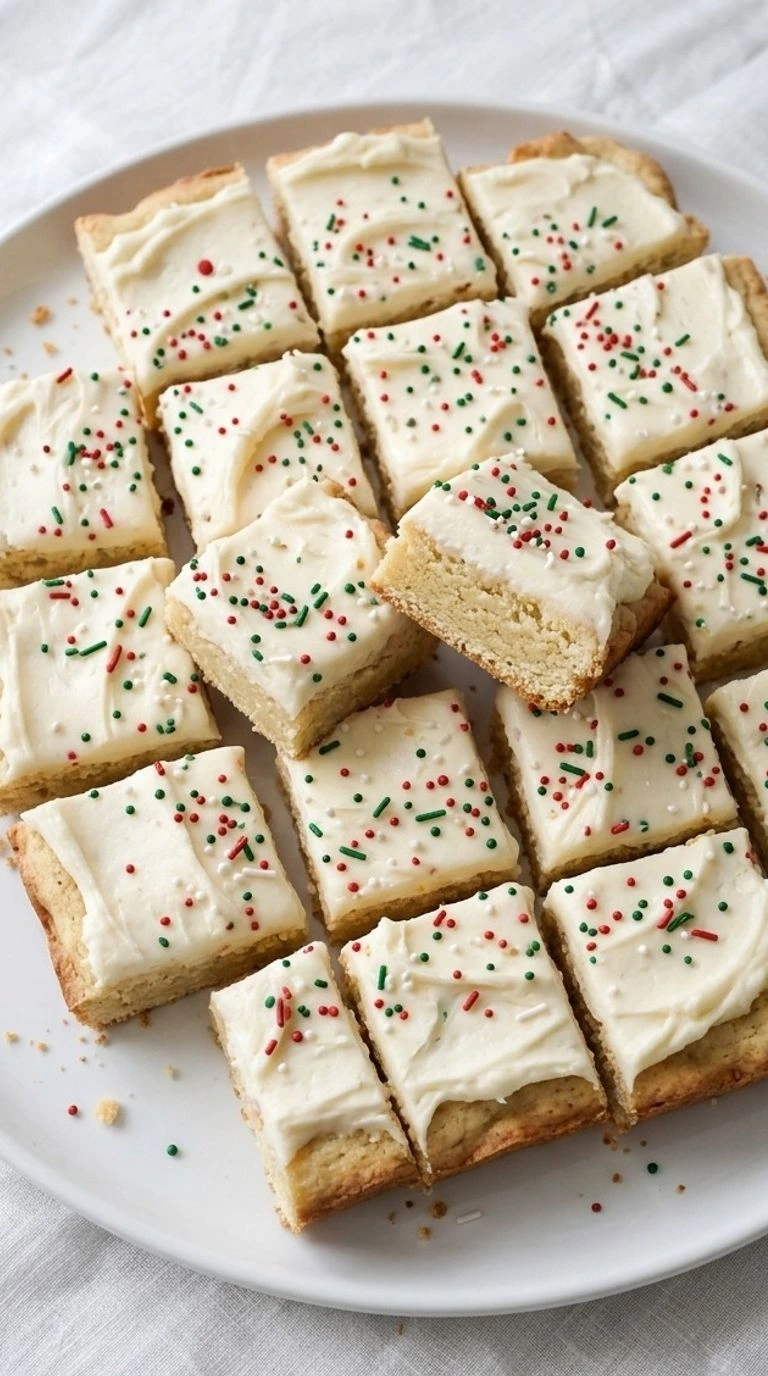
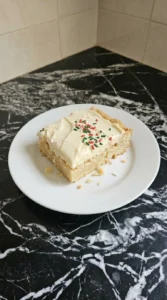
- Lift the chilled cookie slab from the pan by holding the parchment overhang. Set it on a cutting board and trim only any very uneven outer edges. For 24 portions, cut the slab into 4 rows across its width and 6 rows along its length. Use a long sharp knife and press straight down rather than dragging it through the frosting. Wipe the blade after every 2 or 3 cuts to keep the colors from smearing. Arrange one portion on a small white serving plate with its freshly cut side visible. Let the portion sit for 10 minutes at about 68°F before serving. The cut piece should show a thick soft pale golden base and a clear layer of ivory frosting. Small crumbs and uneven sprinkle clusters make it look homemade. If the frosting smears heavily, chill the remaining pieces for 10 more minutes. The brief rest softens the crumb without melting the buttercream.
Notes
Once Holiday Sugar Cookie Bars have cooled and the frosting has set, arrange them in an airtight container with parchment between the layers. Refrigerate for up to 5 days at 40°F or below. For longer storage, freeze individual portions on a tray for 1 hour until firm. Then wrap each bar tightly in plastic wrap and place it in a freezer-safe container for up to 2 months. Thaw frozen portions overnight in the refrigerator before serving. These bars taste best after sitting at room temperature for 10 to 15 minutes because the buttercream softens and the cookie crumb becomes tender. If you prefer a warm cookie base, heat an unfrosted portion at 250°F for 4 to 5 minutes and let it cool before adding frosting. Don't heat fully frosted bars in the oven because the topping will melt. Discard any bars that develop mold, an unusual smell or a slimy surface.