Ingredients
Method
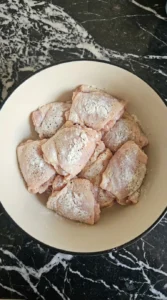
- The chicken starts as plain pink thighs and then takes on a dry white coating as the salt and pepper and cornstarch cling to the surface. The pieces should look lightly dusted rather than heavily buried and the shapes should stay irregular with slight overlap and natural gaps. You want every thigh covered enough to turn slightly matte and pale while the edges still look uneven and soft. This step creates the first real visual shift because the chicken changes from slick and raw to seasoned and lightly coated.
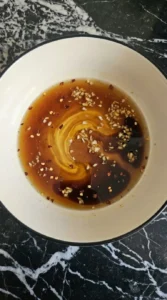
- The separate sauce ingredients turn into one loose amber mixture once the honey and soy sauce and vinegar and broth and garlic and pepper flakes meet. You should still see tiny bits of garlic floating unevenly through the liquid and the color should look deeper near the honey streaks and lighter where the broth has not fully blended. This step matters because the ingredients are no longer separate and the sauce now has a clear identity and color. The mixture should look glossy and slightly uneven rather than fully uniform.
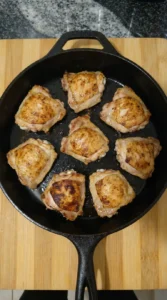
- As the coated chicken cooks the surface changes from pale and powdery to golden in spots with deeper brown edges. Some areas color faster than others and the thighs shrink slightly and sit in a looser arrangement than before with a few pieces turned at different angles. This is the first hot transformation and it should be obvious. The coating firms up and the chicken looks structured and lightly crisp on the outside while still thick and juicy in the center.
- Once the sauce is poured over the browned chicken the skillet changes from dry seared surfaces to bubbling glaze around each piece. The chicken looks darker and shinier as the sauce clings to the ridges and settles into the low spots while garlic bits collect unevenly around the edges. This step creates the sticky transformation that gives the dish its character. The sauce thickens from a thin liquid into a glossy coating and the browned chicken becomes lacquered and richly colored.
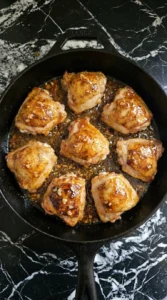
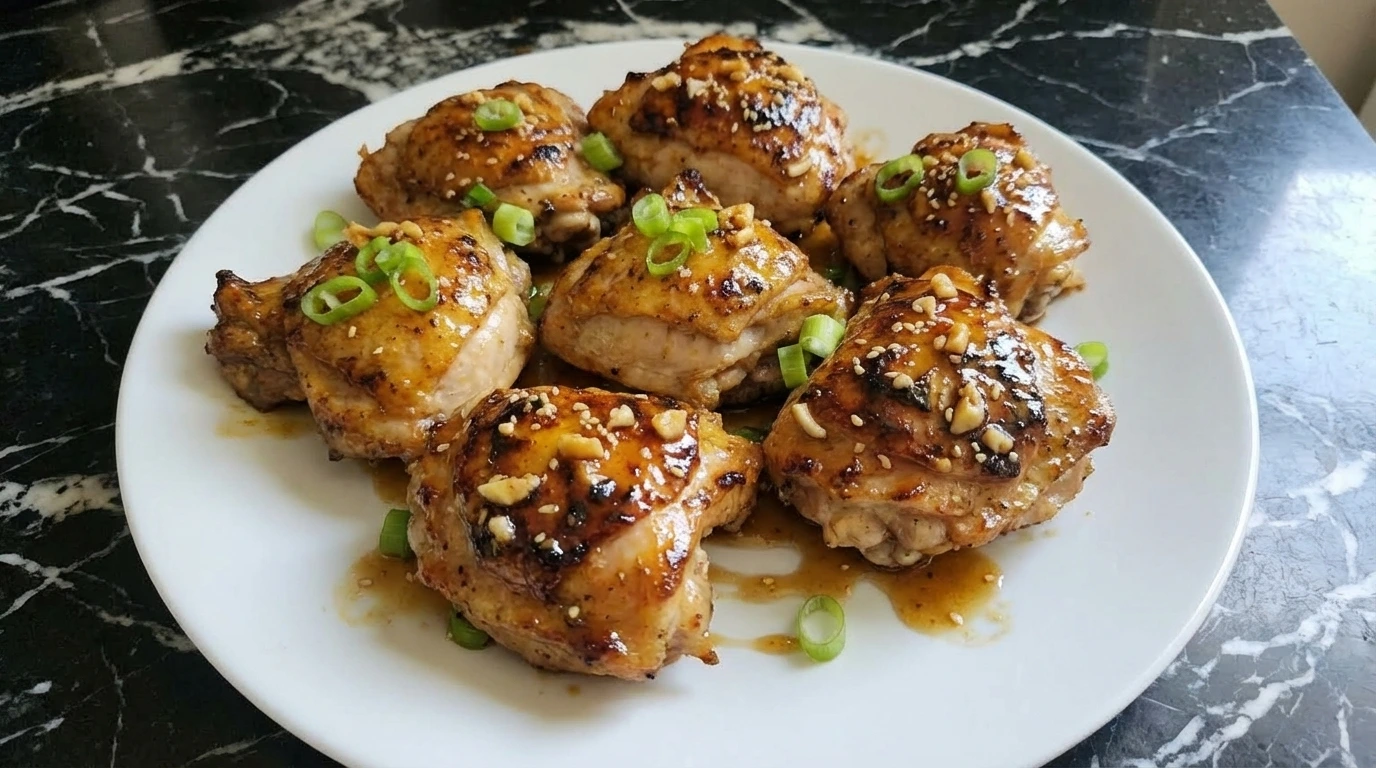
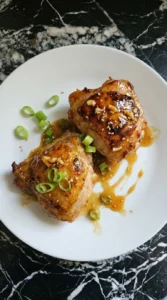
- The final dish looks fully cooked and glossy with visible browning and a thick amber glaze that sits unevenly over the chicken. The green onions and sesame seeds break up the darker color and the pieces rest casually on the plate with a little sauce pooling between them rather than under perfect control. This last step gives the dish its finished look and makes the textures easy to read at a glance. You should see sticky glaze and browned edges and soft juicy chicken with a homemade feel.
Notes
One of my signature recipes! This is a Honey Garlic Chicken made with tender chicken and a glossy garlic honey glaze. Though it comes together faster than many comfort meals it is worth every minute. The chicken is juicy and the sauce is rich and thick. Makes 4 hearty servings. This recipe gives you exactly 8 glazed chicken thighs with browned edges and a sticky finish then finished with green onions and sesame. You could stretch it for meal prep with rice and vegetables. If making a bigger batch scale up the sauce and keep enough space for the chicken to brown well.