Chocolate Cupcakes
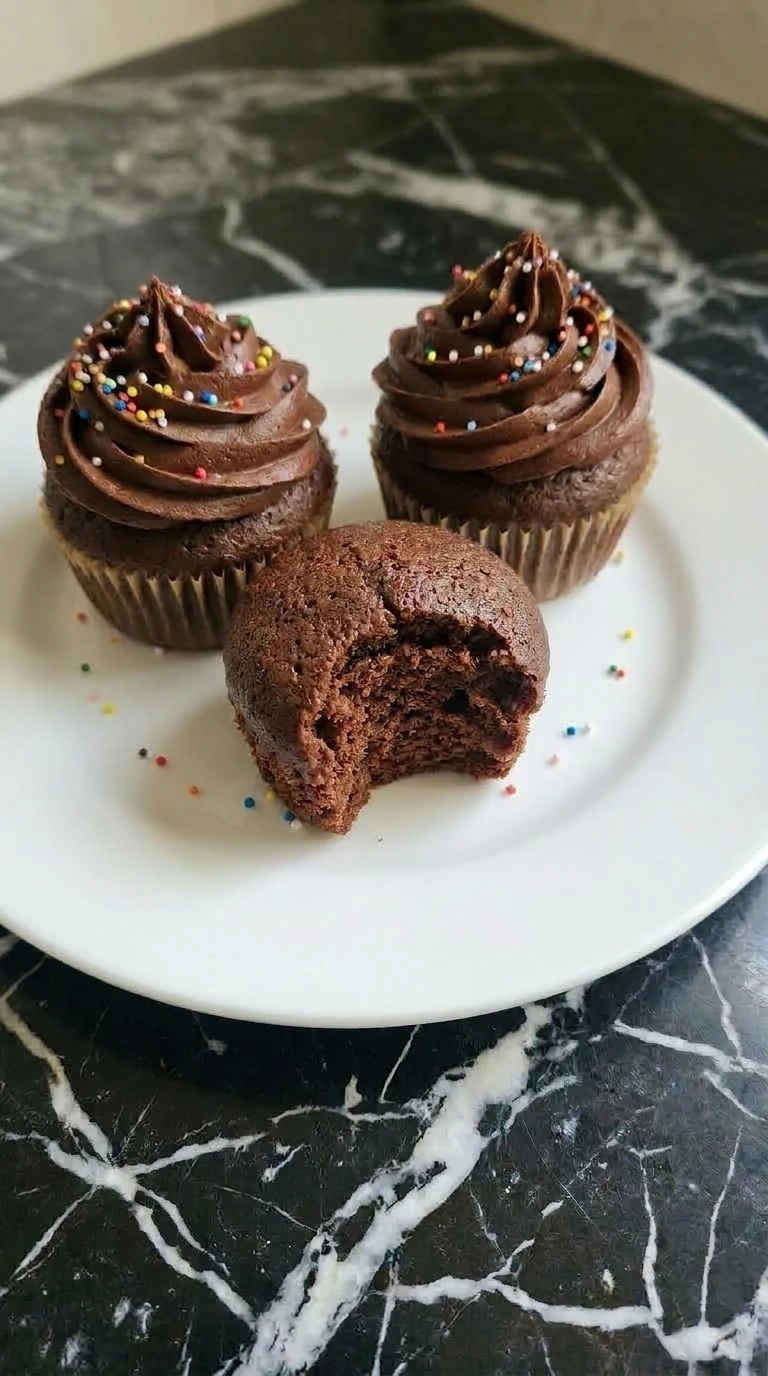
These are the best chocolate cupcakes you will ever bake. They are incredibly moist and packed with rich chocolate flavor from premium cocoa powder. The secret is using hot coffee in the batter because it blooms the cocoa and intensifies the deep chocolate notes. They have a classic bakery-style look with a velvety texture that melts in your mouth. Perfect for a birthday party or weekend dessert prep. Simple to make and always a crowd pleaser.
Print
Pin
Servings: 12
Ingredients
- 1.75 cups Gold Medal All-Purpose Flour Sifted cleanly to provide the foundational gluten structure for a soft crumb.
- 2 cups granulated white sugar Adds essential sweetness and locks in moisture during the baking process.
- 0.75 cup Hershey's Cocoa Powder Unsweetened Dutch-process variety for an intensely rich and dark chocolate base.
- 1.5 teaspoons baking powder Acts as the primary leavening agent to help the domes rise beautifully.
- 1.5 teaspoons baking soda Reacts with the acidic cocoa elements to create an airy interior texture.
- 1 teaspoon fine sea salt Enhances the deep cocoa notes and balances the heavy sweetness.
- 2 large brown eggs Bring to room temperature before mixing to ensure seamless emulsification.
- 1 cup whole milk Provides the fat content necessary for a tender and velvety mouthfeel.
- 0.5 cup canola oil Keeps the cake crumb incredibly moist for days after baking.
- 2 teaspoons McCormick Vanilla Extract Adds a warm background aroma that deepens the chocolate profile.
- 1 cup dark brewed coffee Must be hot to bloom the cocoa solids and intensify the natural flavors.
- 1 cup Land O'Lakes unsalted butter Softened completely to create a smooth, pipeable frosting base.
- 3.5 cups powdered sugar Sifted fine to thicken and sweeten the chocolate buttercream smoothly.
- 3 tablespoons heavy whipping cream Thins the frosting slightly to achieve a velvety, spreadable consistency.
- 2 tablespoons rainbow nonpareil sprinkles Used as an asymmetric, festive garnish across the frosted tops.
Instructions
- Sift the all-purpose flour, granulated sugar, cocoa powder, baking powder, baking soda, and fine sea salt into a large clear glass mixing bowl. Use a wire whisk to combine them thoroughly using an easy circular motion for about 30 seconds. (I tried skipping the sifting step during my first test run, the cocoa clumped up and left bitter pockets of powder in the final baked cakes.) You want to see a completely uniform, pale brown powdery mixture without any distinct streaks of white flour or dark cocoa. The whisking introduces air into the heavy components and breaks up stubborn lumps. This ensures the leavening agents distribute evenly through the flour. Combine the dry ingredients thoroughly, even distribution prevents the batter from rising unevenly in the oven.

- Crack the two large eggs directly into the dry mixture, then add the whole milk, canola oil, and vanilla extract. Pour the hot brewed coffee slowly into the bowl while whisking continuously in a steady J-shaped motion from the bottom up. Work the liquids into the powder for about 1 to 2 minutes until a smooth, thin batter forms. You will notice the dark liquid instantly transforming the pale powder into a glossy, liquid chocolate mahogany mixture. The batter will appear quite thin and watery compared to traditional cake mixes, and you will smell a sudden burst of rich chocolate aromatic notes. The hot coffee blooms the cocoa particles instantly. Whisk the liquids in quickly, the heat activates the cocoa flavors without cooking the eggs.

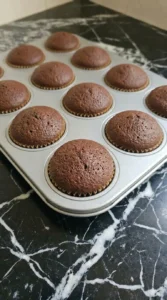
- Place 12 paper liners into a standard 12-cup aluminum muffin tin, choosing a neutral tone to match the rustic feel. Use a stainless steel batter scoop to transfer the thin fluid mix, filling each lined cup exactly three-quarters full. Work carefully to avoid dripping batter onto the metal edges of the pan. The dark brown fluid pool will sit cleanly inside the pleated paper cups, leaving about a quarter-inch of space below the rim. The surface of each filled cup should look glossy and smooth with a few tiny surface bubbles. The arrangement is slightly asymmetrical across the tin. Fill each cup three-quarters full, leaving space allows the cakes to expand without overflowing.

- Slide the filled tin onto the center rack of a 350°F preheated oven and bake for exactly 18 to 20 minutes. Do not open the oven door during the first 15 minutes because the sudden draft can cause the rising centers to collapse. (My first batch went into a 400°F oven and the tops set before the centers cooked through, 350°F is the permanent fix.) You will watch the fluid pools puff up into a soft, rounded dome shape with a matte, dark brown appearance. A wooden toothpick inserted into the center of a middle cupcake should come out clean or with a few moist crumbs attached. The kitchen will fill with an intense chocolate aroma. Bake at 350°F until set, stable heat sets the crumb structure perfectly without drying the edges.
- Transfer the cooled cakes onto a flat white ceramic serving plate, arranging them with natural spacing and a slight overlap. Load a pastry bag fitted with an open-star tip with rich chocolate buttercream frosting. Pipe a high, tight spiral mound onto each cake, then scatter bright rainbow nonpareils unevenly over the swirls. The glossy, deep chocolate frosting creates a dramatic contrast against the matte cupcake surface. The nonpareils add dots of color that catch the light, while a few stray crumbs sit naturally on the white plate. Take a clean bite out of one cupcake to showcase the aerated crumb. Frost only when completely cool, warm cakes melt the butter base and ruin the piped definition.
Notes
You can keep your decorated cupcakes in a single layer inside a tall, airtight container right on the counter for up to three days. If your kitchen gets too warm, just slip the container into the fridge for up to five days instead. Just make sure to let them sit out for twenty minutes before you serve them.
If you haven't frosted them yet, the plain bases can be wrapped tightly in plastic wrap and tossed into a heavy-duty freezer bag for up to three months. When you're ready to thaw them, leave them wrapped on the counter for about two hours. Keeping the wrap on stops condensation from making the tops sticky. Whatever you do, don't use a microwave to warm up frosted cupcakes because the butter in the frosting will liquefy instantly. To tell if they've gone bad, look out for a dry crumb or any weird, off-flavors in the dairy.