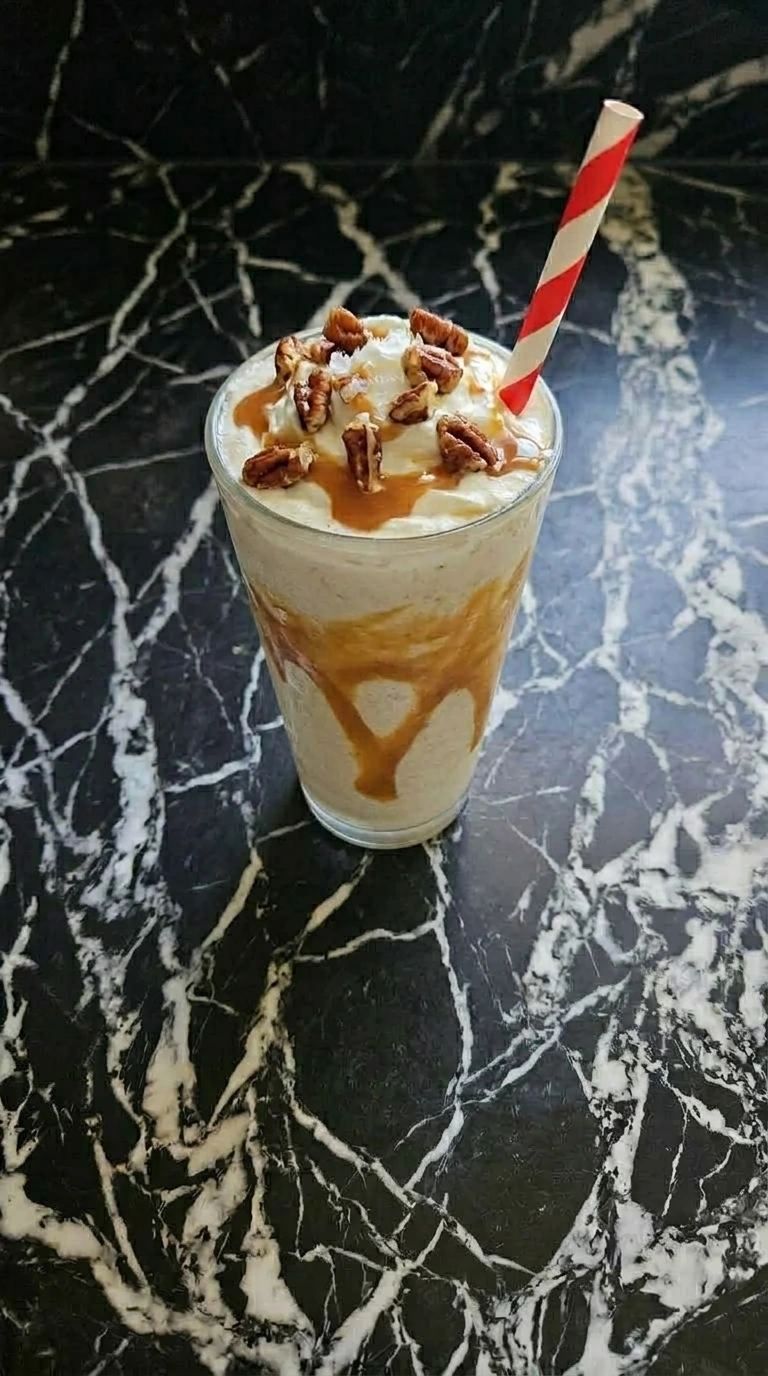
Milkshake
This is the best classic dessert for a summer holiday or a busy weeknight dinner treat. It is so quick and simple to make because the secret is all in the specific milk ratio. You get a thick texture that holds a straw straight up but stays perfectly sippable. It smells like rich vanilla bean and sweet cream. If you want easy homemade ideas that taste exactly like an old-school diner, this version is the absolute ultimate.
Print
Pin
Servings: 4
Calories: 87kcal
Ingredients
- 3 scoops (approx. 1.5 cups) premium vanilla bean ice cream Provides the dense fat base and the primary sweet flavor structure.
- 0.5 cup whole milk Thins the ice cream just enough to make it fluid while retaining creaminess.
- 2 tablespoons heavy whipping cream Adds extra fat to stabilize the foam and create a velvety mouthfeel.
Instructions
- Take your premium vanilla bean ice cream out of the freezer and let it sit on the counter at a room temperature of 70°F. Leave it out for exactly 5 minutes before you plan to scoop it. You want the outer edges to soften slightly while the core stays solid. (I tried scooping right from the deep freeze the first time — the blades just spun and heated up the motor.) Watch for the surface to lose its hard matte look and take on a faint glossy sheen. If you skip this quick resting window, the ice cream will be too stubborn to blend smoothly. Then you will be forced to add extra milk to get things moving. That mistake ruins the thick diner texture because the excess liquid dilutes the rich fat structure. Letting it temper makes scooping effortless. It ensures the dairy incorporates evenly without turning into soup. Slow warming at room temperature keeps the ice crystals small.

- Place 3 large scoops of the tempered ice cream directly into the bottom of the transparent blender jar. Pour 0.5 cup of ice-cold whole milk and 2 tablespoons of heavy whipping cream right over the top. Make sure your dairy comes straight from a 38°F refrigerator so it stays as cold as possible. You will see the liquid pool around the base of the scoops while the vanilla bean specks settle in the cream. Do not stir the mixture yet because the blender needs the liquid at the bottom to create a vortex. If you put the liquid in last, the blades will jam on the solid mass. Layering correctly protects the motor and ensures a fast breakdown. Keeping everything chilled prevents early melting. This specific sequence builds the ideal emulsion later.

- Secure the lid and turn your machine to a medium-low heat equivalent speed (about level 3 on a 10-dial scale). Run the blades for exactly 45 seconds without stopping. Use a rubber spatula to scrape the sides down halfway through if any large chunks get stuck on the walls. You will hear the heavy thudding sound quiet down into a smooth rhythmic hum as the mixture unifies. Look for a deep vortex to form in the center of the jar. The liquid should completely swallow the solid chunks until you see a thick frothy cream with tiny black vanilla specks swirling around. Go past 60 seconds and the friction from the spinning blades will melt the shake completely. Stop blending the moment the last visible lump disappears. Keeping the speed low keeps the air bubbles small and dense. This short timing window preserves the frozen microcrystalline structure.

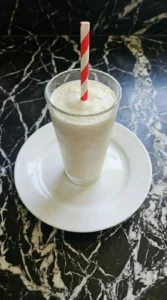
- Tilt the blender jar and pour the thick mixture directly into a chilled tall glass parlor cup from a height of about 3 inches. The stream should look dense and ribbon slightly as it hits the bottom of the glass. It forms a gentle mound in the center that slowly settles into an uneven surface with natural air pockets. You will smell the sweet vanilla bean aroma rising up as the glass fills to the brim. If your shake is perfect, a red paper straw inserted into the center will stand perfectly straight without tilting to the side. (I used to use warm glasses from the dishwasher. The shake melts instantly on contact so always freeze your glass for 10 minutes.) Serve it immediately while the frost is still clinging to the outside of the glass. The non-uniform top edge shows it is thick and homemade. Pouring from a slight height helps the shake settle without trapping huge air pockets.
Notes
Milkshakes do not store well once they are blended. You should always enjoy this dessert fresh from the blender jar. If you have leftovers, you can pour them into a covered jar and keep them in the freezer for up to 2 days. The texture will freeze solid so you must let it thaw on the counter for 15 minutes and stir it vigorously before drinking. It will lose some of its original fluffiness but the flavor stays great.
Nutrition
Serving: 1g | Calories: 87kcal | Carbohydrates: 8g | Fat: 6g | Saturated Fat: 4g | Cholesterol: 22mg | Sodium: 35mg | Sugar: 7g