Ingredients
Method
- Heat the oven to 425°F while you trim six small yellow patty pan squash for 8 to 10 minutes. Cut each squash crosswise into three half-inch slices. Quarter any slice wider than 3 inches so every piece roasts at the same pace. Then press both sides firmly with clean towels until no moisture beads remain. The cut faces should look matte and pale yellow instead of wet or glossy. You should smell fresh squash but no grassy moisture should pool beneath it. Uneven slices turn soft before thicker pieces color, so keep the thickness close. Don't leave damp surfaces because steam blocks browning. Dry slices brown faster because steam can't block the Maillard reaction.

- Keep the oven at 425°F. Add the squash to a large bowl with 3 tablespoons extra-virgin olive oil. Sprinkle in garlic powder, kosher salt, black pepper and fresh thyme. Toss with two broad scooping motions for 60 to 90 seconds. Stop once every cut face carries a thin glossy film and visible seasoning specks. The slices should slide against each other without oil pooling beneath them. You'll smell thyme and pepper as the coating warms from your hands. Letting the salted squash sit beyond 5 minutes draws water and weakens the crust. (I tried 4 tablespoons of oil once, the pieces steamed instead of coloring.) A thin coating transfers heat without trapping excess moisture.
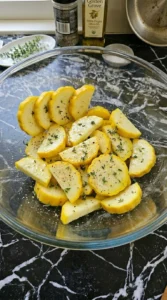
- Spread all 18 coated slices across a 13×18-inch rimmed sheet pan in one loose layer. Keep small gaps between most pieces and allow only slight overlap at two edges. Roast at 425°F for 12 minutes. At minute 8, rotate the pan 180 degrees and shift two darker edge pieces toward the center. The undersides should show pale golden patches while the tops remain glossy yellow. You'll hear a soft sizzle and smell sweet squash near minute 10. If the slices stay crowded, released water collects and softens their edges. Go beyond 14 minutes before turning and the thinnest pieces can collapse. Open spacing lets dry oven heat reach each cut face.

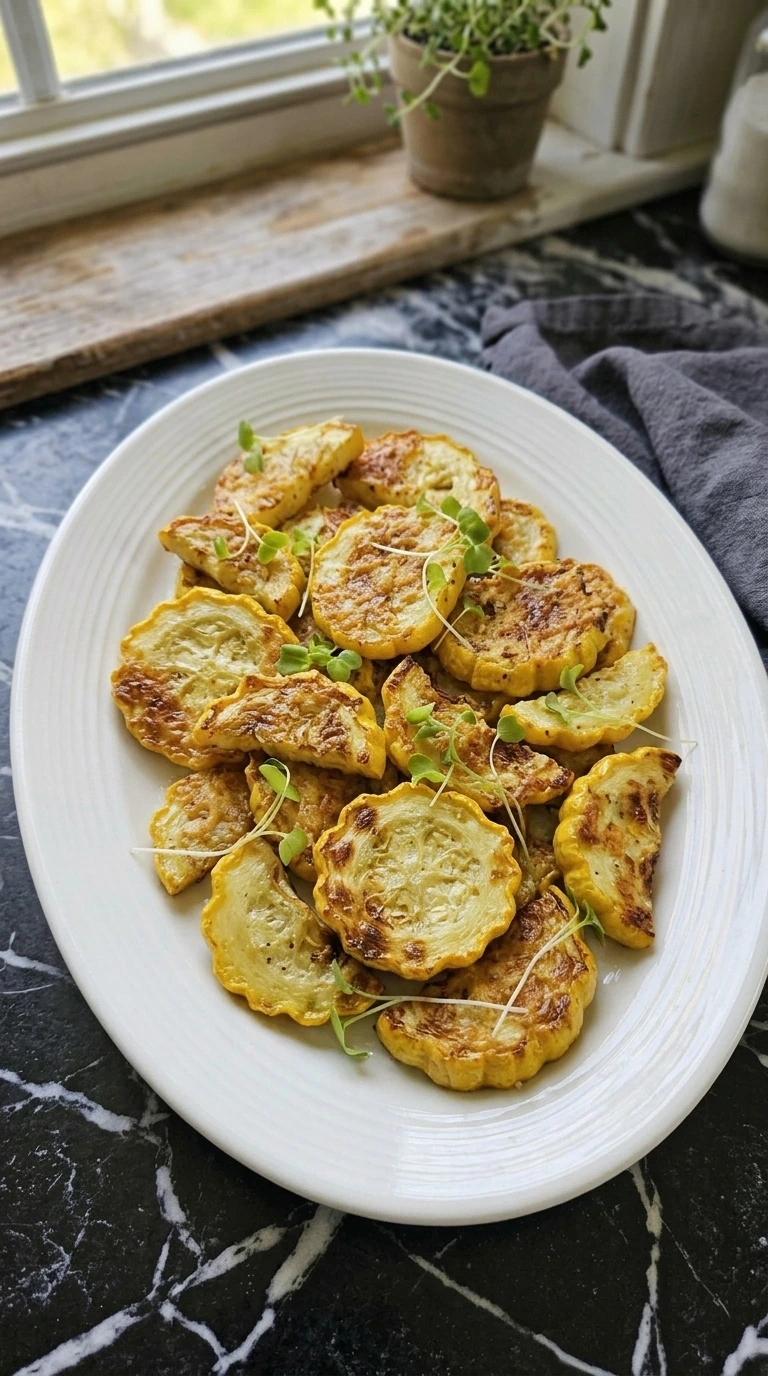
- Flip every slice and move the paler pieces toward the hotter outer rim. Scatter 6 tablespoons finely grated Parmigiano-Reggiano across the exposed faces. Return the pan to the 425°F oven for 6 to 8 minutes. Check at minute 6 and pull any very thin quartered pieces before the larger rounds. The cheese should melt into lacy patches with toasted tan freckles. Meanwhile, the squash edges deepen to amber and the centers stay tender but intact. You'll smell toasted milk solids when the pan is close. Leave it past 8 minutes and the fine cheese turns bitter. Late-added cheese browns without shielding the squash from early heat.

- Rest the squash on the hot pan for exactly 3 minutes after it leaves the 425°F oven. Then slide four or five slices onto each white plate with a thin lifting motion. Finish the four servings with the reserved 2 tablespoons Parmigiano-Reggiano and 2 tablespoons radish microgreens. Keep the pieces casually overlapped rather than stacked high. The crust should feel dry at the edges while the centers yield gently. Fresh Parmesan looks snowy against the golden surfaces and the microgreens stay bright. Transfer too soon and the molten cheese can tear away from the squash. Wait longer than 8 minutes and the slices lose their best heat. A short rest sets the cheese crust before plating.

Notes
Cool leftovers for no more than 30 minutes, then place them in a shallow airtight container. Refrigerate for up to 4 days and separate layers with parchment to protect the cheese crust. Freezing isn't ideal because summer squash releases water after thawing. If necessary, freeze slices in one layer for 30 minutes, then bag them for up to 1 month. Reheat refrigerated squash at 425°F for 6 to 8 minutes on a preheated pan. An air fryer also works at 375°F for 4 to 5 minutes. Add fresh microgreens and a teaspoon of grated Parmesan after reheating. Don't microwave longer than 45 seconds because the centers turn watery. Discard pieces with a sour smell, slimy coating or gray wet patches.