Oreo Dirt Cups
When you’re greedy like me and want proper chocolate flavour in every bite, not just a faint whiff of “vaguely tastes like cocoa …. maybe? ”, making Oreo Dirt Cups suddenly becomes harder than it sounds. I really thought it would be simple: swirl cookie crumbs through my favourite chocolate pudding, layer it, or pour it on top.
But every option had problems. Swirls mostly melted away while chilling or turned soggy if I used too much pudding. In some versions, the cookies and layers slid apart, and mixing everything through often stopped the dessert looking like actual dirt. Burying the worms on top just looked messy unless the pudding was thick enough to hold them up.
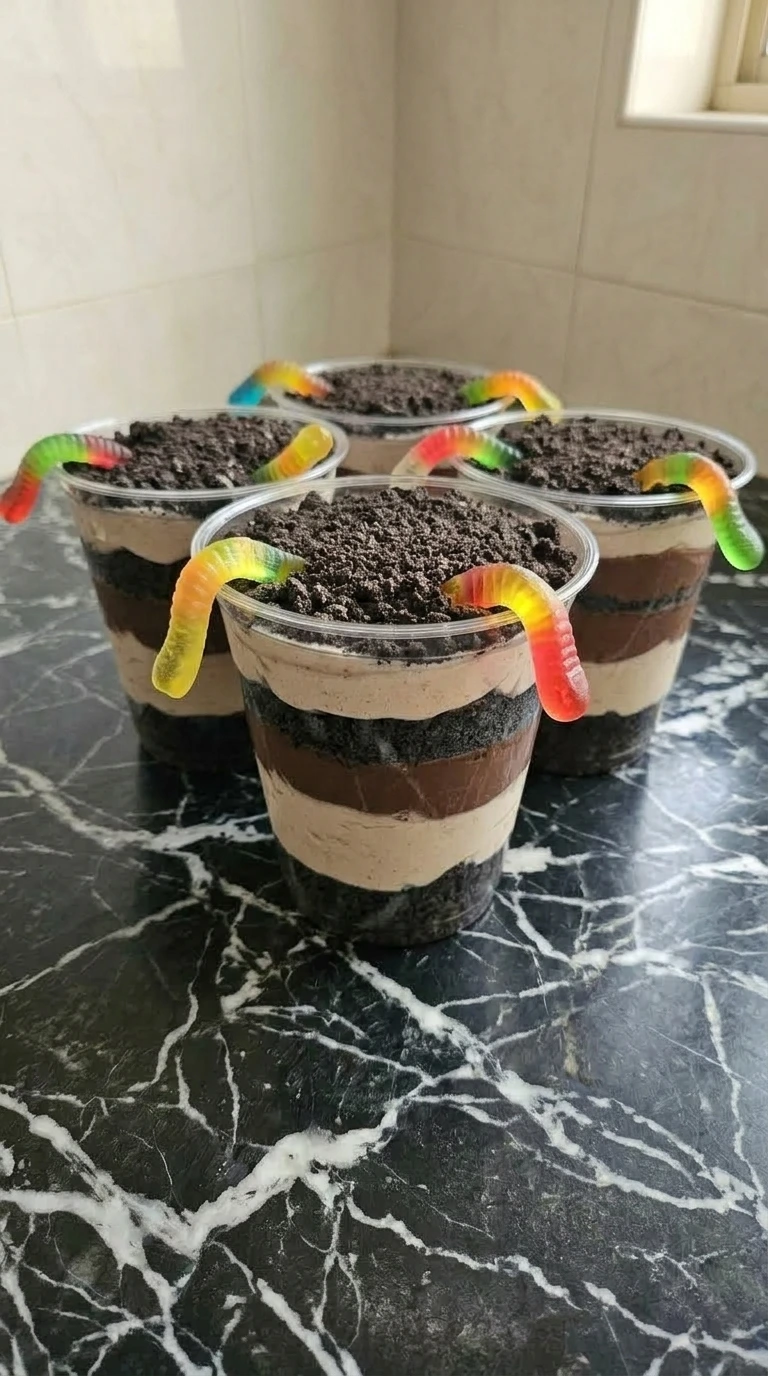
That is why I created this layered system that keeps everything structured. If you love simple treats, you should check out our Chocolate Cupcakes for another rich chocolate option. This version balances the crunch of Nabisco Oreo cookies with a velvety cream layer so it stays perfect until serving.
Why You’ll Love It
Folding stabilized whipped topping into instant pudding creates a cold mousse that holds up better than plain gelatin. The fat content in whole milk binds with the modified cornstarch at cold temperatures to build a thick cream framework. This strong structure prevents the heavy crushed cookie pieces from sinking to the bottom of the cup over time.
Chilling the assembled dessert for an hour allows the moisture to migrate slightly into the cookies. This softens the sharp edges of the wafers while preserving a distinct crunch in the center. If you want a more traditional baked treat you can try our Carrot Cake for another crowd pleaser.
The cold temperature stabilizes the cream layers so they do not blend together into an unattractive brown mess.
What You’ll Need

- Jell-O Instant Chocolate Pudding: One standard box of dry instant powder used to create a rich chocolate foundation.
- Borden Whole Milk: Cold milk mixed into the pudding powder to activate the thickening starches.
- Cool Whip extra creamy whipped topping: Thawed completely in the refrigerator to lighten the dense chocolate pudding base.
- Nabisco Oreo Cookies: Crushed into irregular pieces to provide the essential soil texture and crunch.
- Trolli Sour Brite Crawlers gummy worms: Bright multi-colored chewy candies used as a playful garnish on top.
What You’ll Use
- large clear glass mixing bowl: A heavy 4-quart glass mixing bowl provides ample room for whisking the pudding without splashing liquid over the sides.
- wire whisk: A sturdy stainless steel wire whisk breaks up instant pudding powder clumps quickly to ensure a completely smooth base texture.
- rubber spatula: A flexible silicone rubber spatula allows you to fold the whipped topping gently without deflating the cream’s volume.
- gallon-size freezer bag: A thick plastic freezer bag resists punctures from sharp cookie edges while you crush them with a rolling pin.
Step-by-Step Instructions
Step 1: Crush the chocolate sandwich cookies
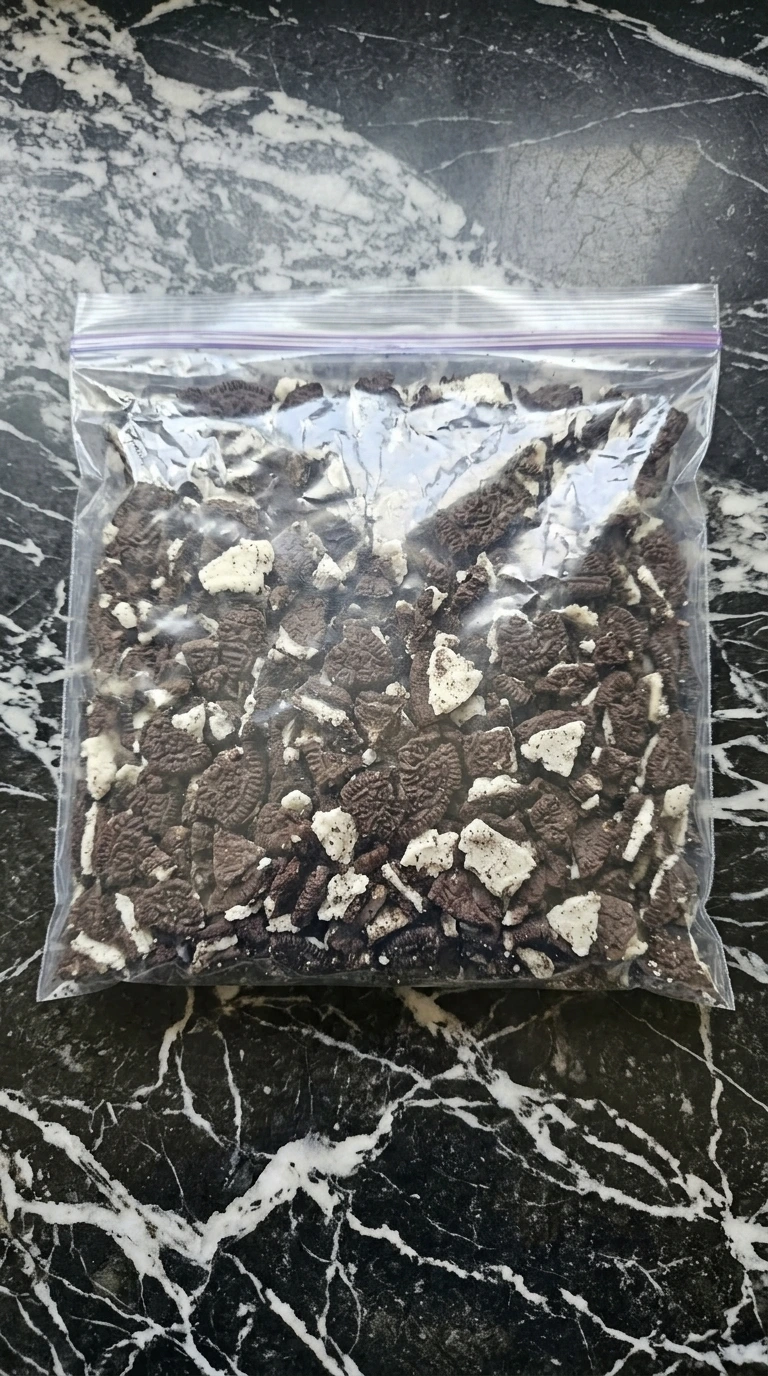
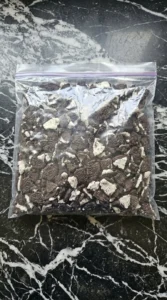
Place the whole dark circular chocolate sandwich cookies into a gallon-size freezer bag. Seal it tightly while leaving a tiny air gap. Crush them firmly with a rolling pin using a heavy rocking motion until they break down into small irregular pieces.
(I tried using a food processor the first time but it turned everything into dust, you want some crunchy pebbles left. ) You’ll see a mix of fine dark brown crumbs and small chunky cookie bits. The filling should grease the crumbs slightly so they clump naturally.
Continue until no large whole halves remain. Do not over-crush the cookies into powder because a texturized crunch keeps the dessert from becoming mushy. Crush the pieces unevenly, the variety in size mimics real soil.
Tip: Keep a quarter cup of the chunkier bits separate to line the absolute bottom of each serving cup.
Step 2: Whisk the instant chocolate pudding
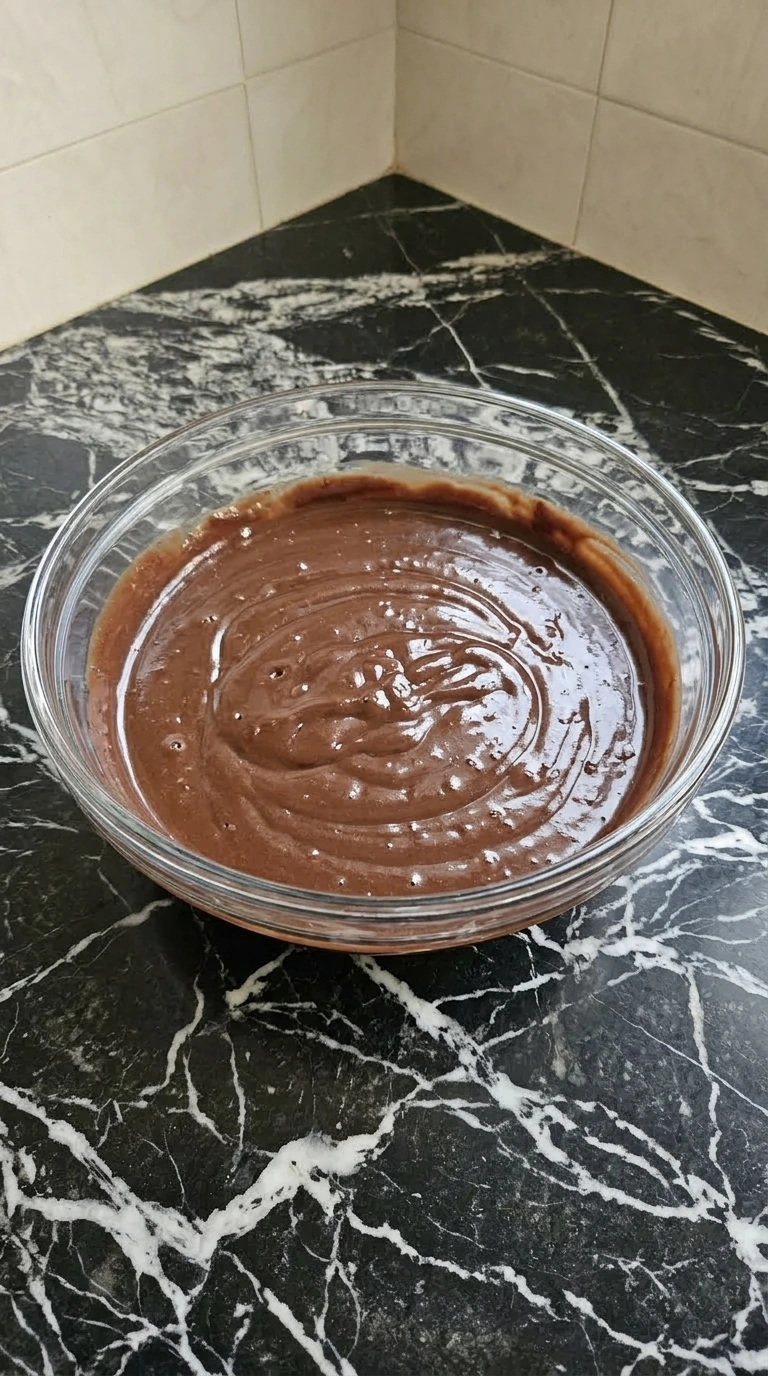
Pour the dry dark brown instant chocolate pudding powder into the bottom of the container. Measure exactly two cups of cold whole milk and pour it over the powder. Whisk vigorously using a rapid circular motion making sure to scrape the bottom crevices where dry pockets hide.
Whisk continuously for exactly 120 seconds until the liquid begins to resist the wires. The pale white liquid will rapidly darken into a glossy chocolate brown color. You will hear the splashing sound quiet down as the mixture thickens into a heavy cream texture.
Let it rest on the counter at a room temperature of 68°F for 5 minutes. Miss this resting window and the cornstarch will not hydrate properly which leads to a runny base. Rest for 5 minutes, this allows the starch to set into a firm structure.
Tip: Use whole milk straight from the refrigerator because warmer milk prevents instant pudding from setting completely.
Step 3: Fold in the whipped topping
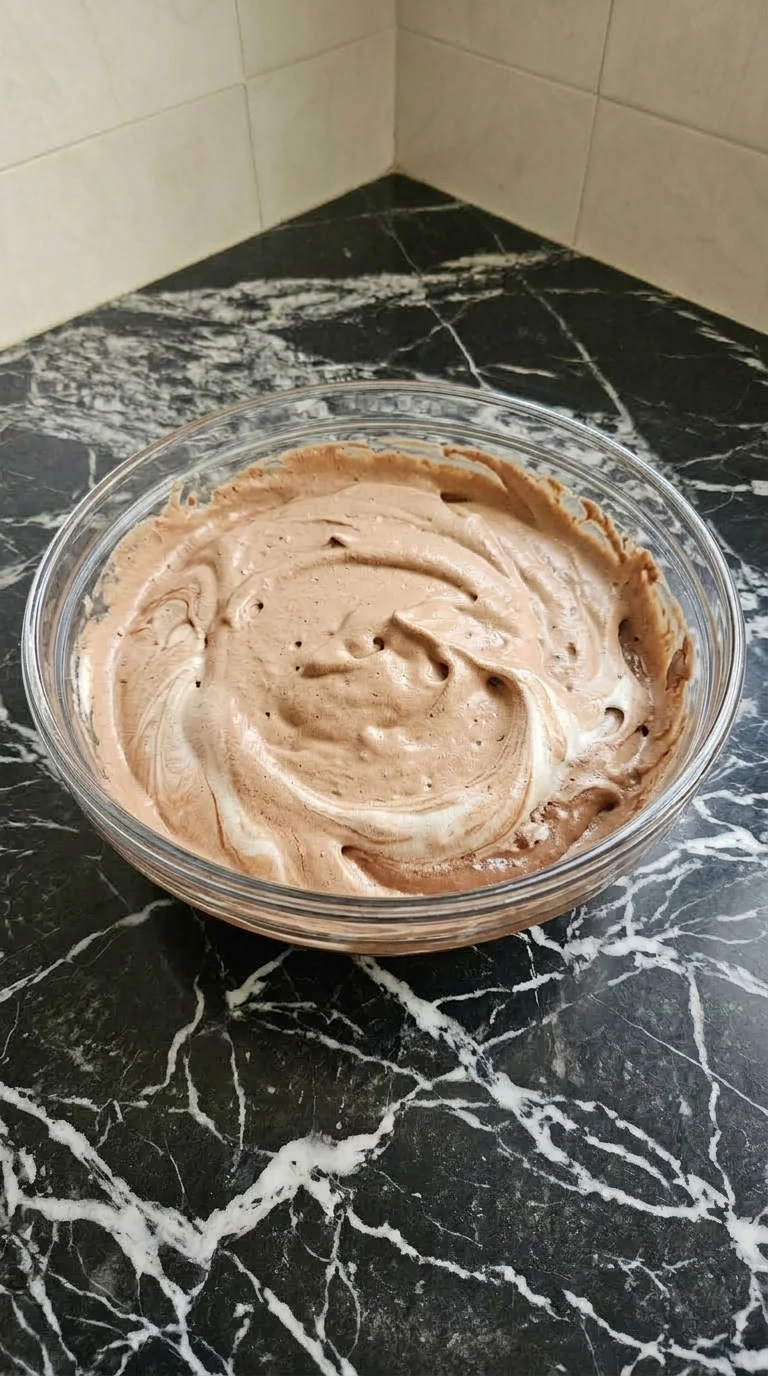
Spoon the fluffy white thawed whipped topping directly into the center of the set chocolate pudding. Use a rubber spatula to cut down through the middle then sweep around the edge in a gentle J-shaped motion. Rotate the bowl 45 degrees after each stroke to ensure even integration.
Continue folding for about 2 minutes until the white streaks disappear into the brown mix. The deep brown pudding transforms into a lighter milk-chocolate tan shade. The texture becomes airy and mousse-like while remaining thick enough to hold its shape on a spoon.
Do not stir roughly or you will deflate the incorporated air. Stop folding as soon as the color is uniform so the mixture retains its light volume. Fold gently with a spatula, keeping the air bubbles intact prevents a dense heavy cream layer.
Tip: Make sure your whipped topping is fully thawed in the fridge beforehand or it will leave icy lumps.
Step 4: Layer the cups with crumbs and cream

Line up four clear plastic cups on a flat surface. Spoon two tablespoons of the crushed cookie pieces into the bottom of each cup to form an even dark layer. Drop three tablespoons of the light tan chocolate cream mixture directly over the crumbs.
Repeat this alternating pattern until you reach the top rim finishing with a generous layer of dark cookies. Clear horizontal stripes of dark brown and light tan become visible through the plastic sides. The cookie crumbs sink slightly into the cream layers creating an uneven natural boundary line.
The top layer should look completely dark and powdery like fresh garden soil. Pack the crumb layers loosely so the cream does not squish up the sides prematurely. Spoon the layers carefully, maintaining distinct bands ensures the classic dirt cup appearance.
Tip: Tap the bottom of each cup gently on the counter to level the cream before adding the next crumbs.
Step 5: Garnish with gummy worms and chill
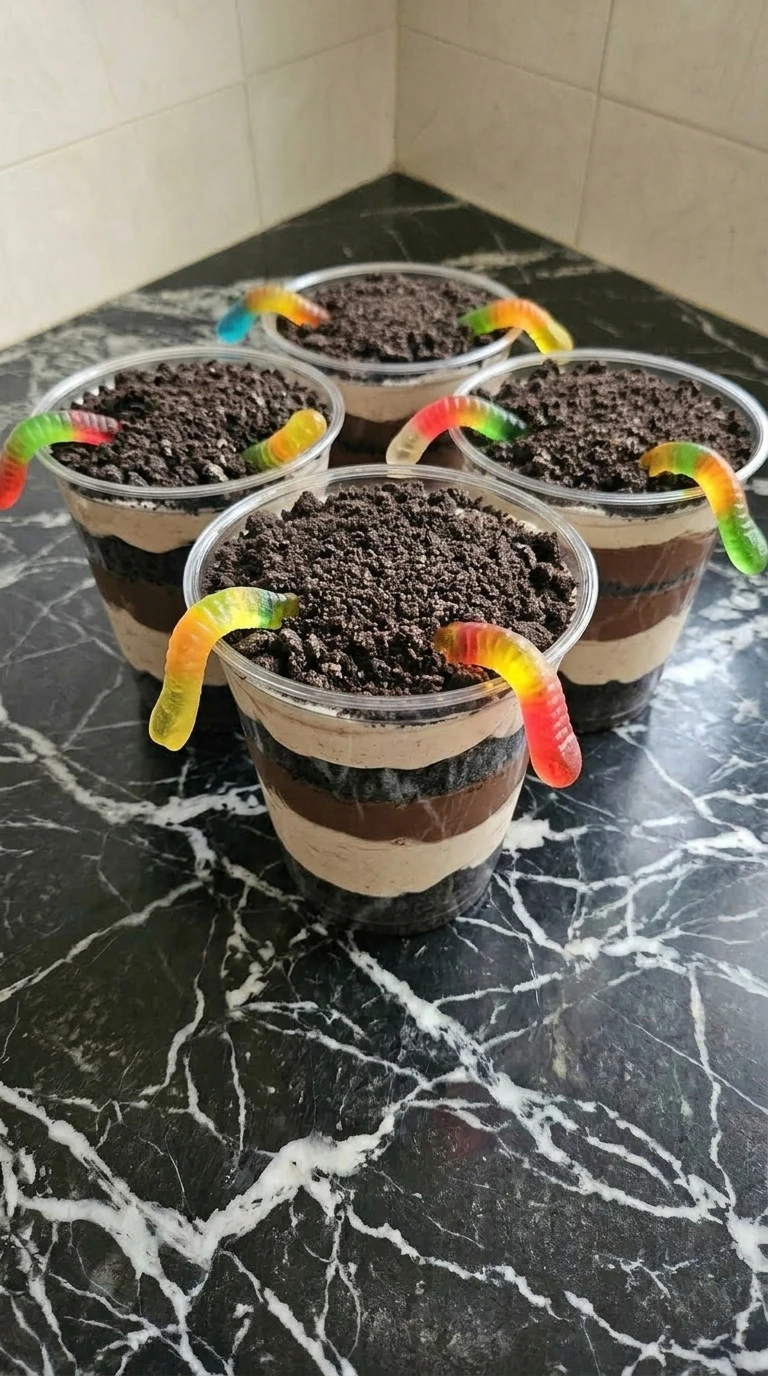
Press two multi-colored gummy worms into the top cookie crumb layer of each cup. Push one end of each worm slightly down into the cream so it looks like it is tunneling. Arrange the exposed tails to drape loosely over the plastic rim.
Place the finished cups into a refrigerator chilled to 38°F for exactly 60 minutes before serving to guests. The bright neon pink green and yellow colors of the worms contrast sharply against the dark brown soil background. The cookie crumbs absorb minimal moisture and lose their dry dustiness while the cream firms up.
(I found that adding the worms before chilling helps them stay securely anchored in place. ) Skip the refrigeration step and the layers will slide around when you dip a spoon inside. Chill for 60 minutes, cold temperatures set the fats so the dessert keeps its shape.
Tip: If you are hosting a themed party you can add a sprig of fresh mint next to the worms to look like a small plant.
Pro Tips
- Chill your glass mixing bowl for 10 minutes before adding ingredients to help the instant pudding set faster.
- Crush the cookies by hand inside the bag rather than using a machine to keep the pieces large and crunchy.
- Thaw the whipped topping completely in the refrigerator for 4 hours because frozen lumps will ruin the smooth mousse texture.
- Use clear plastic cups instead of colored ones so the contrasting dark and light layers remain fully visible to guests.
- Wipe the inside rims of the cups with a clean paper towel after layering to keep the presentation sharp.
- Add a layer of chocolate fudge sauce between the pudding and cookies for an extra rich chocolate boost.
- Keep the gummy worms at room temperature before garnishing because cold refrigeration makes them too tough to chew easily.
- Add 1 teaspoon of pure peppermint extract to the pudding mixture for a refreshing chocolate mint holiday twist.
- Layer the pudding with crushed graham crackers and mini marshmallows to create a smoky no-bake s’mores campfire cup.
- Substitute the gummy worms with candy pumpkins and green sprinkles for a festive October Halloween party theme.
Make It Your Own
- Nabisco Oreo Cookies: Simple Mills Gluten Free Chocolate Sandwich Cookies — Use a direct 1-to-1 swap by count to make this dessert entirely gluten-free. The texture is slightly grainier but the layers hold up just as well.
- Borden Whole Milk: Silk Original Almond Milk — Reduce the quantity to 1.25 cups because alternative milks do not activate instant pudding starches efficiently. The final texture will be slightly softer.
- Cool Whip extra creamy whipped topping: Homemade heavy whipping cream — Beat 1 cup of heavy cream with 2 tablespoons of sugar until stiff peaks form. The result is richer but less stable over long periods.
- Jell-O Instant Chocolate Pudding: Jell-O Instant Vanilla Pudding — Swap directly to create a lighter colored sand cup version. This pairs beautifully with golden sandwich cookies for a beach theme.
How to Store & Reheat
Store any leftover Oreo dirt cups in the refrigerator for up to 3 days. Keep the cups tightly covered with plastic wrap to prevent the cream from absorbing refrigerator odors. You can freeze the un-garnished cups for up to 2 weeks if you seal them inside an airtight container.
The cookies will lose some crispness the longer they sit in the fridge. Do not try to reheat this dessert because the whipped topping and pudding will melt into a sweet liquid soup. If the top cookie layer looks dry after storage you can sprinkle a tablespoon of fresh crumbs over the surface.
Check for spoilage by looking for separation where liquid pools at the bottom of the plastic cup.
Oreo Dirt Cups
Ingredients
- 3.9 ounces Jell-O Instant Chocolate Pudding One standard box of dry instant powder used to create a rich chocolate foundation.
- 2 cups Borden Whole Milk Cold milk mixed into the pudding powder to activate the thickening starches.
- 8 ounces Cool Whip extra creamy whipped topping Thawed completely in the refrigerator to lighten the dense chocolate pudding base.
- 15 whole Nabisco Oreo Cookies Crushed into irregular pieces to provide the essential soil texture and crunch.
- 8 pieces Trolli Sour Brite Crawlers gummy worms Bright multi-colored chewy candies used as a playful garnish on top.
Instructions
- Place the whole dark circular chocolate sandwich cookies into a gallon-size freezer bag. Seal it tightly while leaving a tiny air gap. Crush them firmly with a rolling pin using a heavy rocking motion until they break down into small irregular pieces. (I tried using a food processor the first time but it turned everything into dust, you want some crunchy pebbles left.) You’ll see a mix of fine dark brown crumbs and small chunky cookie bits. The filling should grease the crumbs slightly so they clump naturally. Continue until no large whole halves remain. Do not over-crush the cookies into powder because a texturized crunch keeps the dessert from becoming mushy. Crush the pieces unevenly, the variety in size mimics real soil.
- Pour the dry dark brown instant chocolate pudding powder into the bottom of the container. Measure exactly two cups of cold whole milk and pour it over the powder. Whisk vigorously using a rapid circular motion making sure to scrape the bottom crevices where dry pockets hide. Whisk continuously for exactly 120 seconds until the liquid begins to resist the wires. The pale white liquid will rapidly darken into a glossy chocolate brown color. You will hear the splashing sound quiet down as the mixture thickens into a heavy cream texture. Let it rest on the counter at a room temperature of 68°F for 5 minutes. Miss this resting window and the cornstarch will not hydrate properly which leads to a runny base. Rest for 5 minutes, this allows the starch to set into a firm structure.

- Spoon the fluffy white thawed whipped topping directly into the center of the set chocolate pudding. Use a rubber spatula to cut down through the middle then sweep around the edge in a gentle J-shaped motion. Rotate the bowl 45 degrees after each stroke to ensure even integration. Continue folding for about 2 minutes until the white streaks disappear into the brown mix. The deep brown pudding transforms into a lighter milk-chocolate tan shade. The texture becomes airy and mousse-like while remaining thick enough to hold its shape on a spoon. Do not stir roughly or you will deflate the incorporated air. Stop folding as soon as the color is uniform so the mixture retains its light volume. Fold gently with a spatula, keeping the air bubbles intact prevents a dense heavy cream layer.

- Line up four clear plastic cups on a flat surface. Spoon two tablespoons of the crushed cookie pieces into the bottom of each cup to form an even dark layer. Drop three tablespoons of the light tan chocolate cream mixture directly over the crumbs. Repeat this alternating pattern until you reach the top rim finishing with a generous layer of dark cookies. Clear horizontal stripes of dark brown and light tan become visible through the plastic sides. The cookie crumbs sink slightly into the cream layers creating an uneven natural boundary line. The top layer should look completely dark and powdery like fresh garden soil. Pack the crumb layers loosely so the cream does not squish up the sides prematurely. Spoon the layers carefully, maintaining distinct bands ensures the classic dirt cup appearance.

- Press two multi-colored gummy worms into the top cookie crumb layer of each cup. Push one end of each worm slightly down into the cream so it looks like it is tunneling. Arrange the exposed tails to drape loosely over the plastic rim. Place the finished cups into a refrigerator chilled to 38°F for exactly 60 minutes before serving to guests. The bright neon pink green and yellow colors of the worms contrast sharply against the dark brown soil background. The cookie crumbs absorb minimal moisture and lose their dry dustiness while the cream firms up. (I found that adding the worms before chilling helps them stay securely anchored in place.) Skip the refrigeration step and the layers will slide around when you dip a spoon inside. Chill for 60 minutes, cold temperatures set the fats so the dessert keeps its shape.

Notes
Nutrition
Common Questions
Yes you can assemble the pudding and cookie layers up to 24 hours in advance. Keep them covered with plastic wrap in a refrigerator set at 38°F. Wait to add the gummy worms until right before serving because the moisture from the pudding can make the candies sticky and slimy over time.
Runny pudding usually happens if you use skim milk or too much liquid when mixing the dry instant powder. Make sure you measure exactly 2 cups of cold whole milk. If you already mixed it you can fold in an extra half cup of whipped topping to help stabilize the liquid frame.
You can freeze them for up to two weeks if they are wrapped tightly in aluminum foil. The whipped topping prevents the pudding from turning into solid ice so it creates a texture similar to ice cream cake. Thaw them on the counter for 15 minutes before you plan to serve them.
You must use a dairy-free instant pudding brand along with a plant-based whipped topping like CocoWhip. Mix the pudding powder with 1.25 cups of cold almond milk because alternative milks require less volume to set properly. This keeps the pudding layers thick enough to support the cookies.
Clear plastic 9-ounce cups are the ideal size for a single portion. They allow you to create three full rotations of cookie and cream layers without overflowing. Smaller 5-ounce cups work well for a toddlers party but you will only get two thin layers inside.
In Conclusion
Every time I make this I think about the first time I tried it, nervous about screwing it up, convinced I’d need more experience. Turns out it’s one of those dishes that forgives you for being a beginner.
You can mess up the layering like I did those first three attempts and it still turns out good. If you try it, leave me a comment below, I read every single one.
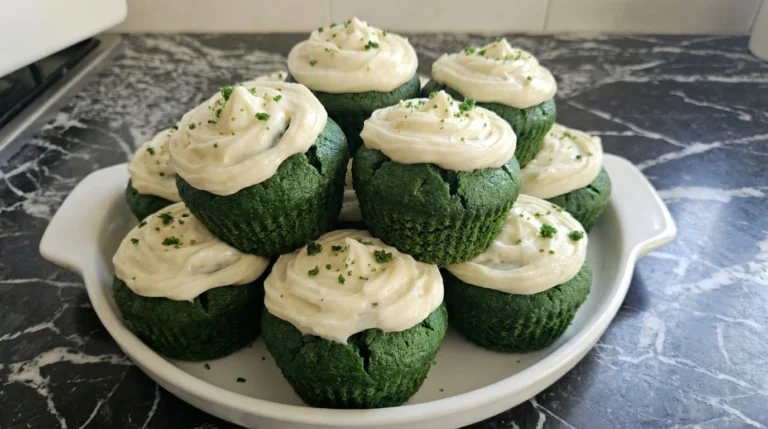
And if you enjoyed this, check out some of my other recipes that use similar techniques like our Green Velvet Cupcakes for your next gathering.
It’s funny how a simple marketing stunt can turn into a classic childhood staple. Back in the late 1980s, Kraft Foods cooked up the idea of dirt cups as a clever way to sell more boxes of instant pudding to busy parents. It worked like a charm, and we’ve been burying candy worms in cookie crumbs ever since.