Creamy Garlic Chicken Wraps | Quick & Easy Dinner
When you’re greedy like me and want proper creamy garlic flavor in every bite, not just a faint hint of “vaguely garlicky… maybe? ”, making Creamy Garlic Chicken Wraps suddenly becomes harder than it sounds. I really thought it would be simple: toss chicken in a quick garlic sauce, wrap it up, and call it dinner.
But every option had problems. Too much sauce made everything soggy, too little made the wraps dry, and mixing it all together sometimes left the flavors uneven and flat. So getting that perfect balance, creamy, garlicky, juicy chicken wrapped in a soft tortilla without falling apart or turning bland, took a bit more testing than expected.

But once it clicks, it’s exactly the kind of quick, satisfying dinner you keep coming back to.
Ingredients
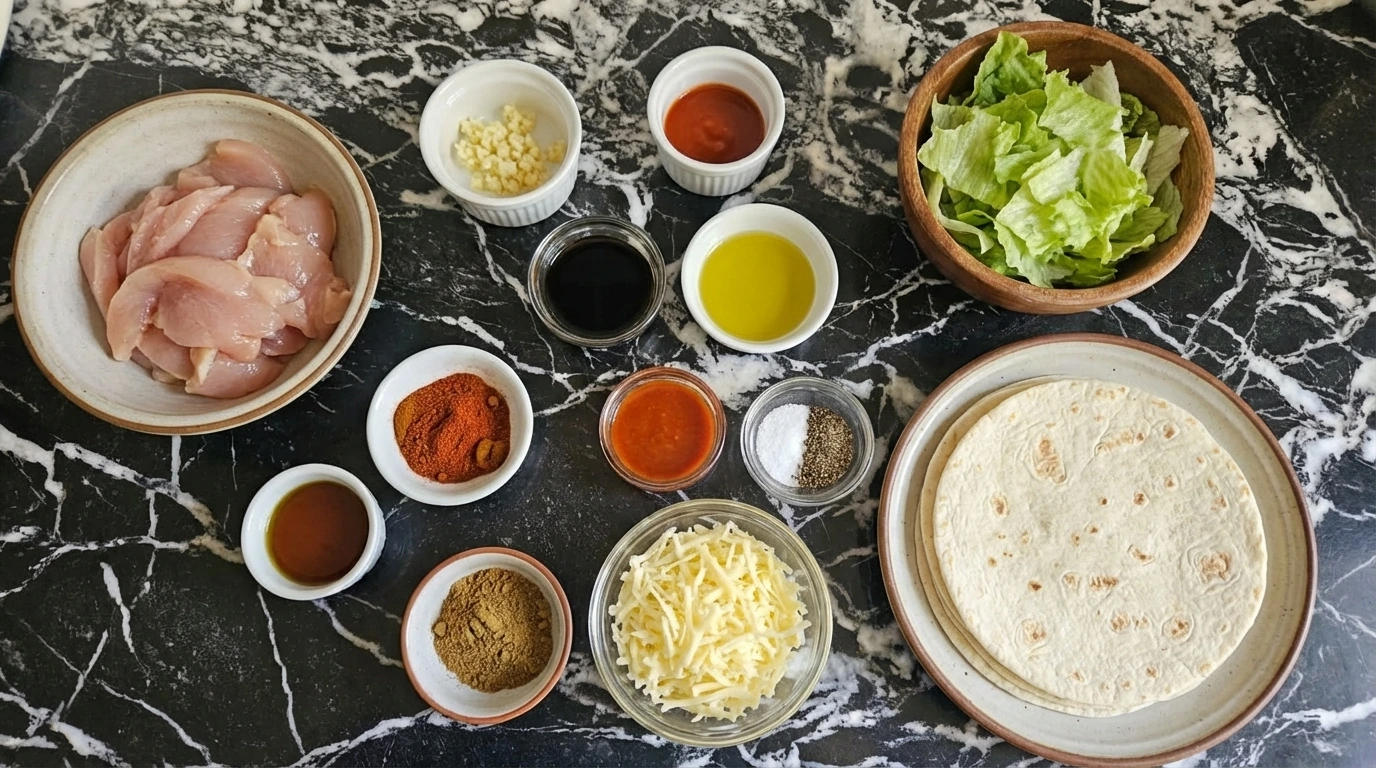
- chicken breast: main protein sliced thin
- garlic cloves: adds strong garlic flavor
- mayonnaise: base for creamy sauce
- Greek yogurt: adds tang and lightness
- lemon juice: brightens flavor
- olive oil: helps coat chicken
- paprika: adds mild warmth
- salt: enhances taste
- black pepper: adds subtle heat
- shredded lettuce: fresh crunch
- grated cheese: melts into filling
- flour tortillas: wrap base
Kitchen Equipment
- mixing bowl: for combining ingredients
- knife: for slicing chicken
- spoon: for mixing and assembling
How to Make It
Step 1: Slice and Prepare Chicken

Chicken breasts are cut into thin uneven strips and placed loosely in a large bowl. The pieces vary slightly in size and thickness, giving a natural homemade look. The raw chicken has a soft pink tone and sits casually piled, with some pieces overlapping and others spread out unevenly.
Tip: Keep slices thin for better coating later.
Step 2: Season the Chicken

Paprika, salt, and pepper are sprinkled over the chicken in a slightly uneven layer, with some areas more coated than others. Olive oil is drizzled across the top in thin streaks, creating glossy patches while some chicken pieces remain lightly coated.
Tip: Don’t overmix yet to keep texture visible.
Step 3: Mix Garlic Sauce
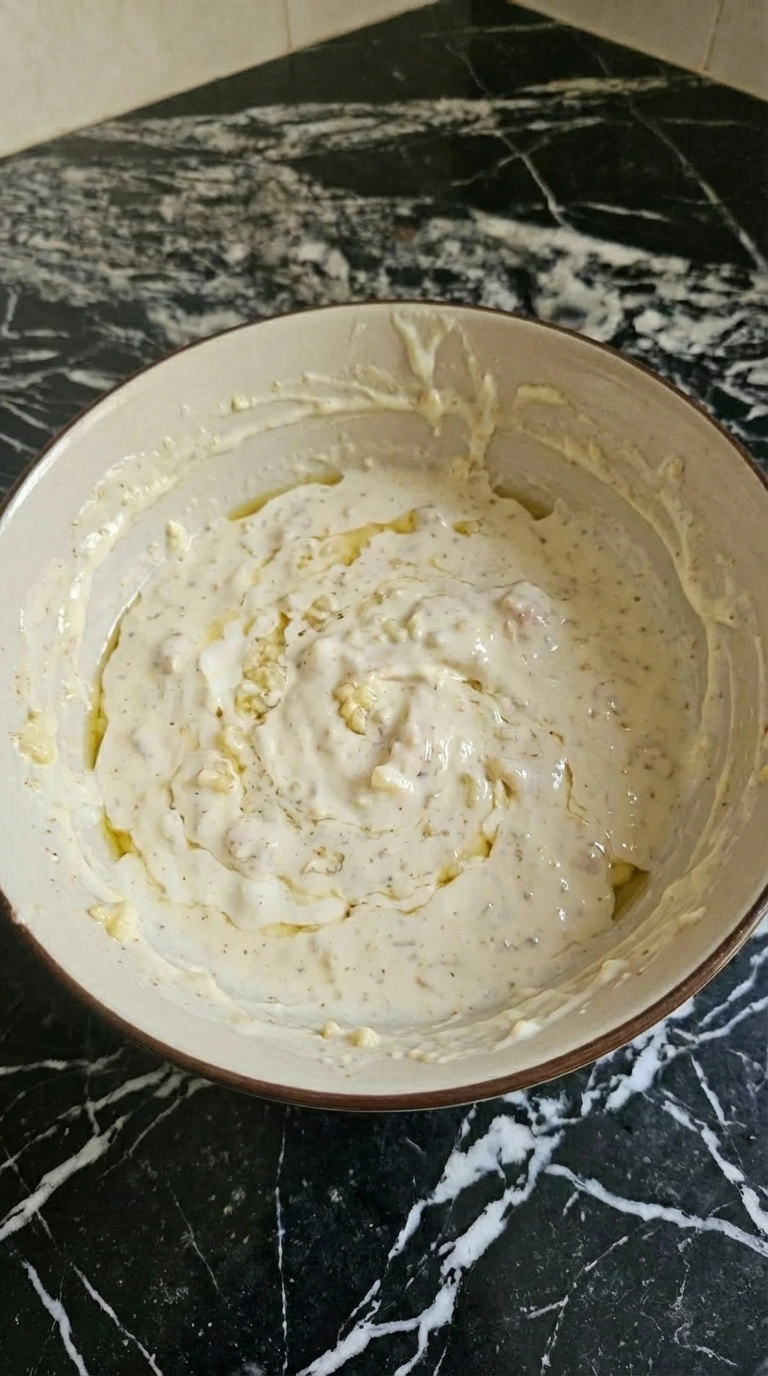
In a separate bowl, mayonnaise and yogurt are combined with minced garlic and lemon juice. The mixture appears streaky at first, with white and off-white swirls. As it’s stirred, the sauce thickens slightly but still shows faint uneven blending with visible garlic bits scattered throughout.
Tip: Leave some texture for a rustic feel.
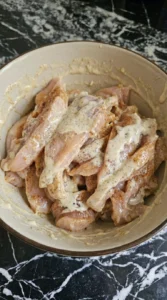
Step 4: Coat Chicken with Sauce
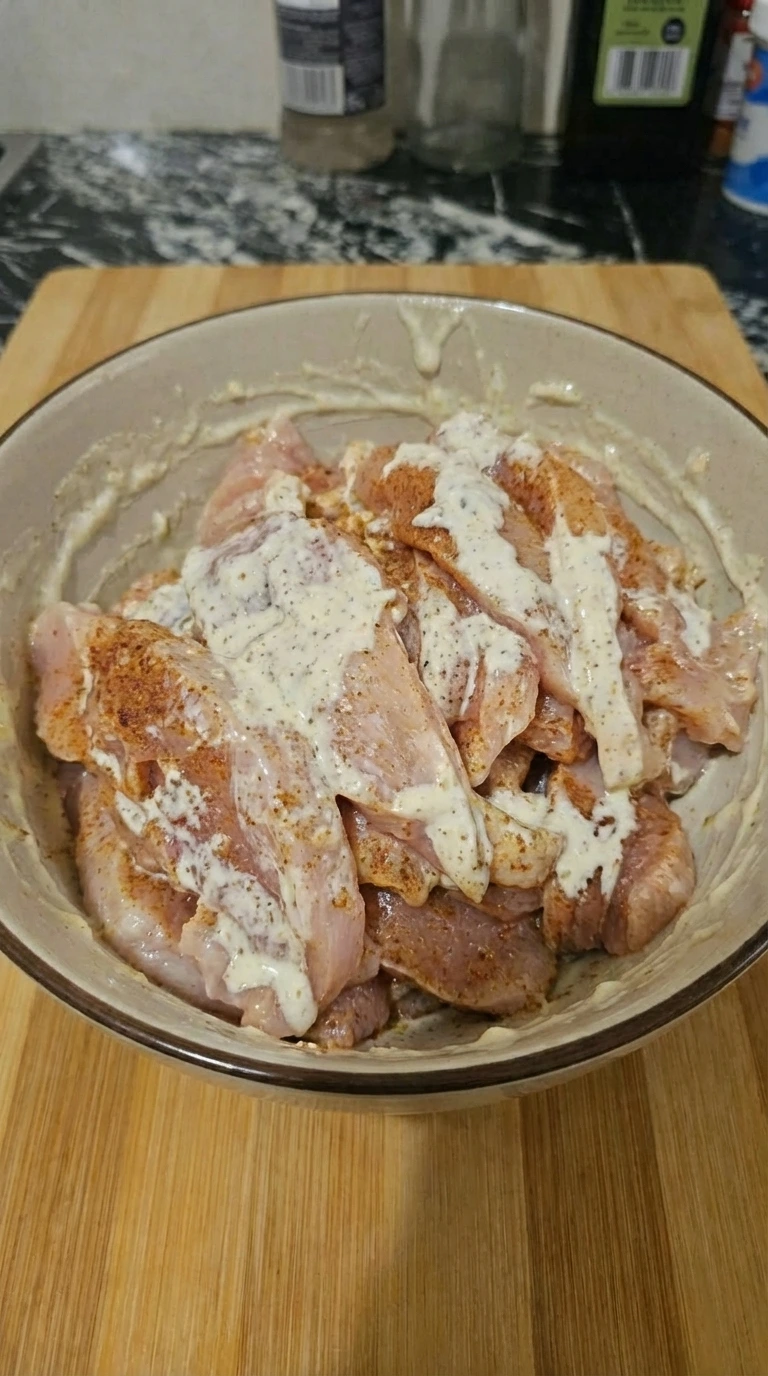
The garlic sauce is poured over the seasoned chicken in uneven dollops, covering some pieces more heavily than others. As the chicken is mixed, the coating becomes thicker and more uniform, though small patches of heavier sauce remain visible.
Tip: Avoid overmixing to keep variation.
Step 5: Rest and Soften

The coated chicken sits briefly, allowing the sauce to cling and slightly thicken. The texture looks more cohesive, with a creamy sheen. The chicken appears slightly firmer and more opaque, with subtle changes in color and texture indicating progression.
Tip: Let it rest for better flavor absorption.
Step 6: Add Cheese to Chicken
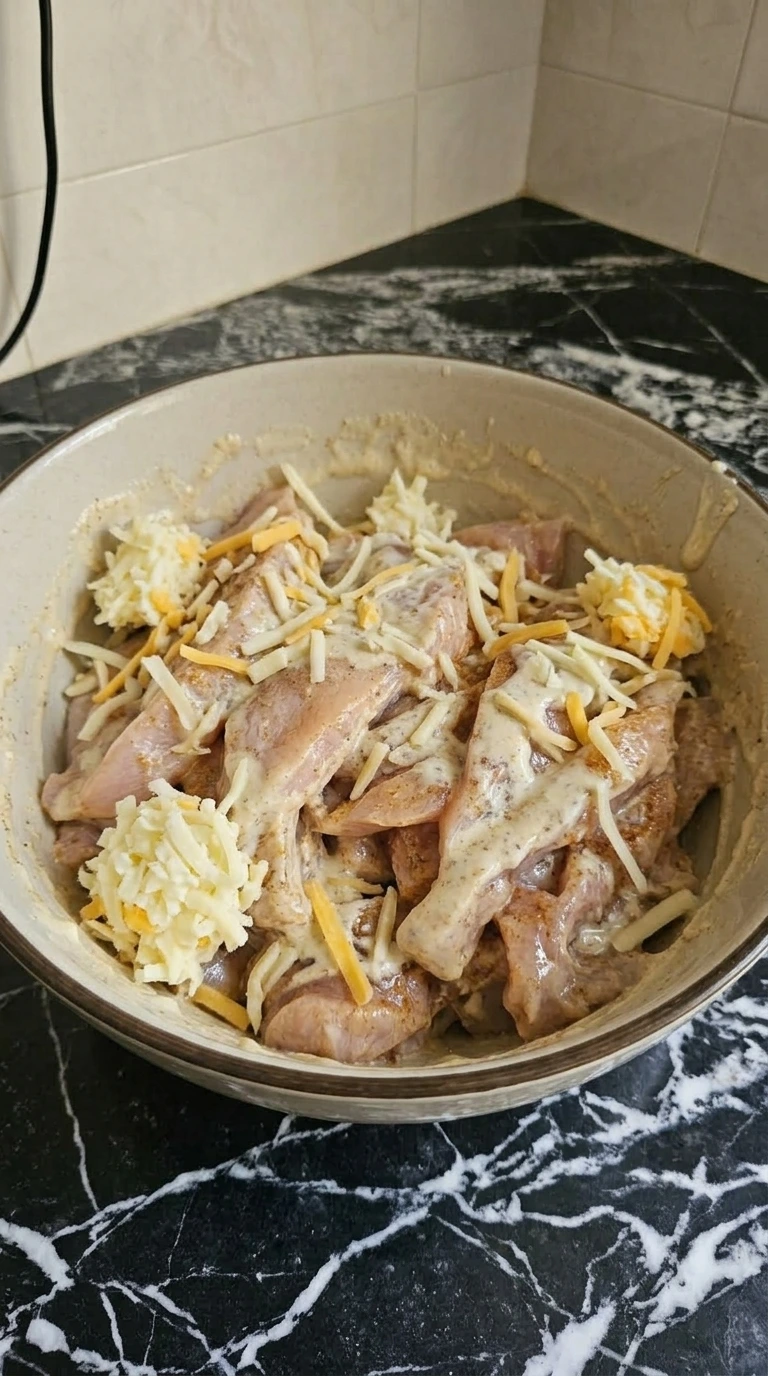
Grated cheese is scattered over the chicken mixture in loose handfuls, not evenly covering everything. Some areas show more cheese clumps while others remain lightly coated, creating a natural uneven distribution.
Tip: Scatter loosely for better melting effect.
Step 7: Prepare Tortillas
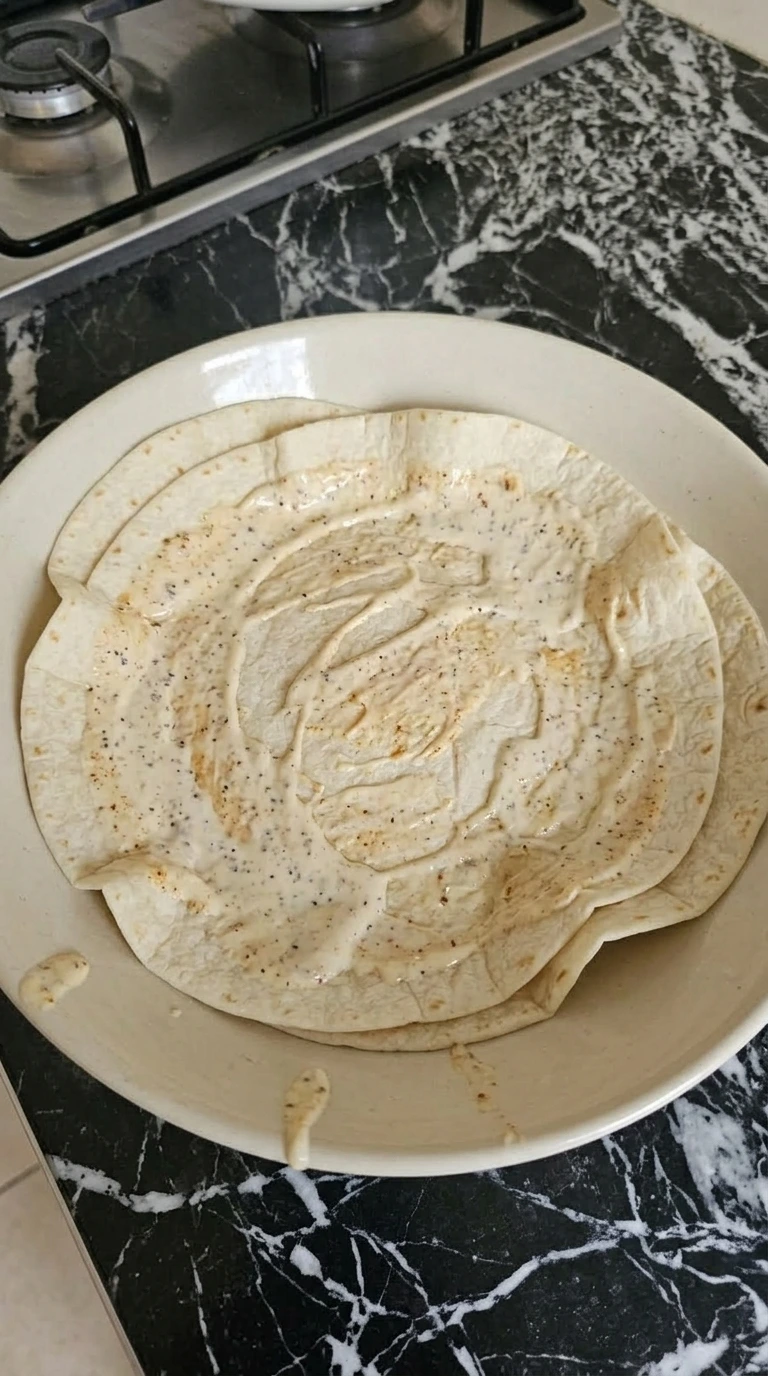
Tortillas are laid out with slight folds and wrinkles, not perfectly flat. A light spread of sauce is smeared unevenly across each. The surface shows streaks and patches where the sauce is thicker or thinner.
Tip: Keep sauce light to avoid sogginess.
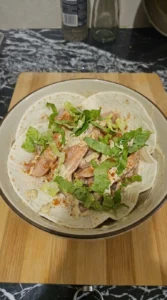
Step 8: Assemble Wrap Filling
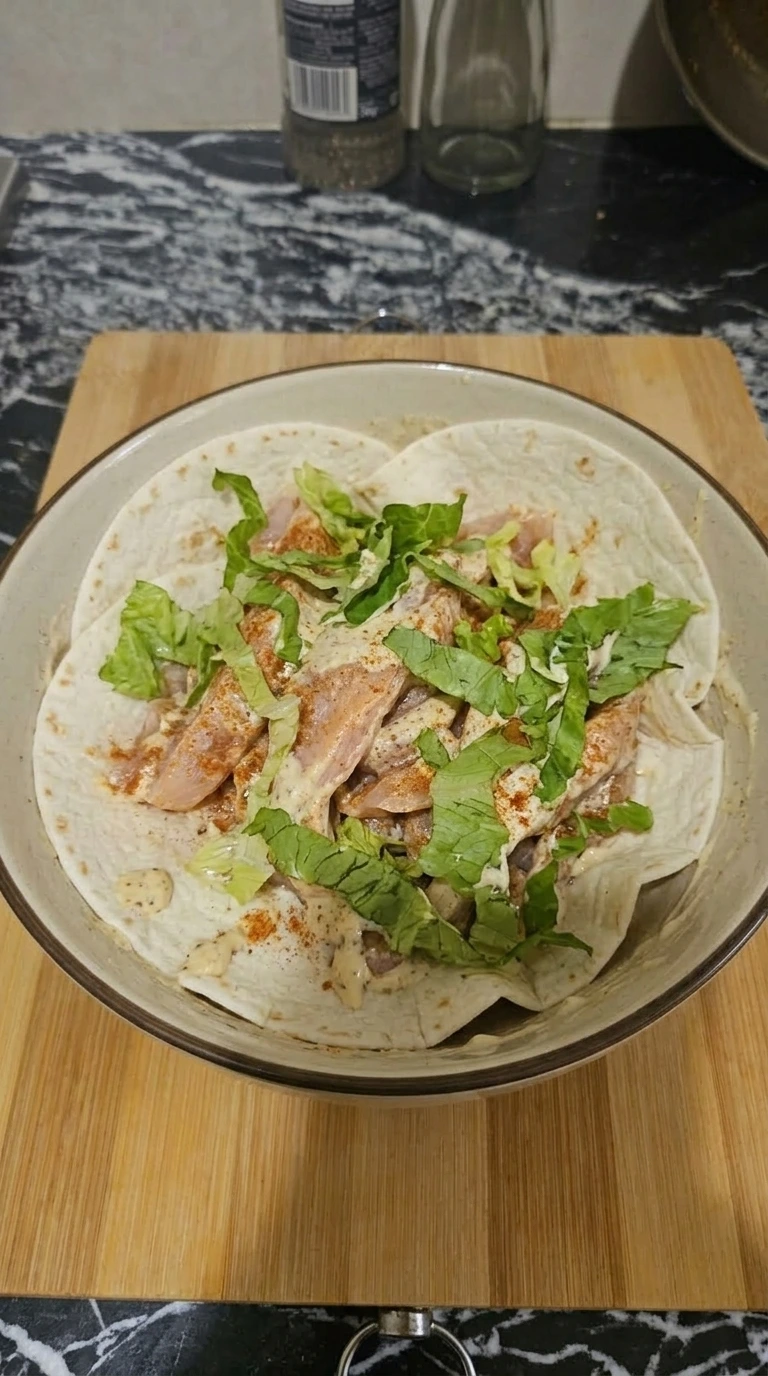
Chicken mixture is spooned onto tortillas in loose portions, slightly off-center and not evenly distributed. Shredded lettuce is scattered on top with strands falling in different directions, some overlapping the edges.
Tip: Don’t overfill to keep wraps manageable.
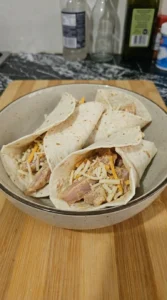
Step 9: Fold and Shape Wraps
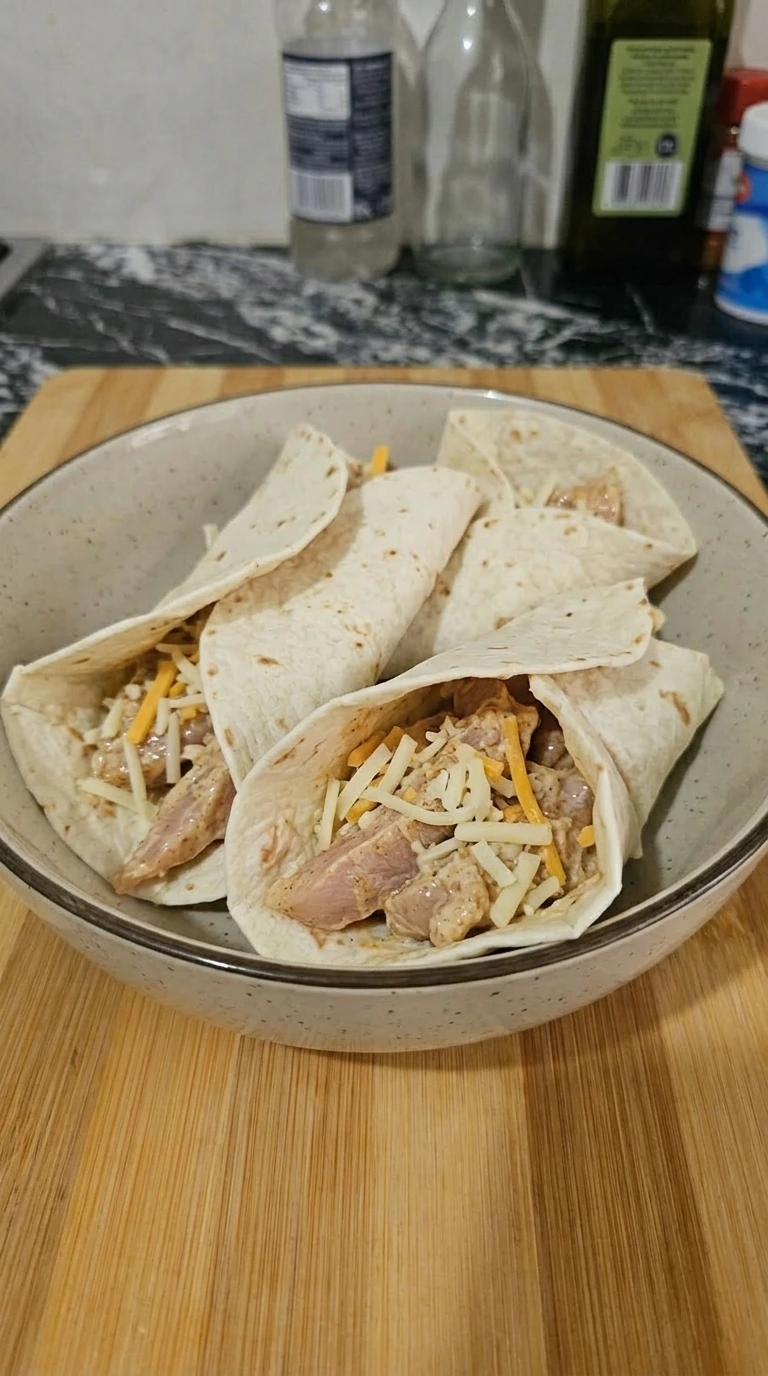
Tortillas are folded loosely around the filling, with edges not perfectly aligned and some filling peeking out. The wraps appear slightly uneven in shape, with natural folds and slight bulges.
Tip: Fold gently to keep structure.
Step 10: Finish and Plate
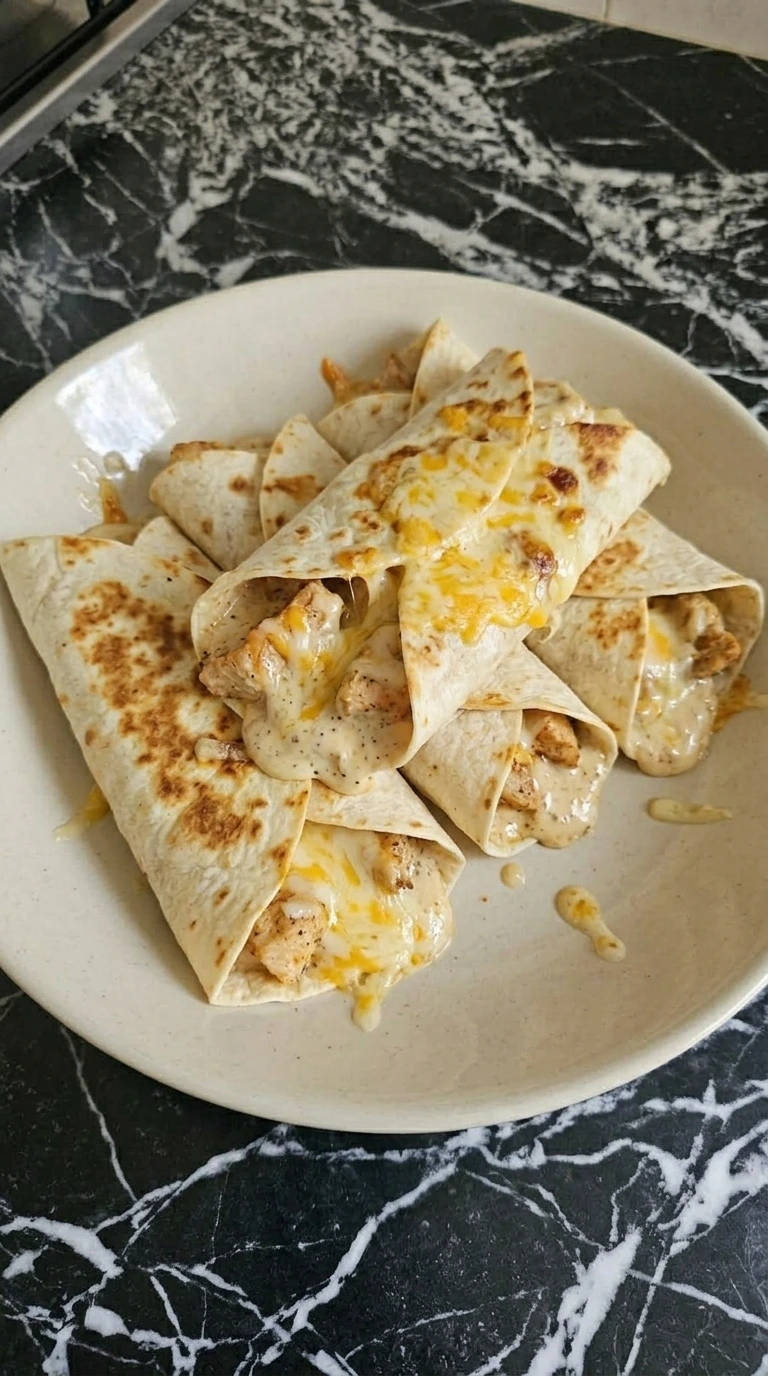
The wraps show slight golden patches and softened tortillas, with melted cheese visible inside and creamy sauce lightly oozing from edges. Placed casually on a plate, the wraps have uneven browning and irregular texture, giving a realistic homemade finish.
Tip: Serve immediately for best texture.
Pro Tips
- Use fresh garlic for stronger flavor
- Don’t overload wraps
- Let sauce sit briefly to thicken
- Scatter ingredients for better texture
Storage Instructions
Store filling in airtight container for up to 3 days. Assemble wraps fresh for best texture.
Creamy Garlic Chicken Wraps | Quick & Easy Dinner
Ingredients
Method
- Chicken breasts are cut into thin uneven strips and placed loosely in a large bowl. The pieces vary slightly in size and thickness, giving a natural homemade look. The raw chicken has a soft pink tone and sits casually piled, with some pieces overlapping and others spread out unevenly.

- Paprika, salt, and pepper are sprinkled over the chicken in a slightly uneven layer, with some areas more coated than others. Olive oil is drizzled across the top in thin streaks, creating glossy patches while some chicken pieces remain lightly coated.

- In a separate bowl, mayonnaise and yogurt are combined with minced garlic and lemon juice. The mixture appears streaky at first, with white and off-white swirls. As it’s stirred, the sauce thickens slightly but still shows faint uneven blending with visible garlic bits scattered throughout.

- The garlic sauce is poured over the seasoned chicken in uneven dollops, covering some pieces more heavily than others. As the chicken is mixed, the coating becomes thicker and more uniform, though small patches of heavier sauce remain visible.

- The coated chicken sits briefly, allowing the sauce to cling and slightly thicken. The texture looks more cohesive, with a creamy sheen. The chicken appears slightly firmer and more opaque, with subtle changes in color and texture indicating progression.
- Grated cheese is scattered over the chicken mixture in loose handfuls, not evenly covering everything. Some areas show more cheese clumps while others remain lightly coated, creating a natural uneven distribution.

- Tortillas are laid out with slight folds and wrinkles, not perfectly flat. A light spread of sauce is smeared unevenly across each. The surface shows streaks and patches where the sauce is thicker or thinner.

- Chicken mixture is spooned onto tortillas in loose portions, slightly off-center and not evenly distributed. Shredded lettuce is scattered on top with strands falling in different directions, some overlapping the edges.
- Tortillas are folded loosely around the filling, with edges not perfectly aligned and some filling peeking out. The wraps appear slightly uneven in shape, with natural folds and slight bulges.
- The wraps show slight golden patches and softened tortillas, with melted cheese visible inside and creamy sauce lightly oozing from edges. Placed casually on a plate, the wraps have uneven browning and irregular texture, giving a realistic homemade finish.

Notes
Frequently Asked Questions
Can I use rotisserie chicken?
Yes, just shred and mix with sauce.
Can I make this ahead?
Yes, store filling separately and assemble later.
What cheese works best?
Mozzarella or cheddar both melt well.
Can I make it healthier?
Use low-fat yogurt and whole wheat wraps.
Final Thoughts
This creamy garlic chicken wrap is simple and delicious!
A soft tortilla filled with creamy garlic chicken, fresh lettuce, and melted cheese.
So simple and oh-so good!
Garlic has been used for flavor and health benefits for thousands of years.