Juicy Pan Seared Chicken Breast
You guys! When my mom tasted this recipe, she said. “I think that’s one of the best things you’ve ever done”! I have to say, it’s one of my top five favorites!
A simple stovetop experiment turned into the best Juicy Pan Seared Chicken Breast ever! It has that golden crust you’d expect from a restaurant, but it’s made right at home with basic ingredients and a simple technique. This chicken is seasoned with pantry spices and cooked in a hot pan until perfectly golden. I think you all know I love rich and saucy dishes, I’ve tried so many chicken recipes before, I rarely fall this hard for something so simple, but this one is just so satisfying!

The recipe makes 4 portions, which is perfect for a small family, but you can easily double it if you’re feeding more. This chicken works as a cozy dinner, or you can slice it up and serve it over salads or grain bowls for a quick lunch. It’s also great for meal prep, just store it in the fridge and enjoy it throughout the week!
Ingredients
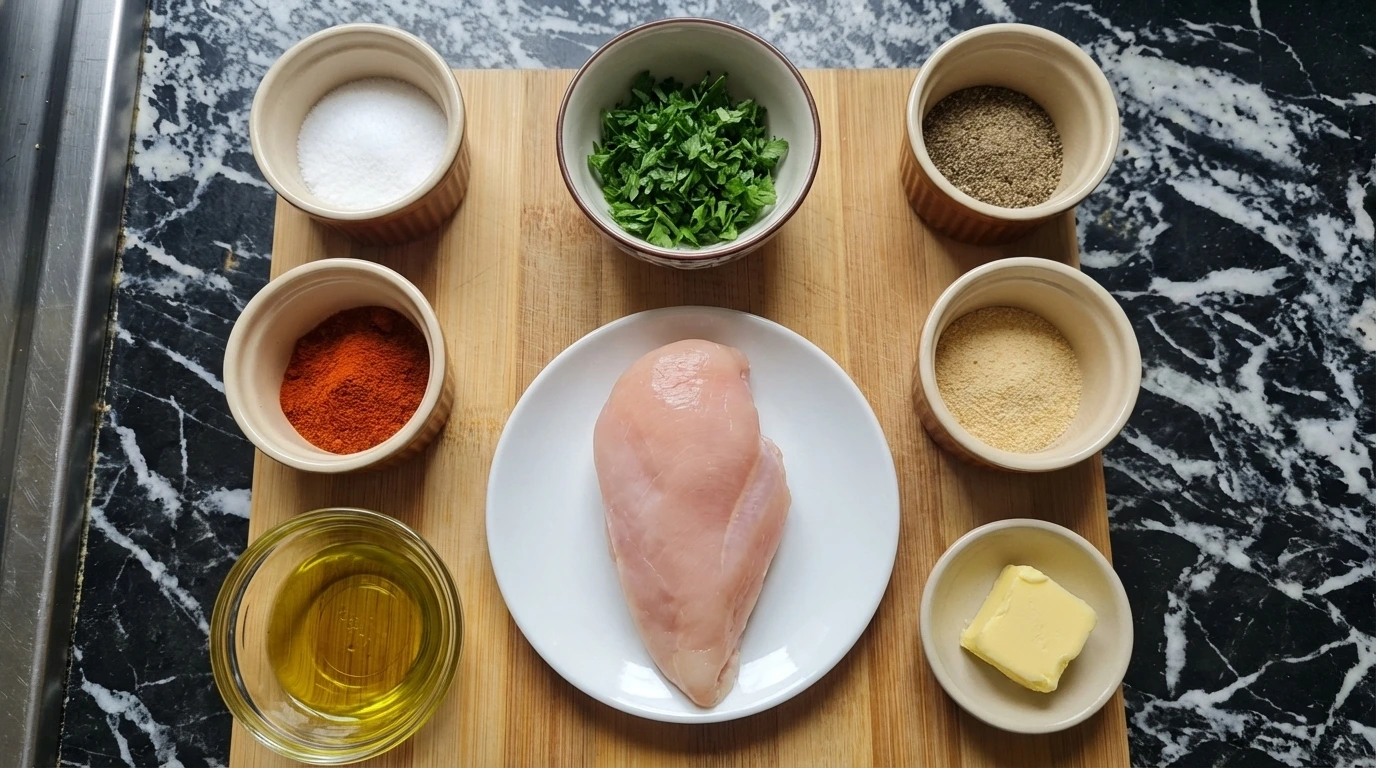
- Chicken breast: main protein, lean and tender when cooked properly
- Salt: enhances overall flavor
- Black pepper: adds mild heat and depth
- Garlic powder: adds savory aroma
- Paprika: adds color and mild smoky flavor
- Olive oil: helps sear and create crust
- Butter: adds richness and flavor during finishing
- Fresh parsley: fresh garnish for brightness
Kitchen Equipment
- Cast iron skillet: retains heat for better sear
- Tongs: for flipping chicken safely
- Cutting board: for slicing
- Knife: sharp for clean cuts
How to Make It
Step 1: Season the Chicken
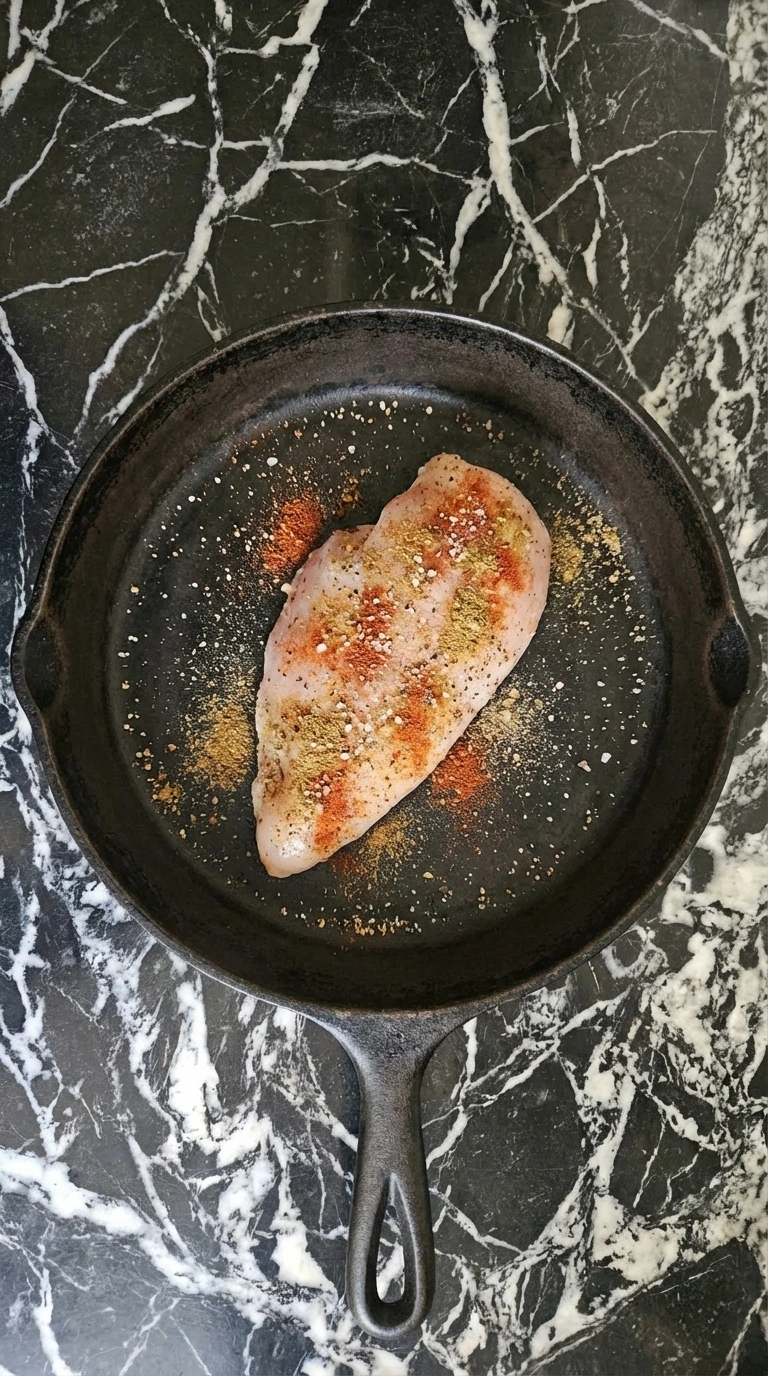
Place the chicken breasts on a clean surface and pat them dry with paper towels. This step is important because removing excess moisture helps the chicken develop that golden crust later. You’ll notice the surface looks slightly matte instead of glossy once dried. Sprinkle the salt, pepper, garlic powder, and paprika evenly over both sides. The seasoning should look slightly uneven and natural, with some areas a little heavier than others. Press it gently into the surface so it sticks without forming a thick coating.
Tip: Dry chicken = better sear. Don’t skip this step.
Step 2: Start the Sear
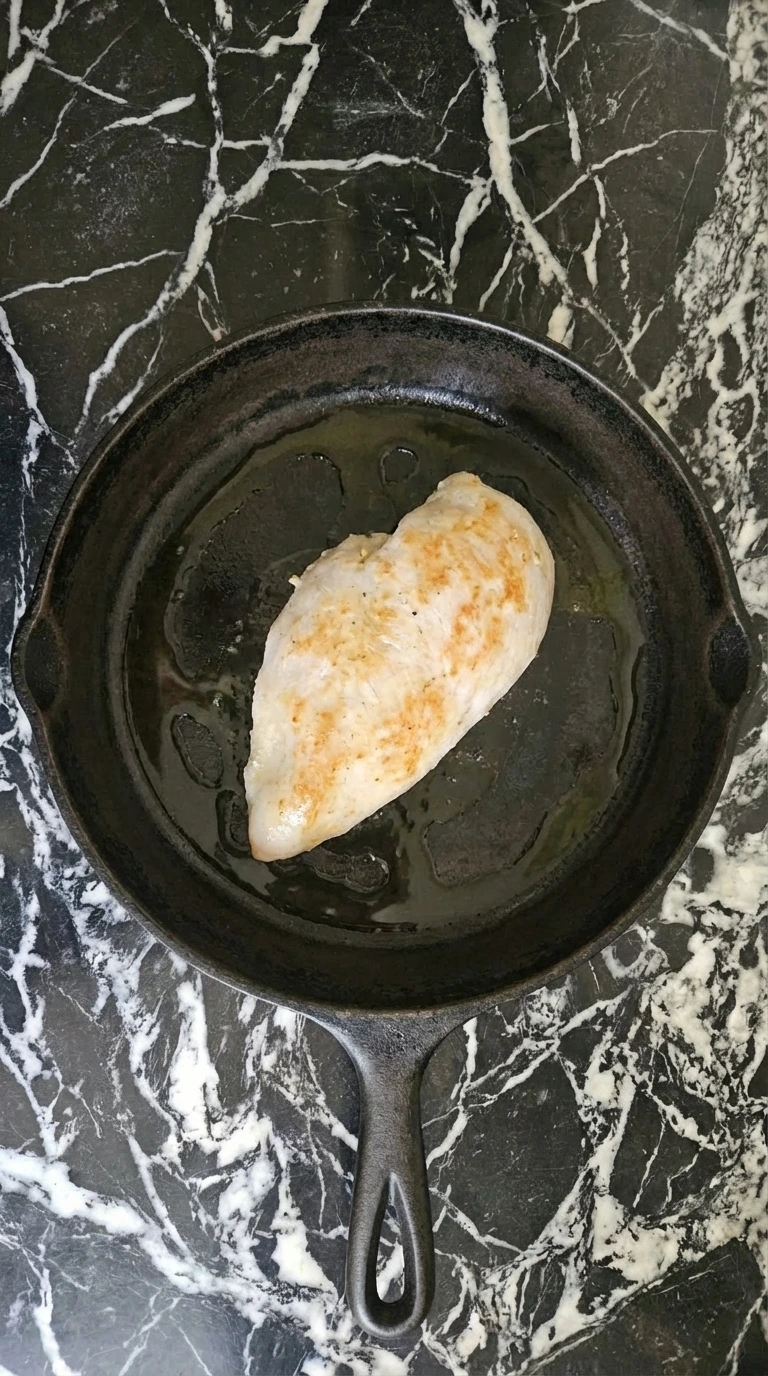
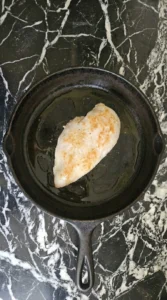
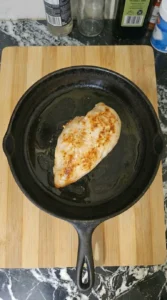
Place the seasoned chicken into a hot skillet with olive oil. The chicken should sizzle immediately as it hits the pan. Let it sit undisturbed so the bottom develops a crust. As it cooks, you’ll see the edges turn opaque and slightly firm while the bottom becomes golden. Some areas may brown faster than others, creating a natural, uneven crust that looks homemade rather than perfectly uniform.
Tip: Don’t move the chicken too early or you’ll lose the crust.
Step 3: Flip and Finish Cooking

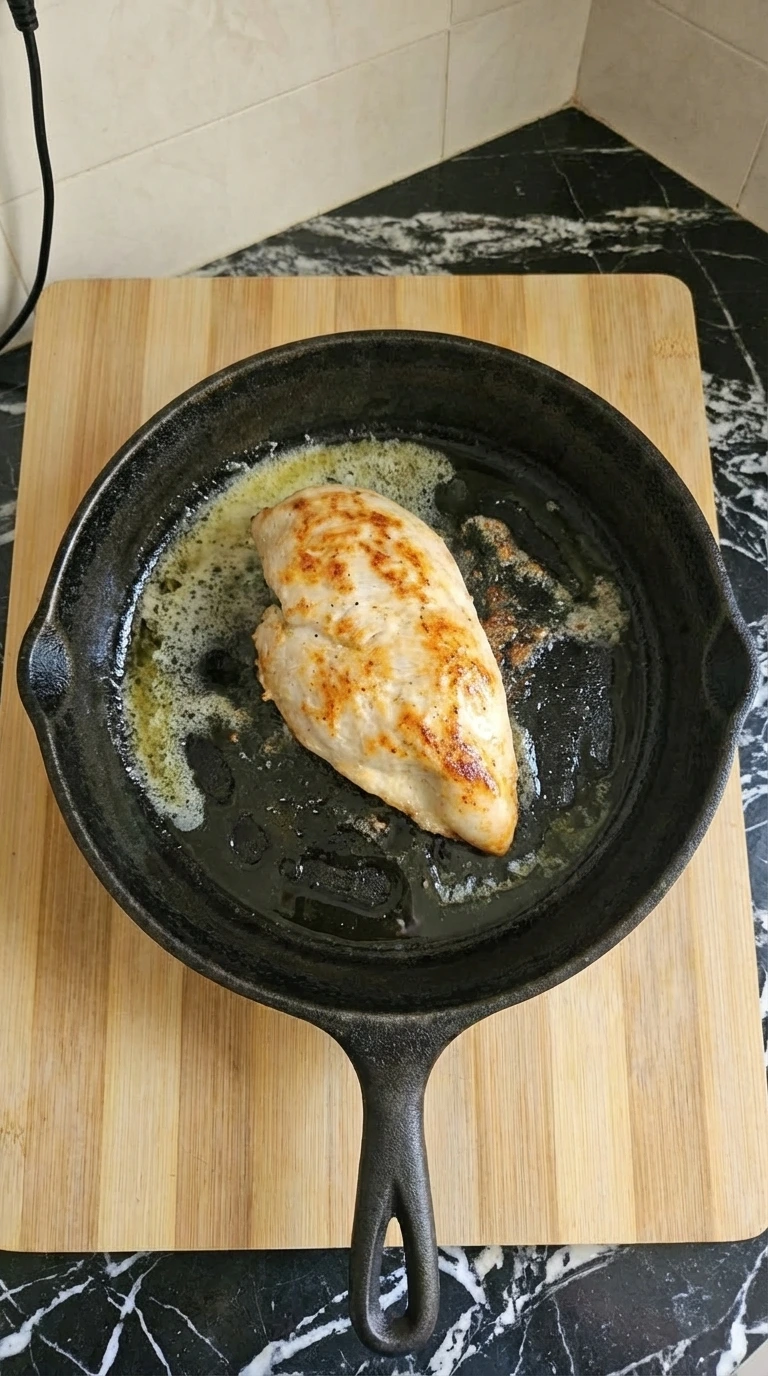
Flip the chicken once the first side is golden brown. The underside should show a deep golden color with slightly darker patches. Add butter to the pan and let it melt around the chicken. As the second side cooks, spoon the melted butter over the top. The chicken will look glossy and slightly uneven in color as the butter coats it. The texture becomes firmer but still slightly springy when pressed.
Tip: Basting with butter keeps the chicken juicy.
Step 4: Rest the Chicken
Remove the chicken from the pan and let it rest on a plate. This allows the juices to redistribute inside. Right after cooking, the surface looks slightly shiny and the juices settle back into the meat. After a few minutes, the chicken looks more relaxed and slightly less glossy. This step ensures that when you slice it, the juices stay inside instead of running out onto the plate.
Tip: Rest at least 5 minutes before slicing.
Step 5: Slice and Serve
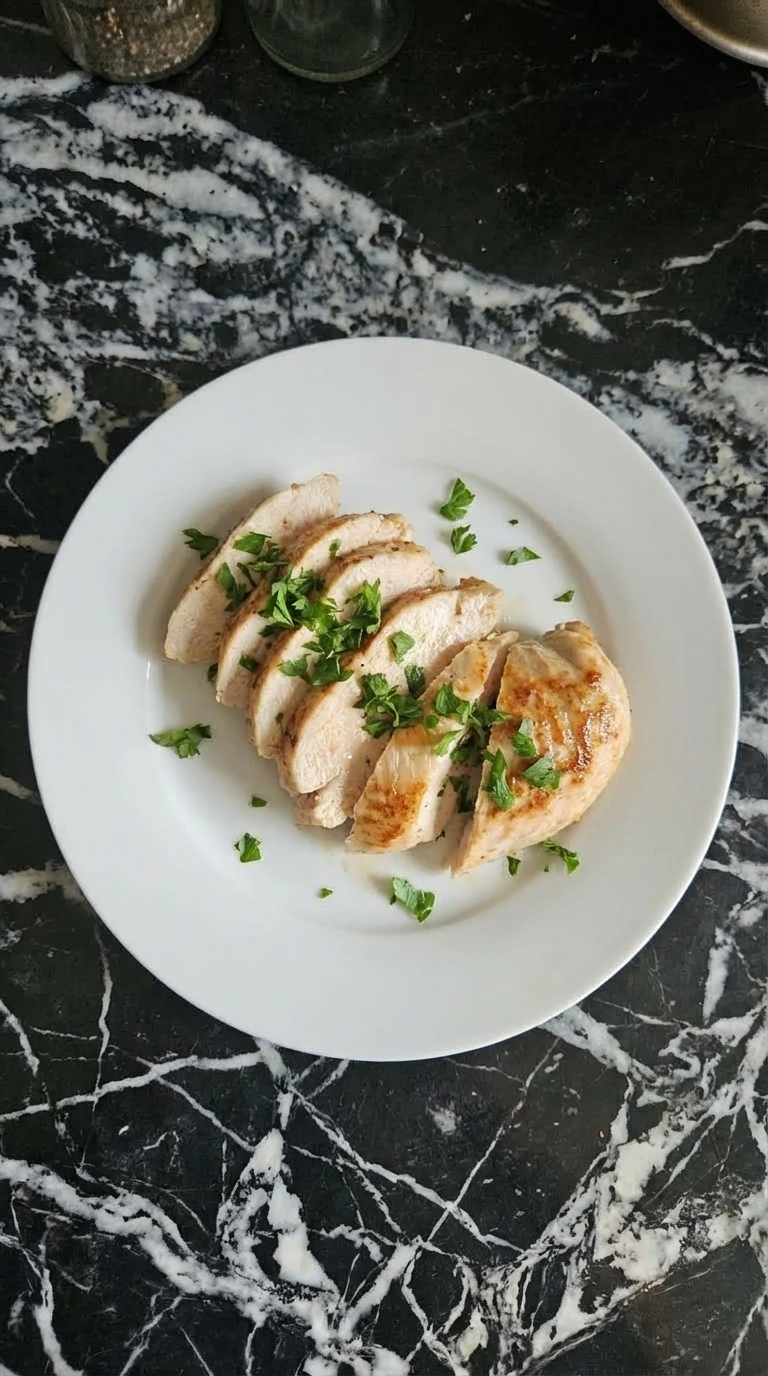
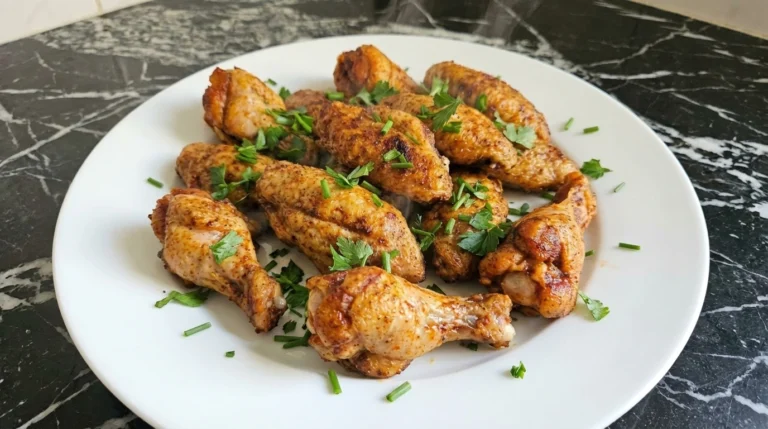
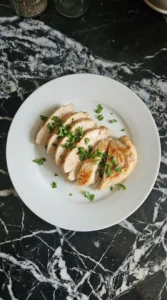
Slice the chicken against the grain into thick pieces. The inside should be juicy and slightly glossy, with a clear contrast between the golden crust and tender center. Arrange the slices casually on a plate and sprinkle with chopped parsley. The slices may overlap slightly and vary in size, giving a natural, home-cooked presentation.
Tip: Cut against the grain for maximum tenderness.
Pro Tips
- Use even thickness chicken for consistent cooking
- Let chicken come to room temp before cooking
- Avoid overcrowding the pan
- Use a meat thermometer (165°F internal)
- Add lemon butter sauce
- Use Italian seasoning blend
- Spicy version with chili flakes
Storage Instructions
Store in airtight container in fridge up to 4 days.
Serve with roasted vegetables, mashed potatoes, or fresh salad.
Cook and slice ahead, store and reheat gently before serving.
Juicy Pan Seared Chicken Breast
Ingredients
Method
- Place the chicken breasts on a clean surface and pat them dry with paper towels. This step is important because removing excess moisture helps the chicken develop that golden crust later. You’ll notice the surface looks slightly matte instead of glossy once dried. Sprinkle the salt, pepper, garlic powder, and paprika evenly over both sides. The seasoning should look slightly uneven and natural, with some areas a little heavier than others. Press it gently into the surface so it sticks without forming a thick coating.

- Place the seasoned chicken into a hot skillet with olive oil. The chicken should sizzle immediately as it hits the pan. Let it sit undisturbed so the bottom develops a crust. As it cooks, you’ll see the edges turn opaque and slightly firm while the bottom becomes golden. Some areas may brown faster than others, creating a natural, uneven crust that looks homemade rather than perfectly uniform.
- Flip the chicken once the first side is golden brown. The underside should show a deep golden color with slightly darker patches. Add butter to the pan and let it melt around the chicken. As the second side cooks, spoon the melted butter over the top. The chicken will look glossy and slightly uneven in color as the butter coats it. The texture becomes firmer but still slightly springy when pressed.
- Remove the chicken from the pan and let it rest on a plate. This allows the juices to redistribute inside. Right after cooking, the surface looks slightly shiny and the juices settle back into the meat. After a few minutes, the chicken looks more relaxed and slightly less glossy. This step ensures that when you slice it, the juices stay inside instead of running out onto the plate.

- Slice the chicken against the grain into thick pieces. The inside should be juicy and slightly glossy, with a clear contrast between the golden crust and tender center. Arrange the slices casually on a plate and sprinkle with chopped parsley. The slices may overlap slightly and vary in size, giving a natural, home-cooked presentation.
Notes
The best feature is that crisp golden crust that forms naturally. Watch everyone reach for the pieces with the deepest color, because that’s where the flavor really shines!
Before you start, please read the IMPORTANT NOTES in Notes section below. Thank you!
Frequently Asked Questions
How do I keep chicken from drying out?
Don’t overcook and always rest the chicken after cooking.
Can I use chicken thighs?
Yes, they are more forgiving and stay juicy longer.
Why isn’t my chicken browning?
The pan may not be hot enough or the chicken is too wet.
Can I make this ahead?
Yes, store in fridge and reheat gently.
Final Thoughts
If you’re looking for a Juicy Pan Seared Chicken Breast with big flavor in every bite, you’ve found it! Taking pride of place in my go-to dinner recipes, this has a golden crust seared right onto the outside and tender, juicy chicken inside. The perfect balance of simple, savory, and satisfying.
The best feature is that crisp golden crust that forms naturally. Watch everyone reach for the pieces with the deepest color, because that’s where the flavor really shines!
Before you start, please read the IMPORTANT NOTES in Notes section below. Thank you!
Searing locks in flavor by creating a crust through the Maillard reaction.