Juicy Pan Seared Chicken Breast
I didn’t expect something this simple to stick with me, but here we are. The first time I nailed that golden crust, I knew it was going into the regular dinner rotation. It’s just chicken, a few spices, and a hot pan.
But the timing and heat make all the difference. I love slicing it up for bowls or tossing it into something like this Grilled Chicken Salad (https://leagueofcooking. com/?

p=3219) when I want an easy lunch. You can make four portions without much effort, and it reheats well too. So it’s just as good for a quiet dinner as it is for planning ahead.
The Secret to This Recipe
Drying the chicken first and searing at medium-high heat around 400°F helps the surface brown fast before the inside overcooks. Letting it sit undisturbed builds that crust through direct contact with the pan. Finishing with butter at the end adds fat right when the heat drops slightly, which keeps the meat from drying out.
Ingredient List
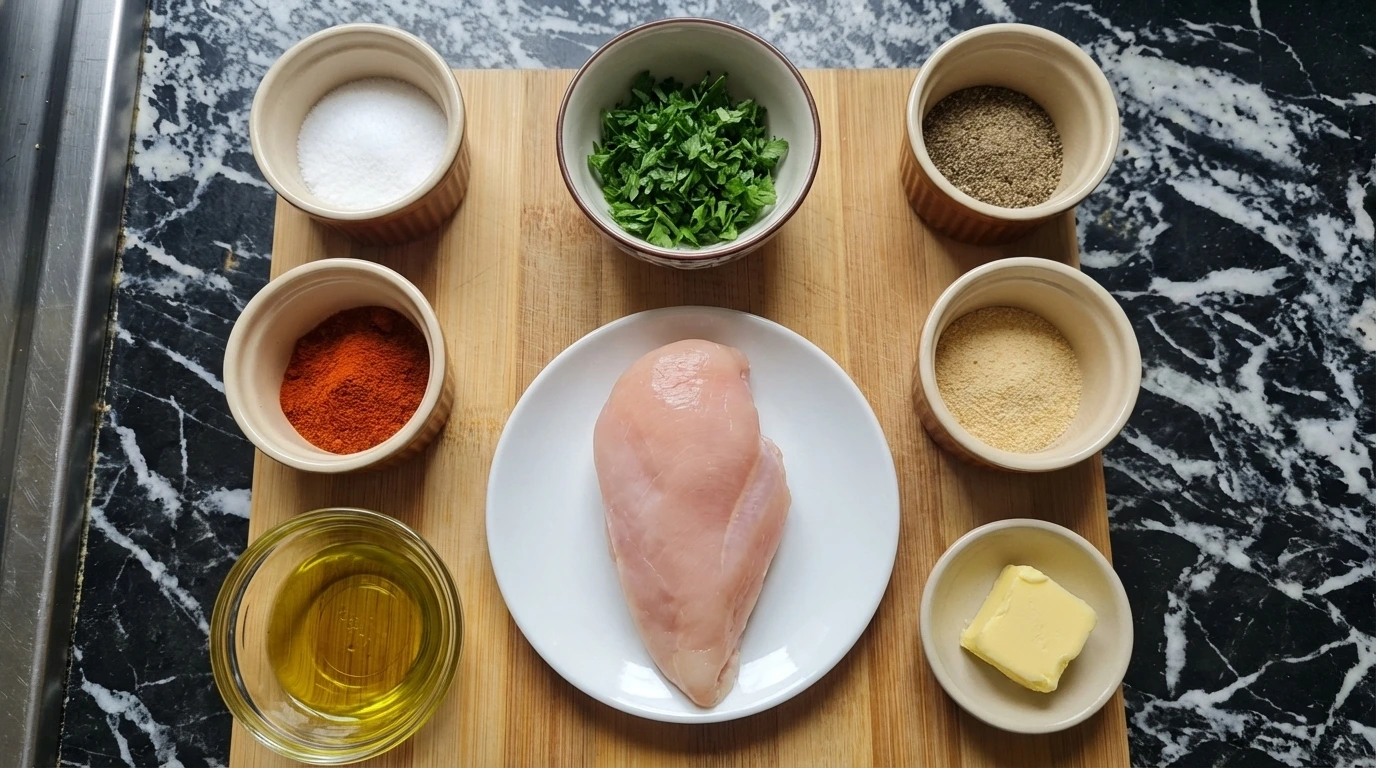
- Chicken breast: boneless, skinless, ideally even thickness for even cooking
- Salt: fine salt for even seasoning across the surface
- Black pepper: freshly ground for better aroma and mild heat
- Garlic powder: dry seasoning that sticks well and adds depth
- Paprika: adds color and a light smoky warmth
- Olive oil: high enough heat tolerance to start the sear
- Butter: added at the end for richness and basting
- Fresh parsley: finely chopped for a fresh finish
Kitchen Equipment
Step by Step
Step 1: Season the Chicken
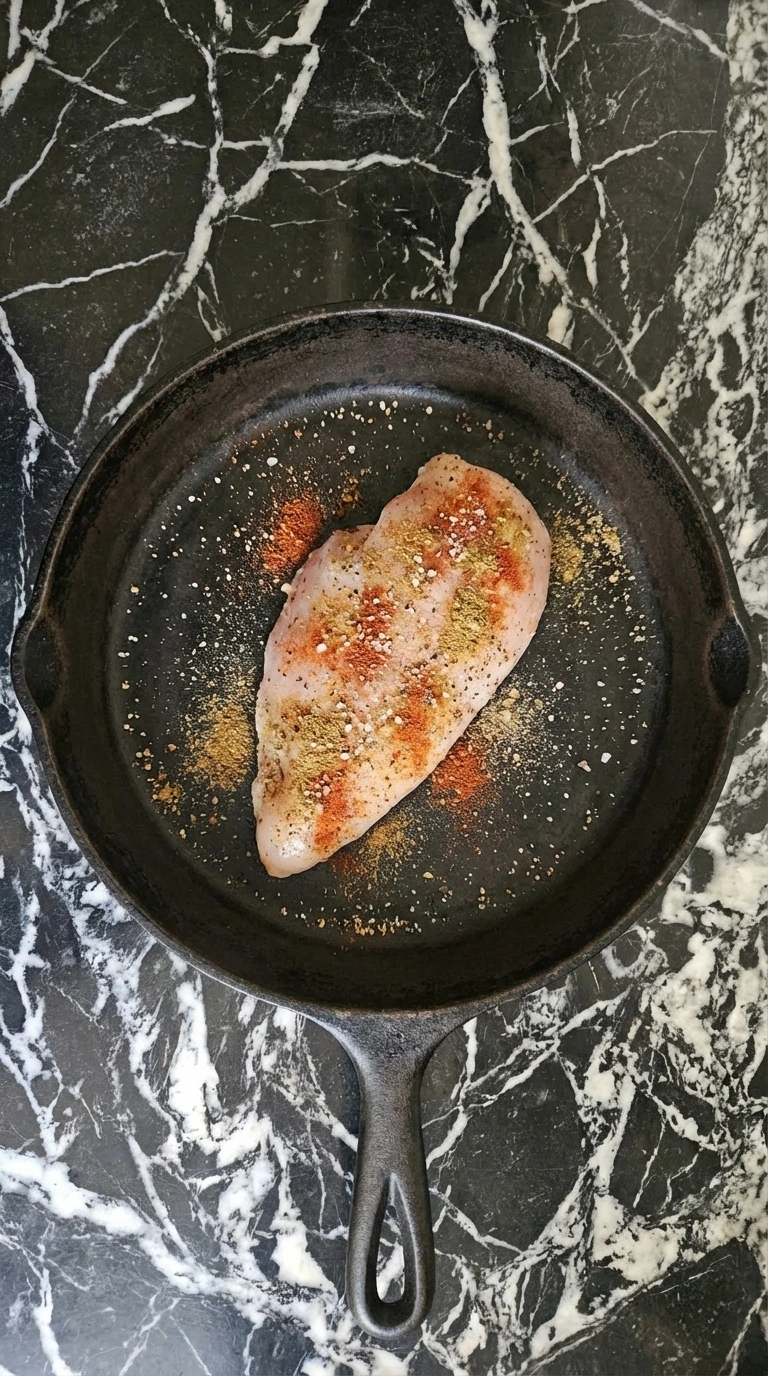
Pat the chicken dry completely with paper towels before anything else. Give it a full 60 to 90 seconds of pressing so the surface loses that glossy look. If it’s still damp, the heat won’t grab onto it later and you’ll miss the crust. Season both sides evenly with salt, pepper, garlic powder, and paprika, pressing it in with your fingers in a light tapping motion. Let it sit at room temperature for 10 to 15 minutes. You’ll notice the spices darken slightly as they absorb moisture. Skip this rest and the seasoning can slide off in the pan.
Tip: If one end is much thicker, lightly pound it to even things out for better cooking.
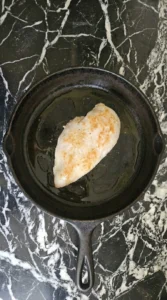
Step 2: Start the Sear
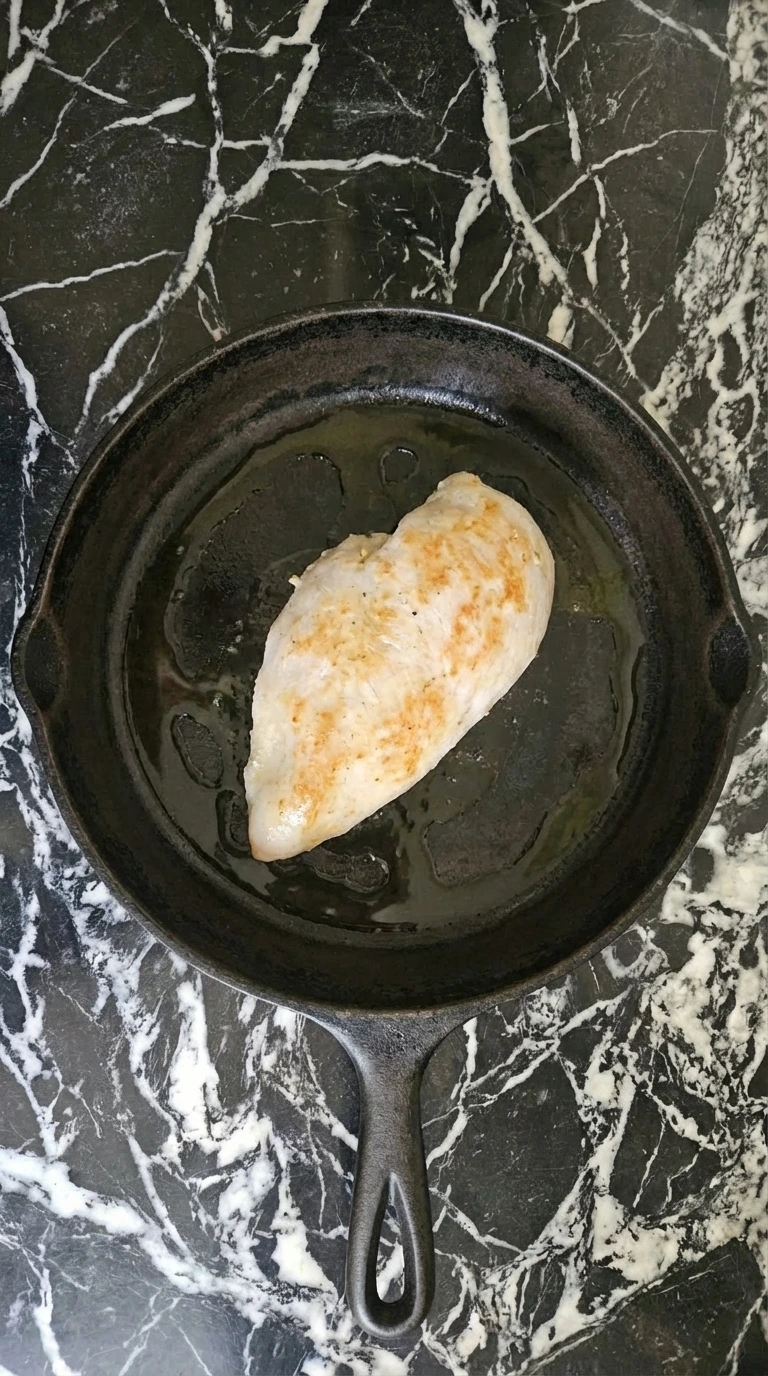
Heat a skillet over medium-high heat, about 7 out of 10, until the oil shimmers around 400°F. Place the chicken in and don’t touch it for 5 to 7 minutes. You should hear a steady sizzle right away. Watch the edges turn opaque and slightly firm while the bottom develops color. Give the pan a small swirl at minute 3 so oil stays under the meat. If you move it too early, the crust tears and you lose that golden layer.
Tip: Use a heavy pan like cast iron for better heat retention and even browning.
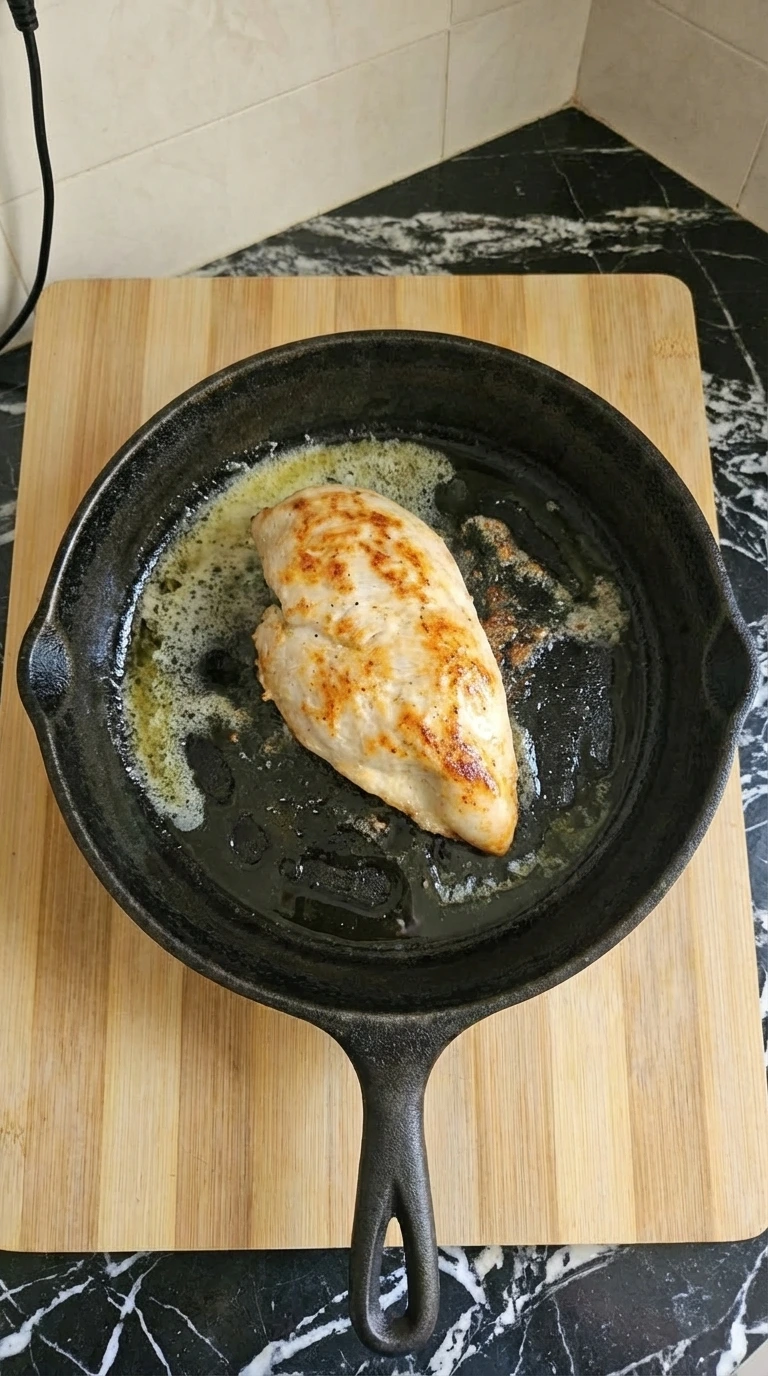
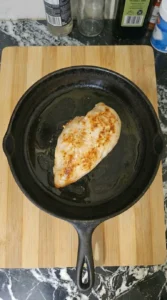
Step 3: Flip and Finish Cooking

Flip once the bottom is deep golden, around minute 6. Add butter right after flipping and let it melt for about 30 seconds. Then tilt the pan slightly and spoon the butter over the chicken in a slow, repeated motion for 4 to 6 minutes. Keep the heat at medium, about 5 out of 10, so the butter doesn’t burn. You’ll smell a nutty aroma and see the surface turn glossy. (I used to skip basting, and the top always looked dry. This fixes it.) Go too long past 6 minutes and the inside starts to tighten up.
Tip: If the butter foams too fast, lower the heat slightly to avoid burning.
Step 4: Rest the Chicken
Transfer the chicken to a plate and leave it alone for at least 5 to 7 minutes. The internal temperature should settle around 165°F during this time. Don’t cover it tightly or the crust will soften. You’ll see juices pool lightly at first, then slowly pull back into the meat. That’s what you want. Cut too early and those juices run out, leaving the inside dry.
Tip: Rest on a wire rack if you want to keep the bottom crisp.
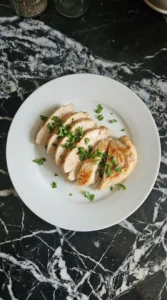
Step 5: Slice and Serve
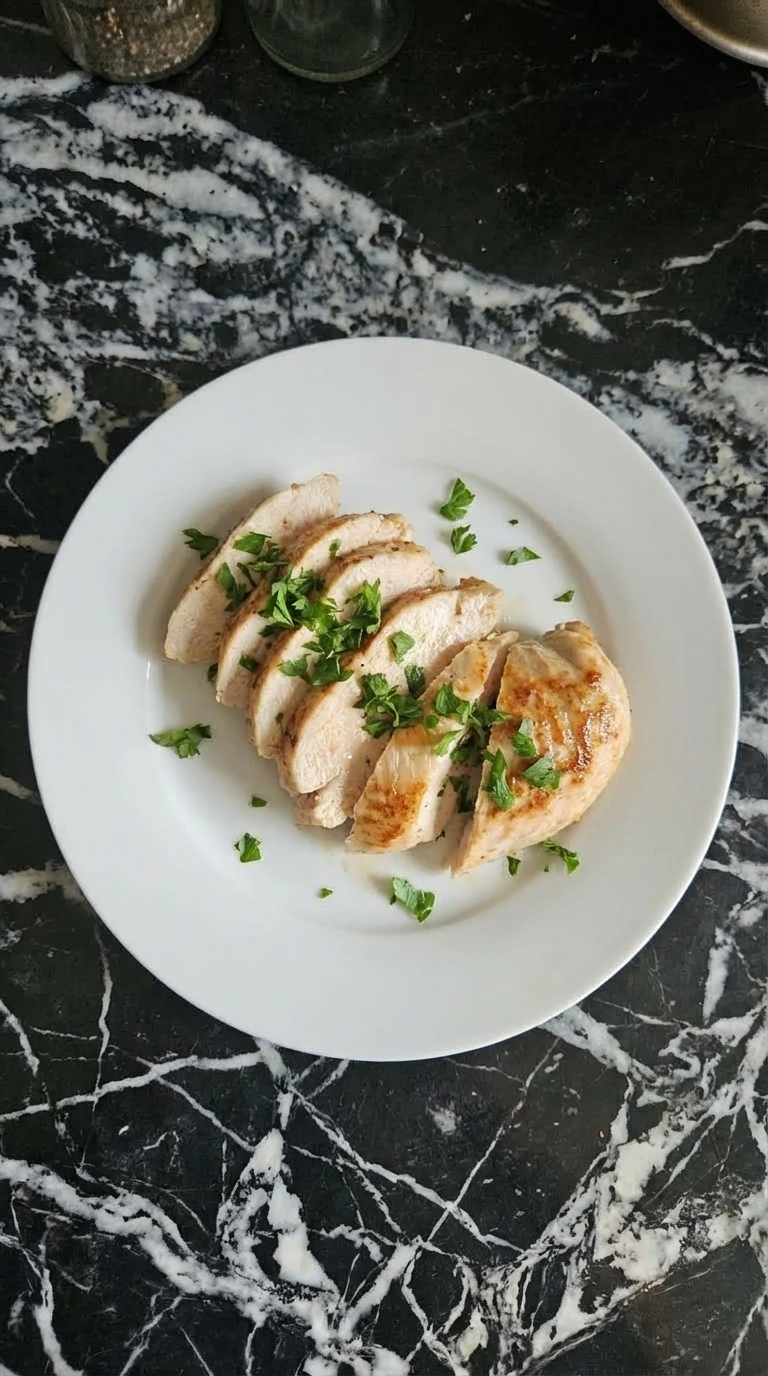
Slice against the grain using smooth, steady strokes, about 1/2 inch thick. Do this right after resting while it’s still warm but settled. The inside should look slightly glossy, not wet. Arrange the slices and sprinkle parsley over the top. You’ll notice the contrast between the golden crust and tender center. If you cut with the grain, the texture feels tougher right away.
Tip: Use a sharp knife to keep the slices clean and prevent tearing.
Helpful Tips
- Aim for even thickness so everything cooks at the same pace
- Let the chicken sit out 10 to 15 minutes before cooking
- Give each piece space in the pan for proper browning
- Check doneness with a thermometer at 165°F
- Finish with a quick lemon butter drizzle for brightness
- Swap in Italian seasoning for a different flavor twist
- Add chili flakes if you want a bit of heat
Make It Your Own
- Chicken breast: chicken thighs — juicier and more forgiving, but takes a bit longer to cook
- Olive oil: avocado oil — handles higher heat better, similar result overall
- Butter: dairy-free butter — works fine, but flavor is slightly less rich
- Paprika: smoked paprika — adds a deeper smoky note, changes the final taste slightly
- Garlic powder: fresh minced garlic — add later in the pan to avoid burning, stronger flavor
- Parsley: fresh cilantro — gives a brighter, sharper finish, different vibe like in Healthy Quinoa Salad https://leagueofcooking.com/healthy-quinoa-salad/
How to Store
Store cooled chicken in an airtight container in the fridge for up to 4 days. Keep the pieces whole if you can to hold moisture longer. Reheat gently in a skillet over medium-low heat, about 3 out of 10, for 4 to 5 minutes. Or slice it cold for salads and bowls.
Juicy Pan Seared Chicken Breast
Ingredients
- 2 large Chicken breast
- 1 tsp Salt
- 1/2 tsp Black pepper
- 1 tsp Garlic powder
- 1 tsp Paprika
- 2 tbsp Olive oil
- 1 tbsp Butter
- 1 tbsp chopped Fresh parsley
Instructions
-
Place the chicken breasts on a clean surface and pat them dry with paper towels. This step is important because removing excess moisture helps the chicken develop that golden crust later. You’ll notice the surface looks slightly matte instead of glossy once dried. Sprinkle the salt, pepper, garlic powder, and paprika evenly over both sides. The seasoning should look slightly uneven and natural, with some areas a little heavier than others. Press it gently into the surface so it sticks without forming a thick coating.

-
Place the seasoned chicken into a hot skillet with olive oil. The chicken should sizzle immediately as it hits the pan. Let it sit undisturbed so the bottom develops a crust. As it cooks, you’ll see the edges turn opaque and slightly firm while the bottom becomes golden. Some areas may brown faster than others, creating a natural, uneven crust that looks homemade rather than perfectly uniform.
-
Flip the chicken once the first side is golden brown. The underside should show a deep golden color with slightly darker patches. Add butter to the pan and let it melt around the chicken. As the second side cooks, spoon the melted butter over the top. The chicken will look glossy and slightly uneven in color as the butter coats it. The texture becomes firmer but still slightly springy when pressed.
-
Remove the chicken from the pan and let it rest on a plate. This allows the juices to redistribute inside. Right after cooking, the surface looks slightly shiny and the juices settle back into the meat. After a few minutes, the chicken looks more relaxed and slightly less glossy. This step ensures that when you slice it, the juices stay inside instead of running out onto the plate.

-
Slice the chicken against the grain into thick pieces. The inside should be juicy and slightly glossy, with a clear contrast between the golden crust and tender center. Arrange the slices casually on a plate and sprinkle with chopped parsley. The slices may overlap slightly and vary in size, giving a natural, home-cooked presentation.
Notes
The best feature is that crisp golden crust that forms naturally. Watch everyone reach for the pieces with the deepest color, because that’s where the flavor really shines!
Before you start, please read the IMPORTANT NOTES in Notes section below. Thank you!
Common Questions
It’s usually too much moisture or not enough heat. Make sure the surface is fully dry and the pan is hot before adding the chicken. Moving it too early also prevents browning.
You can, but it cooks unevenly. Letting it sit out for 10 to 15 minutes helps the center cook at the same rate as the outside.
Use a thermometer and check for 165°F in the thickest part. The meat should feel firm but still slightly springy when pressed.
Yes, it holds up well. Cook, cool, then store whole and slice just before serving to keep it juicy.
Final Thoughts
This is one of those recipes you come back to again and again. It’s simple, reliable, and gives you that golden crust every time.
If you want something to pair it with, try it alongside a fresh bowl like Healthy Avocado Toast https://leagueofcooking. com/healthy-avocado-toast/ for a balanced meal.
That golden crust forms from the Maillard reaction, which starts happening on meat surfaces around 300°F when proteins and sugars react.