Cheese Dip
This cheese dip mixes sharp cheddar and Monterey Jack with diced green chiles, spices, and a splash of milk. Just pile it into a warm bowl with crispy tortilla chips. Your snack is ready! Say hello to your new favorite obsession.
It’s super saucy, incredibly smooth, and tastes just like a restaurant appetizer. But it’s totally homemade. It’s so filling and flavorful. Need a fast lunch that actually tastes good?

Pair this dip with our Grilled Chicken Wraps for a complete meal. Seriously, a basic block of real cheddar is about to blow your mind with how perfectly it melts. It won’t disappoint.
The Secret to This Recipe
Tossing the hand-grated cheese with cornstarch before heating creates a powerful stabilizer that binds the dairy fat. Using evaporated milk instead of regular whole milk provides a concentrated protein structure that prevents curdling.
Cooking over low heat keeps the temperature below the point where cheese proteins tighten and squeeze out moisture. This exact combination guarantees a perfectly velvety sauce that stays smooth even as it cools down on the table.
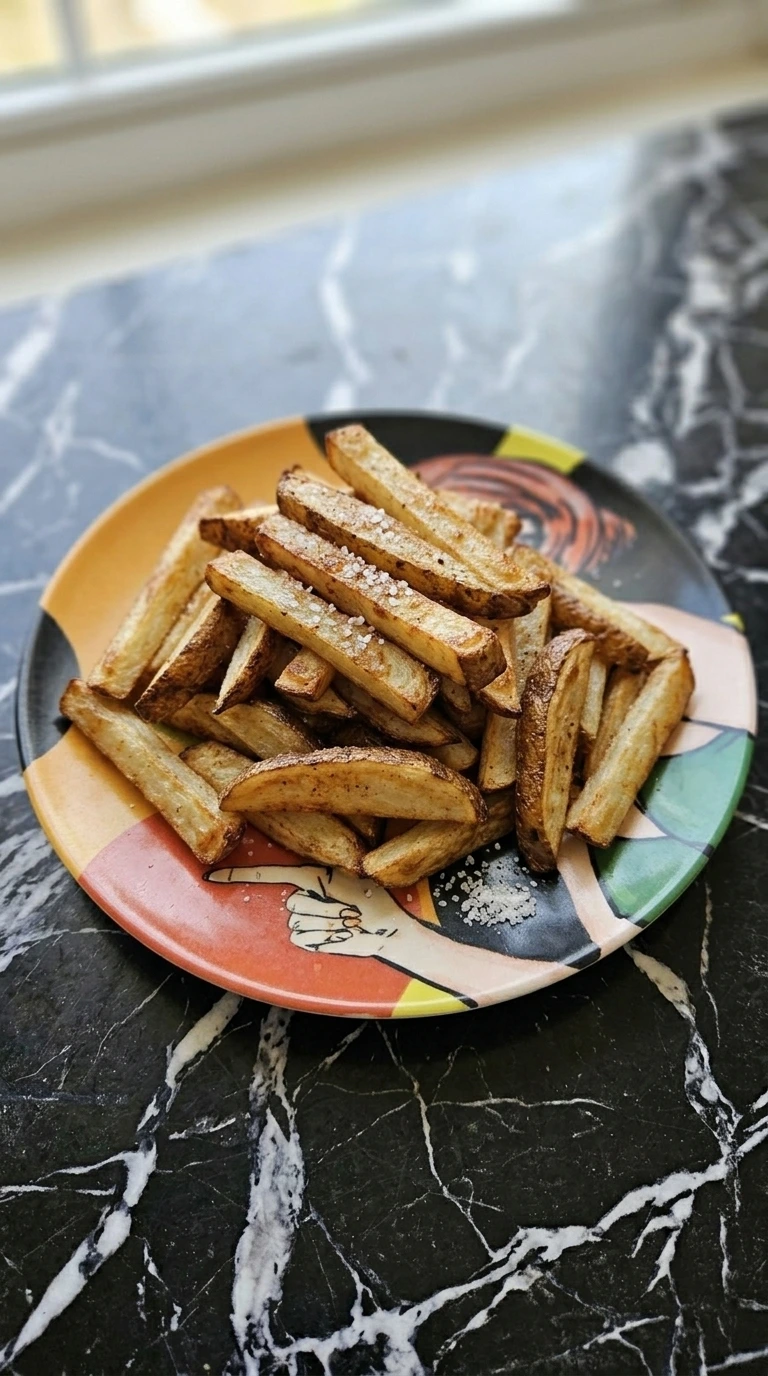
If you want to expand your party menu with more savory cheese options, you can try our Loaded Fries for another crowd-pleasing dish.
Shopping List

- sharp cheddar cheese: A whole block of yellow cheese shredded by hand for a bold flavor base.
- Monterey Jack cheese: A whole block of white cheese grated to add a mild creamy melting quality.
- cornstarch: Dusted over the shredded cheese to emulsify and stabilize the final sauce.
- evaporated milk: One can of concentrated dairy used instead of regular milk for a richer texture.
- canned diced green chiles: Drained thoroughly to add a mild smoky heat without extra liquid.
- ground cumin: Adds a warm earthy undertone to the cheese base.
- garlic powder: Provides a subtle savory background note to finish the dip.
The Gear
- box grater: A sturdy stainless steel box grater creates the perfect thick cheese ribbons for an even melt—using pre-shredded cheese from a bag will introduce anti-caking powders that make your dip gritty.
- medium saucepan: A heavy-bottomed 3-quart stainless steel saucepan distributes heat evenly across the base so the dairy does not scorch—a thin aluminum pan will create hot spots and burn the cheese.
Method
Step 1: Grate the cheese blocks

Place your box grater on a wooden cutting board and grab the blocks of sharp cheddar and Monterey Jack. Grate both blocks on the large holes using firm downward strokes to create thick uniform shreds. Do not use pre-shredded bags because they contain cellulose and won’t melt smoothly.
You will see a colorful mound of fluffy yellow and white cheese ribbons piling up beneath the grater. The cheese will smell fresh and slightly sharp as you work. (I tried using a food processor once but it made the shreds too fine and they clumped up badly in the pot.
Hand grating is the real fix here. ) Miss this hand-grating step and your dip becomes grainy because anti-caking agents ruin the texture. Shredding by hand ensures a smooth melt.
Tip: Keep your cheese blocks cold in the refrigerator until the exact moment you grate them so they stay firm and shred easily.
Step 2: Toss the cheese with cornstarch

Transfer all your grated cheese into a medium clear glass mixing bowl and sprinkle the cornstarch evenly over the top. Use your bare hands to toss the cheese ribbons with a gentle lifting and shaking motion. Ensure every single shred gets a very thin dusty coating of the white powder.
The cheese ribbons will look slightly matte and less sticky after you finish tossing them. You will hear a soft rustling sound as you move the dry shreds around the bowl. This coating is crucial because it keeps the proteins from separating later.
Skip the starch and the fats will separate from the liquid when heated and leave you with an oily mess. Coating each shred binds the dip perfectly.
Tip: Make sure your hands are completely dry before tossing the cheese so the cornstarch doesn’t turn into a sticky paste.
Step 3: Warm the milk and aromatics

Pour your evaporated milk into a medium saucepan and set it over medium-low heat (about 4 on a 10-dial). Add the drained green chiles, ground cumin, and garlic powder then stir once with a wooden spoon. Heat the mixture for exactly 3 to 4 minutes until it is hot but not boiling.
You will see tiny bubbles forming right along the edges of the liquid and steam will rise slowly. The kitchen will fill with the warm earthy aroma of toasted cumin and mild chiles. If you love savory sides, this base smells just like the rich sauce in our [One Pot Chicken Alfredo Pasta](https://leagueofcooking.
com/one-pot-chicken-alfredo-pasta/) but with a spicy Southwestern twist. Let the milk boil hard and the dairy will scorch on the bottom of your pan. Gentle heat protects the delicate milk sugars.
Tip: Use a heavy-bottomed saucepan for this step to distribute the heat evenly and prevent the milk from burning around the edges.
Step 4: Melt the cheese into the sauce
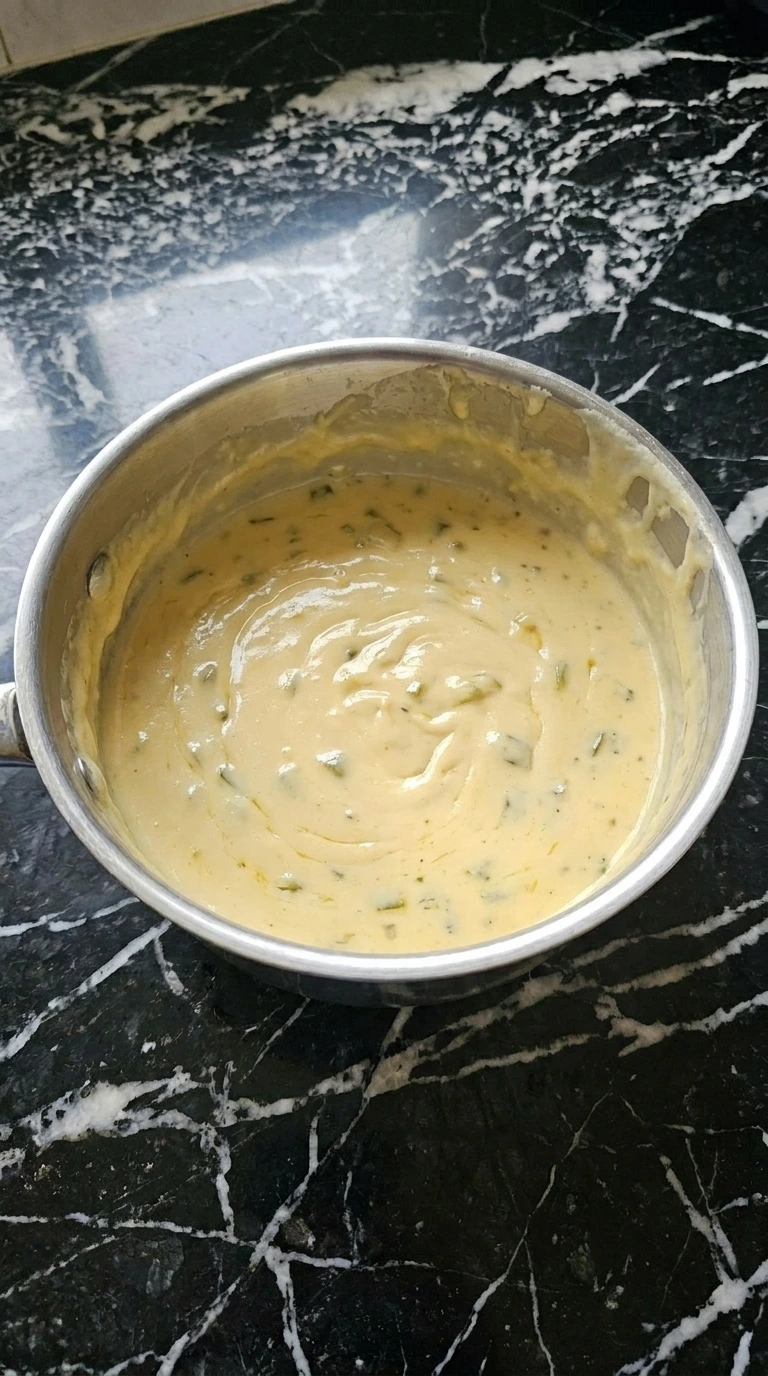
Turn the stove down to low heat and add a large handful of your coated cheese to the warm milk. Stir constantly using a gentle figure-eight motion with your wooden spoon until the cheese melts completely. Continue adding the cheese in small handfuls over 5 to 6 minutes and let each batch disappear before adding the next.
The liquid will transform from a thin milk into a thick glossy pale-yellow sauce that coats the back of your spoon. You will see small bits of green chile swirling through the velvety mixture as it thickens. (My first batch turned into a clumpy rubber ball because I dumped all the cheese in at once.
Adding it slowly is the secret. ) Rush this process by turning up the heat and the cheese proteins will seize up tightly. Low heat ensures a silky smooth texture.
Tip: If the dip looks a little too thick as the cheese melts just splash in a tablespoon of extra milk to thin it out.
Tips for Success
- Grate the cheese blocks straight from the refrigerator because warm cheese becomes too soft and will mush inside the grater.
- Drain the canned green chiles in a fine-mesh strainer for 5 minutes because excess moisture will make your dip watery.
- Add the cheese in small handfuls and wait about 45 seconds for each batch to melt fully before adding more.
- Keep the cooking temperature strictly on low heat once the cheese hits the pan to prevent the proteins from seizing.
- Stir the dip continuously using a silicone spatula or wooden spoon to keep the milk from scorching on the bottom.
- Serve the finished dip in a pre-warmed ceramic bowl so it stays molten and dippable for your guests much longer.
- Whisk in a tablespoon of warm water if the dip sits too long and develops a thin skin on top.
- Add 1/2 cup of browned chorizo meat and a sprinkle of fresh cilantro for a smoky meat lover’s variation.
- Stir in 2 tablespoons of canned pickled jalapeño juice and diced jalapeños for a bright acidic kick that cuts the richness.
- Mix in 1/4 cup of fresh visual salsa right before serving to create a colorful marbled restaurant-style queso.
Ingredient Swaps
- evaporated milk: heavy cream and whole milk — Mix equal parts heavy cream and milk to equal 12 ounces. The dip becomes slightly richer but will set faster as it cools down.
- Monterey Jack cheese: pepper jack cheese — Use the same 8 ounces of pepper jack for a much spicier kick. The texture stays exactly the same because both cheeses melt beautifully.
- cornstarch: tapioca starch — Use an equal amount of tapioca starch if needed. It keeps the dip glossy but the texture can become slightly stretchy if overheated.
- sharp cheddar cheese: mild cheddar cheese — Swap in mild cheddar for a gentler flavor profile. If you prefer lighter options for your table, try pairing this mild version with our fresh [Fruit Smoothies](https://leagueofcooking.com/fruit-smoothies/) during a weekend brunch spread.
Storage Instructions
Store your leftover cheese dip in a glass airtight container in the refrigerator for up to 4 days. Make sure the dip cools down to room temperature before you snap the lid on so condensation does not form inside. Do not freeze this recipe because the freezing process breaks the delicate dairy emulsion and ruins the texture completely.
Reheat the dip in a small saucepan over low heat for about 5 to 7 minutes. Add 2 tablespoons of fresh milk or evaporated milk right as it starts to warm up to loosen the texture. Stir the sauce constantly with a spoon until it becomes glossy and hot.
Watch out for any oil separation or sour smells which mean the dip has spoiled.
Cheese Dip
Ingredients
- 8 ounces sharp cheddar cheese A whole block of yellow cheese shredded by hand for a bold flavor base.
- 8 ounces Monterey Jack cheese A whole block of white cheese grated to add a mild creamy melting quality.
- 1 tablespoon cornstarch Dusted over the shredded cheese to emulsify and stabilize the final sauce.
- 12 ounces evaporated milk One can of concentrated dairy used instead of regular milk for a richer texture.
- 4 ounces canned diced green chiles Drained thoroughly to add a mild smoky heat without extra liquid.
- 0.5 teaspoon ground cumin Adds a warm earthy undertone to the cheese base.
- 0.25 teaspoon garlic powder Provides a subtle savory background note to finish the dip.
Instructions
- Place your box grater on a wooden cutting board and grab the blocks of sharp cheddar and Monterey Jack. Grate both blocks on the large holes using firm downward strokes to create thick uniform shreds. Do not use pre-shredded bags because they contain cellulose and won’t melt smoothly. You will see a colorful mound of fluffy yellow and white cheese ribbons piling up beneath the grater. The cheese will smell fresh and slightly sharp as you work. (I tried using a food processor once but it made the shreds too fine and they clumped up badly in the pot. Hand grating is the real fix here.) Miss this hand-grating step and your dip becomes grainy because anti-caking agents ruin the texture. Shredding by hand ensures a smooth melt.

- Transfer all your grated cheese into a medium clear glass mixing bowl and sprinkle the cornstarch evenly over the top. Use your bare hands to toss the cheese ribbons with a gentle lifting and shaking motion. Ensure every single shred gets a very thin dusty coating of the white powder. The cheese ribbons will look slightly matte and less sticky after you finish tossing them. You will hear a soft rustling sound as you move the dry shreds around the bowl. This coating is crucial because it keeps the proteins from separating later. Skip the starch and the fats will separate from the liquid when heated and leave you with an oily mess. Coating each shred binds the dip perfectly.

- Pour your evaporated milk into a medium saucepan and set it over medium-low heat (about 4 on a 10-dial). Add the drained green chiles, ground cumin, and garlic powder then stir once with a wooden spoon. Heat the mixture for exactly 3 to 4 minutes until it is hot but not boiling. You will see tiny bubbles forming right along the edges of the liquid and steam will rise slowly. The kitchen will fill with the warm earthy aroma of toasted cumin and mild chiles. If you love savory sides, this base smells just like the rich sauce in our [One Pot Chicken Alfredo Pasta](https://leagueofcooking.com/one-pot-chicken-alfredo-pasta/) but with a spicy Southwestern twist. Let the milk boil hard and the dairy will scorch on the bottom of your pan. Gentle heat protects the delicate milk sugars.

- Turn the stove down to low heat and add a large handful of your coated cheese to the warm milk. Stir constantly using a gentle figure-eight motion with your wooden spoon until the cheese melts completely. Continue adding the cheese in small handfuls over 5 to 6 minutes and let each batch disappear before adding the next. The liquid will transform from a thin milk into a thick glossy pale-yellow sauce that coats the back of your spoon. You will see small bits of green chile swirling through the velvety mixture as it thickens. (My first batch turned into a clumpy rubber ball because I dumped all the cheese in at once. Adding it slowly is the secret.) Rush this process by turning up the heat and the cheese proteins will seize up tightly. Low heat ensures a silky smooth texture.
Notes
Nutrition
Reader Questions
This usually happens if you use bagged pre-shredded cheese that contains cellulose coatings. It can also happen if your stove temperature was too high. The high heat causes the cheese proteins to tighten up and separate from the fats. Keep the heat on low and always shred your own blocks for the smoothest results.
You can absolutely prepare this dip up to two days before your event. Store it in an airtight container in the refrigerator once it cools completely. When you are ready to serve, warm it gently on the stovetop over low heat for about 10 minutes while stirring frequently to restore the smooth texture.
Leftover dip will stay fresh in the refrigerator for up to 4 days when sealed tightly. Do not freeze this dip because the dairy emulsion will break completely when thawed. The reheating process will leave you with a watery and separated mess that cannot be fixed.
Place the cold dip into a saucepan over low heat for 5 to 8 minutes. Add 1 or 2 tablespoons of fresh evaporated milk or regular whole milk to the pan. Stir the mixture constantly as it warms up so the smooth emulsion bonds back together perfectly.
You can easily double all the ingredient measurements to serve a bigger group of people. Just make sure to use a large 6-quart pot so you have plenty of room to stir. Increase your cheese melting time by about 4 minutes because the larger volume takes longer to incorporate fully.
Before You Go
This homemade cheese dip is a true staple for game days! This is a dip made the simple way, with hand-shredded cheese and a splash of evaporated milk. No processed loaf cheese, that’s the store-bought version.
Though it requires constant stirring on the stove, it is worth every single minute. The resulting sauce is incredibly velvety and the flavor is rich and sharp. If you have room for dessert after your snack, you should try our [Oreo Dirt Cups](https://leagueofcooking.
com/oreo-dirt-cups/) to finish the night with something sweet.
You don’t need fancy cheese for restaurant-style dip. That’s a myth! It’s actually all about controlling the melting point. Simple stabilizers like cornstarch keep everything completely smooth so it won’t split.