Easy Chocolate Lava Cake
I don’t make a lot of chocolate desserts, but this one keeps pulling me back. It’s simple, but when you cut into it and that center runs, it feels like something you’d order out. People think lava cake is tricky. It’s really just timing.
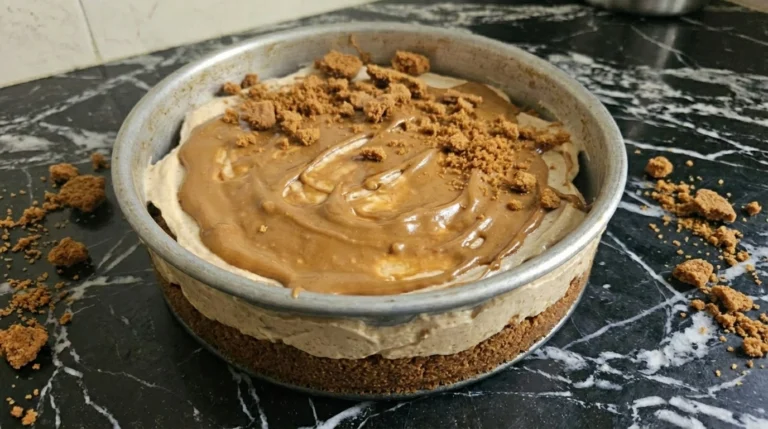
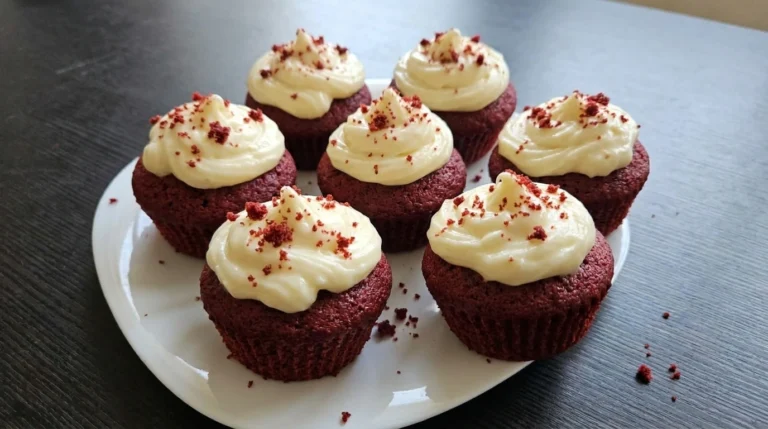
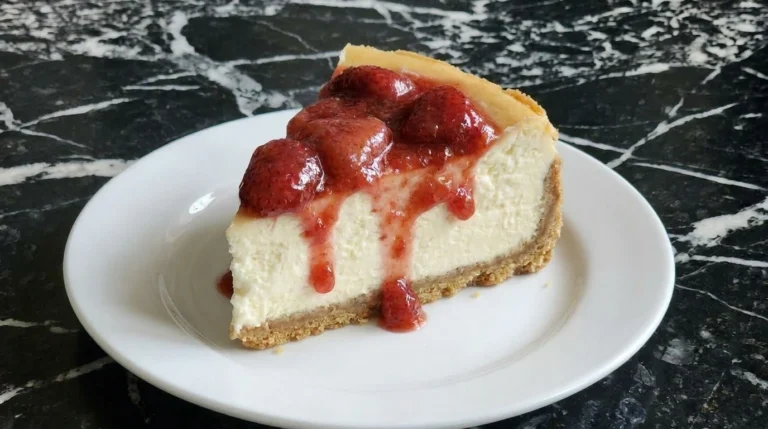
Once you see what the edges and center should look like, you’ve got it. And if you like cozy bakes like this, I’d also make a batch of Strawberry Cheesecake for another weekend treat.
I make these when I want dessert without a whole project. Date night, small dinner, even a quiet weekend. Warm chocolate, a few berries, done.
The Secret to This Recipe
The batter uses more yolks than whole eggs, which keeps the center soft while the edges set at 425°F. Baking for a short 10 to 12 minutes lets the outside firm up before heat fully penetrates the middle. Pulling them at the right moment is key or the residual heat will cook the center through.
Ingredient List

- Semi sweet chocolate: Use good quality chocolate bars or chips for a smooth melt and balanced sweetness.
- Unsalted butter: Melted with the chocolate to create a silky base and tender texture.
- Powdered sugar: Blends smoothly into the batter without graininess.
- Large eggs: Help the cakes hold their shape while still staying soft.
- Large egg yolks: Add richness and create that molten center.
- Vanilla extract: Adds warmth and rounds out the chocolate flavor.
- All purpose flour: Just enough to set the edges without making the cake dense.
- Unsweetened cocoa powder: Used to coat ramekins so the cakes release cleanly.
- Salt: Enhances the chocolate and balances sweetness.
- Powdered sugar for serving: Light dusting for a simple finish.
- Fresh berries: Adds brightness and contrast to the rich cake.
Kitchen Equipment
How to Make It
Step 1: Melt the chocolate with the butter
Set a heatproof bowl over barely simmering water on low heat, about level 3 on a 10 dial. Let the chocolate and butter sit for 2 to 3 minutes, then stir slowly with a rubber spatula in small circles. Keep stirring for another 2 minutes until fully smooth. You’ll see it turn glossy and fluid, with no streaks left. If you rush or overheat it, the mixture can look dull and grainy, and that carries into the final texture.
Tip: Cut the butter into small pieces so it melts at the same rate as the chocolate.
Step 2: Whisk in the sugar eggs yolks and flour

Let the chocolate cool slightly for about 2 minutes, then whisk in the powdered sugar, eggs, yolks, vanilla, salt, and flour. Use a steady circular whisking motion for about 60 to 90 seconds. Scrape down the bowl halfway through and keep whisking until the batter thickens and forms ribbons when lifted. You’ll see soft lines that slowly settle. If you overmix past this point, the batter gets too tight and the center won’t stay molten.
Tip: Switch to a spatula at the end if you want to gently fold instead of whisking.
Step 3: Fill the ramekins with the batter

Preheat your oven to 425°F before filling. Spoon the batter into cocoa-dusted ramekins, filling each about three quarters full. Tap each ramekin once on the counter to release large air bubbles. Smooth the tops lightly with the back of a spoon. You’ll notice a few small bubbles still on the surface, which is fine. Overfilling can cause spillover during baking, and underfilling can bake too quickly and lose the soft center.
Tip: Place the filled ramekins on a tray so they’re easier to move into the oven.
Step 4: Bake until the tops are set and the centers stay soft
Bake at 425°F for 10 to 12 minutes on the center rack. Don’t open the oven before minute 10. Around minute 11, gently jiggle one ramekin to check. The edges should look firm and slightly darker, while the center still has a soft wobble. You’ll see faint cracks on top. Go past 12 minutes and the center sets fully, which means no lava effect. (I used to leave them in “just one more minute” and always lost the molten middle.)
Tip: If your oven runs hot, start checking at minute 9 to avoid overbaking.
Step 5: Turn out and finish with sugar and berries

Let the cakes sit for exactly 1 minute after baking, then run a knife around the edge and invert onto a plate. Lift the ramekin straight up with a gentle twist. Dust with powdered sugar and add berries right away. When you cut in, the center should flow slowly. You’ll smell warm chocolate instantly. Wait too long and the center thickens, losing that soft, flowing texture.
Tip: Use a warm plate so the cake stays soft a little longer after turning out.
Pro Tips
- Coat ramekins well with butter and cocoa so nothing sticks.
- Use chocolate you actually enjoy eating since it’s the main flavor.
- Pull the cakes on time or the center will cook through.
- Serve immediately while the middle is still soft and warm.
Substitutions & Variations
- Semi sweet chocolate: Dark chocolate — Makes the cake more intense and slightly less sweet.
- Unsalted butter: Plant-based butter — Works well but the flavor is a bit less rich.
- All purpose flour: Gluten-free 1:1 flour — Texture is slightly softer but still holds shape.
- Powdered sugar: Granulated sugar blended fine — Not as smooth but usable in a pinch.
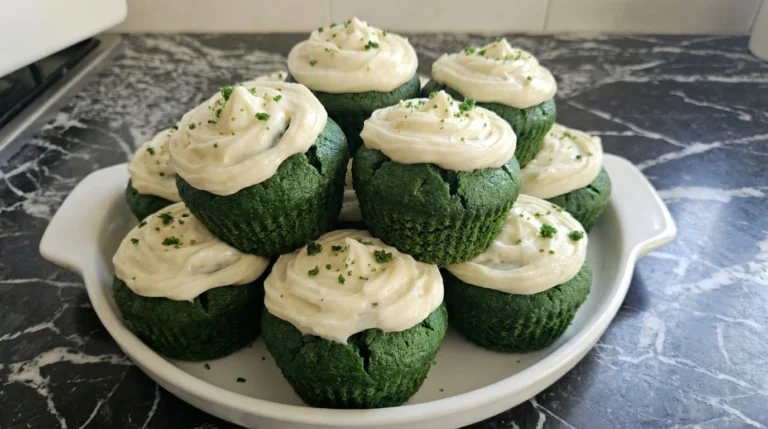
- Fresh berries: Whipped cream — Adds creaminess instead of brightness. Try with <a href=”https://leagueofcooking.com/?p=3464″>Green Velvet Cupcakes</a> too.
How to Store
These are best eaten right away. That molten center changes as it cools. If you have leftovers, cover and refrigerate for up to 2 days. Reheat in a 300°F oven for about 8 minutes. The center softens again, but it won’t be quite as fluid.
Easy Chocolate Lava Cake
Ingredients
- 4 ounces Semi sweet chocolate
- 1/2 cup Unsalted butter
- 1 cup Powdered sugar
- 2 Large eggs
- 2 Large egg yolks
- 1 teaspoon Vanilla extract
- 1/4 cup All purpose flour
- 1 tablespoon Unsweetened cocoa powder
- 1/8 teaspoon Salt
- 1 tablespoon Powdered sugar for serving
- 1/2 cup Fresh berries
Instructions
-
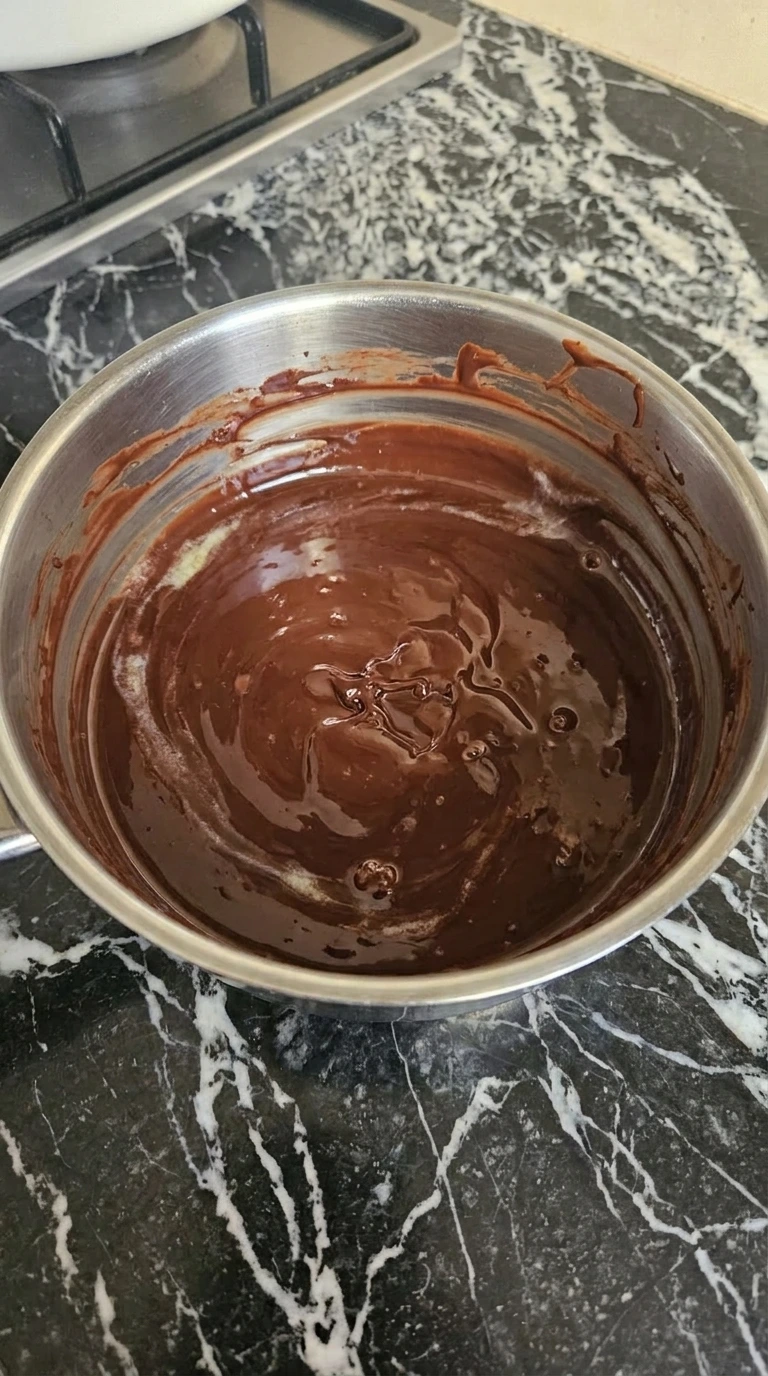
The chopped chocolate and butter soften together until they become a glossy dark mixture with a few uneven streaks that slowly disappear as the two ingredients blend into one rich base. At this stage the batter has not formed yet and the mixture looks fluid and shiny with a thick pour and a deep brown color that is much darker than the butter on its own.

-
The glossy chocolate base turns into a thicker batter once the powdered sugar eggs yolks vanilla salt and flour are worked in and the color lightens slightly into a softer brown with visible ribbons as it settles. The texture changes from loose and shiny to smooth and pudding like while the ingredients fully mix and the surface shows natural uneven lines where the batter folds over itself.

-
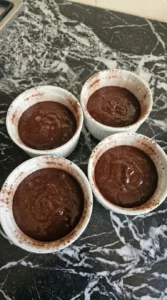
The batter is divided into four cocoa coated ramekins and each one fills to about three quarters with slightly uneven tops and small air bubbles that make the surface look homemade and relaxed. This is the first time the batter takes on its baking shape and the cocoa dusting creates a darker ring around the edges where the batter meets the sides.
-
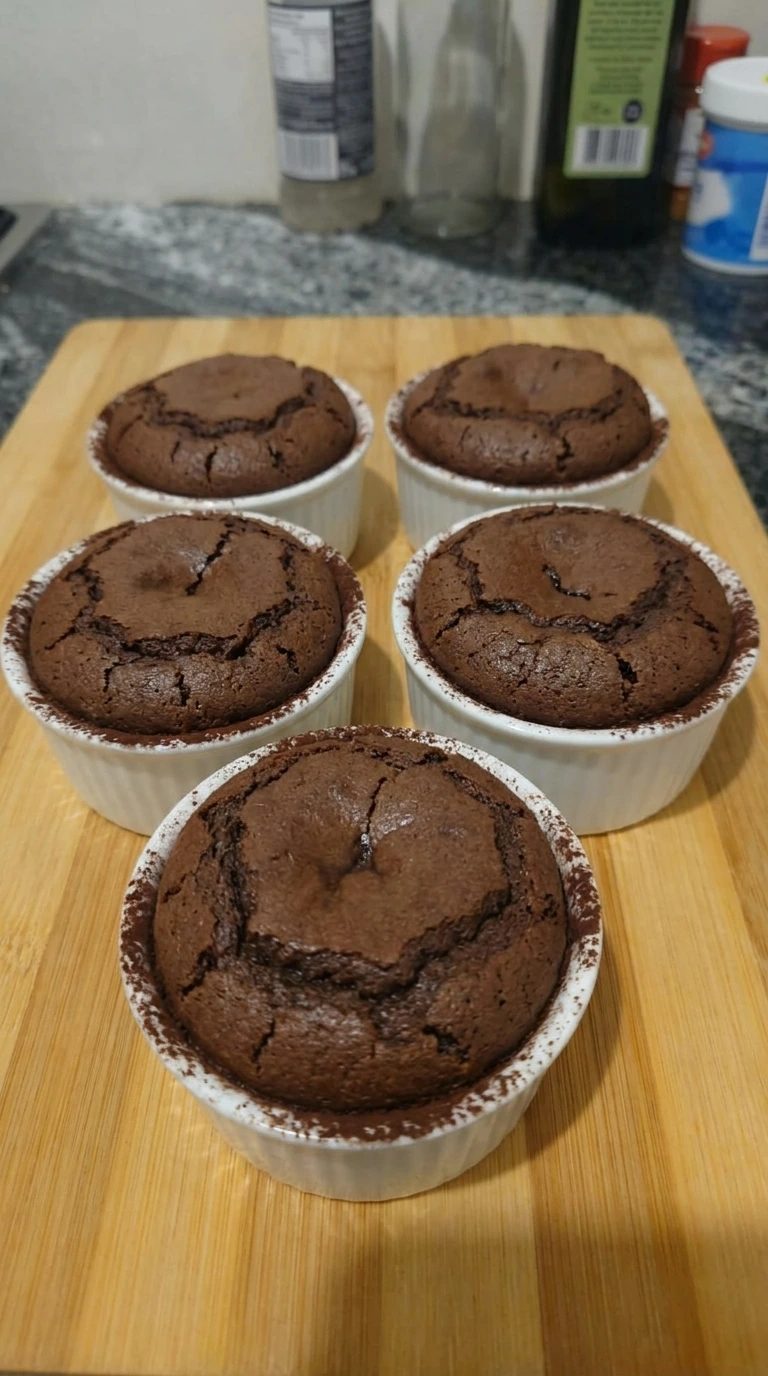
The cakes rise slightly and the tops turn matte with a few shallow cracks while the edges look set and darker and the centers remain just soft enough to hold that molten middle. This is the biggest visual change because the batter transforms into cake with gentle lift and subtle browning and the surfaces become less glossy and more delicate.

-
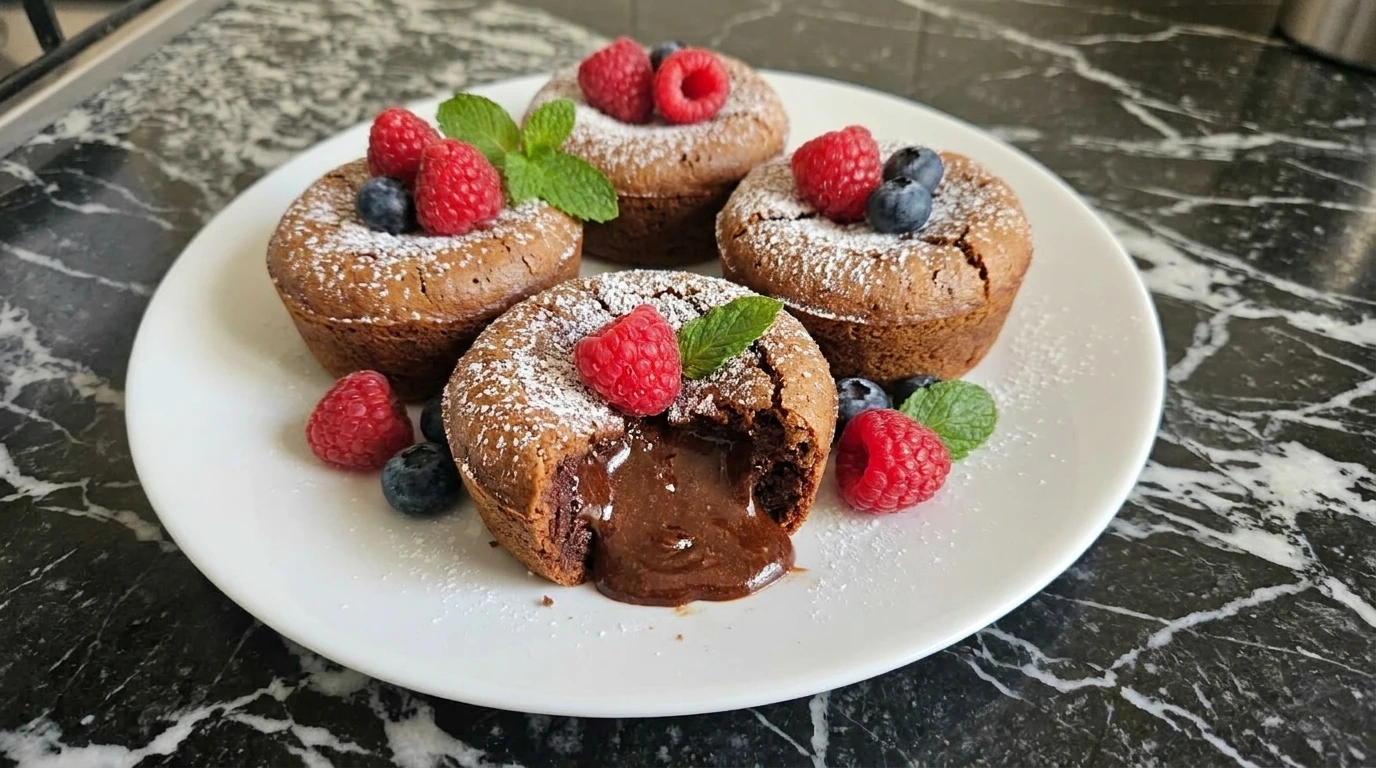
Each cake is released onto a plate and one cake is opened so the warm chocolate center flows out in a thick stream while powdered sugar falls unevenly over the tops and berries sit loosely to the side. The final dish looks soft and rich with slight cracking and non uniform color and a molten middle that gives the plate a casual homemade finish rather than a polished bakery look.

Notes
Questions I Get Asked
Yes, you can fill the ramekins and refrigerate them for up to 6 hours. Bake straight from the fridge and add about 1 extra minute. The batter holds well, but don’t leave it overnight.
Look for set edges and a slightly soft center. The tops should lose their shine and show light cracks. A gentle jiggle should show movement in the middle.
You can, but it will be noticeably sweeter and less rich. The texture stays similar, but the flavor is lighter.
Fresh berries are classic and cut through the richness. You can also add ice cream for contrast. For something lighter earlier in the day, try Healthy Avocado Toast.
It likely baked too long. Even one extra minute can set the middle. Also check your oven temperature, as hotter ovens cook the center faster.
A Final Note
This one always feels like a win.
It’s simple, but it delivers every time if you watch the timing.
If you’re in the mood for more cozy sweets, try the Brioche French Toast or something like Strawberry Cheesecake next.
The molten center forms not from a filling, but from slightly underbaking a high-fat batter so the middle stays fluid.