Raspberry Colada
This one’s cold, creamy, and a little dramatic in color. Raspberry and coconut don’t always get paired, but here they just work. The pineapple smooths everything out so it drinks like a classic colada.
I like making this when I want something that feels like a treat but still fresh. It sits somewhere between a smoothie and dessert. If you’re into lighter starts to the day, pair it with something like <a href=”https://leagueofcooking.

com/healthy-avocado-toast/”>Healthy Avocado Toast and you’re set. The raspberries do most of the heavy lifting. Bright, slightly tangy, and they turn the whole thing that soft pink without trying too hard.
Why You Will Love This
Letting the raspberries sit with sugar for 10 minutes pulls out juice and softens their structure, so they blend smoothly without seeds dominating. Using very cold crushed ice and blending in short bursts keeps the texture thick instead of watery. The mix of coconut cream and cream of coconut balances fat and sugar so the drink stays stable and creamy at cold temperatures.
What You Will Need
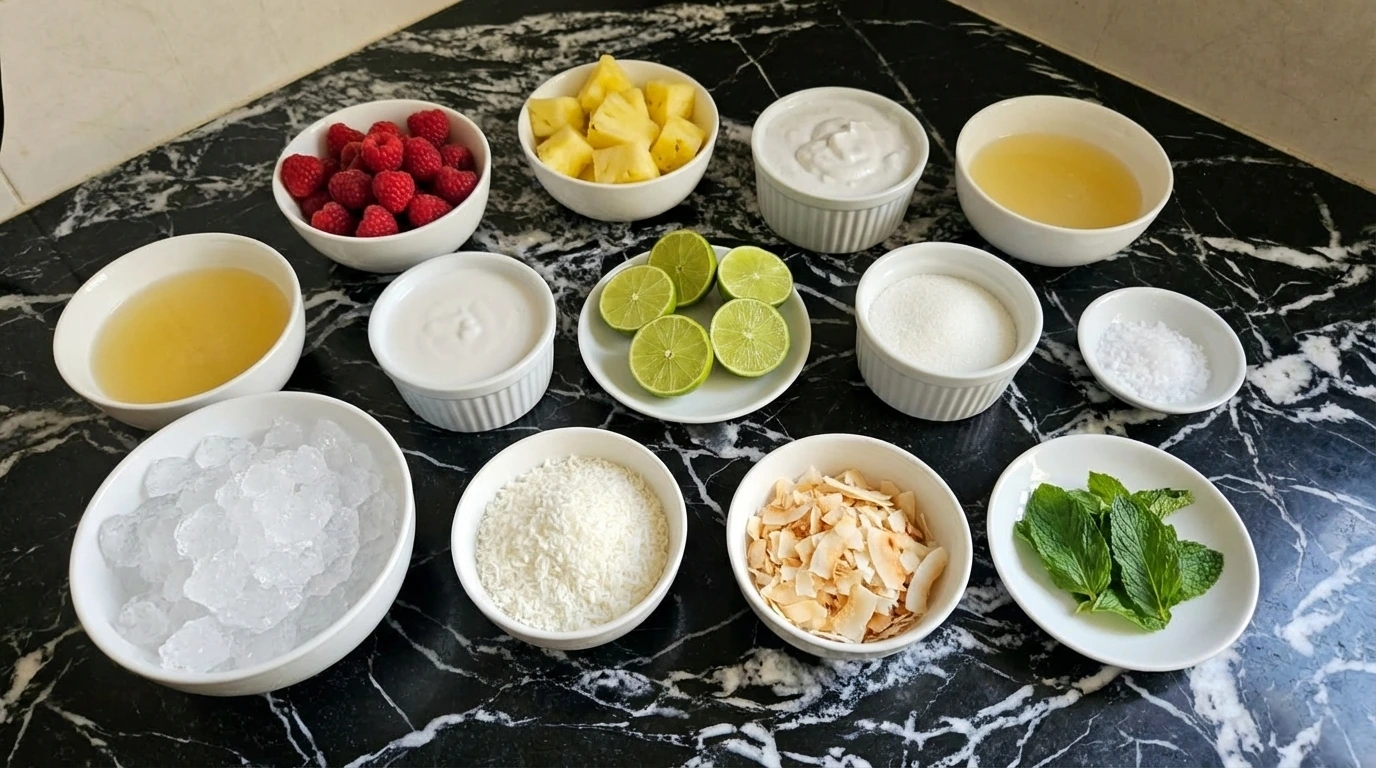
- fresh raspberries: ripe berries for tart flavor and natural pink color
- pineapple chunks: sweet, juicy pieces for body and balance
- coconut cream: thick coconut layer for richness
- unsweetened pineapple juice: light liquid to help the blender move
- cream of coconut: sweetened coconut for flavor and gloss
- fresh lime: zest and juice for brightness
- granulated sugar: draws out juice and softens berries
- fine sea salt: small pinch to sharpen flavors
- crushed ice: very cold ice for frozen texture
- sweetened shredded coconut: for coating the glass rims
- toasted coconut flakes: crispy golden topping
- fresh mint leaves: cool herbal garnish
- extra raspberries: for topping and visual finish
Kitchen Equipment
How to Make It
Step 1: Cut and gather the fruit
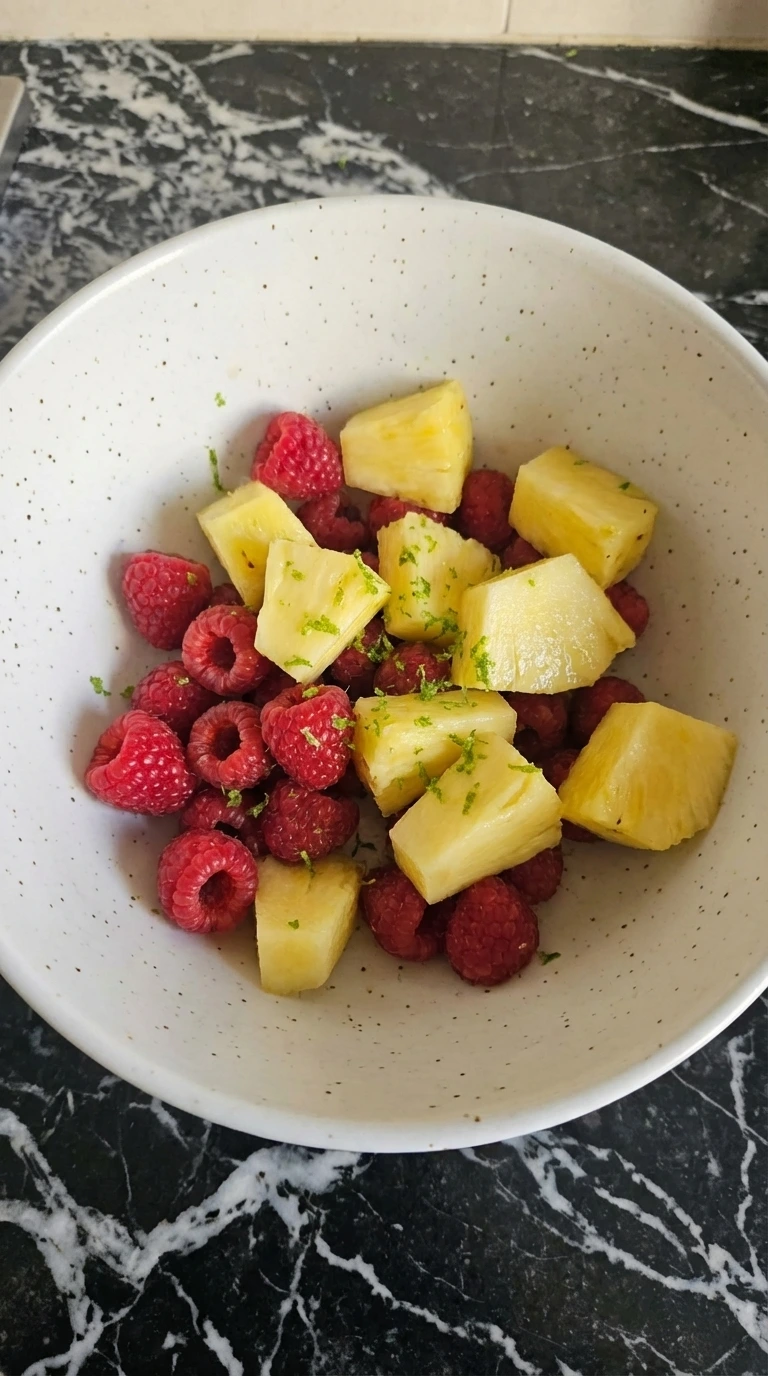
Set everything out at room temperature, about 68°F, and prep for 5 to 7 minutes. Cut the pineapple into uneven chunks and drop them into the bowl with whole raspberries. Use your hands to lightly toss so they mix without crushing. Zest the lime directly over the fruit using short scraping motions. You’ll see bright green flecks cling to the berries. The fruit should look fresh and separate. If you overhandle it here, the raspberries start breaking early and you lose that clean texture.
Tip: Zest right over the bowl so the oils land on the fruit instead of the counter.
Step 2: Measure and season the fruit
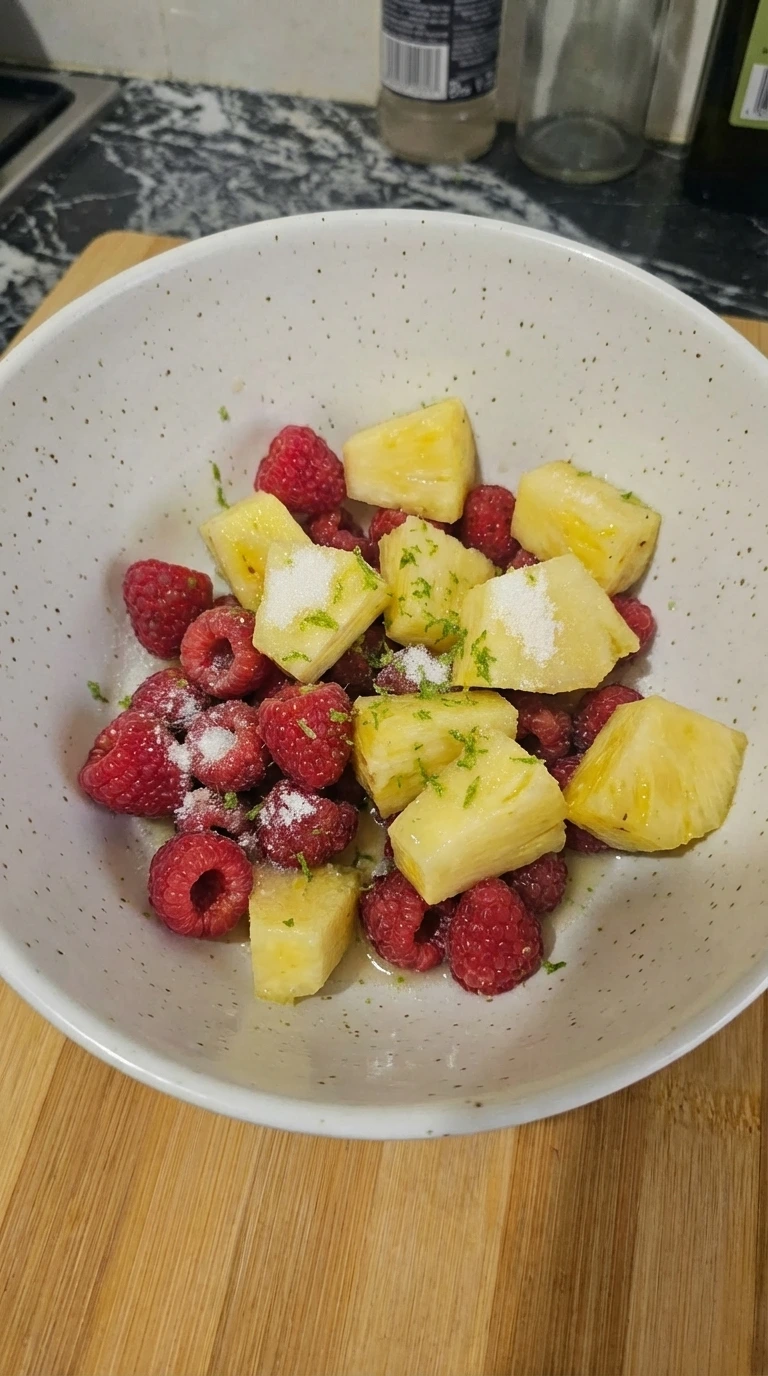
Sprinkle the sugar and salt evenly over the fruit, then squeeze in fresh lime juice for about 30 seconds. Use a gentle folding motion with a spoon so you don’t crush the berries. Let it sit briefly, about 2 minutes, and watch for juices forming at the bottom. The fruit will look glossy. Miss this balance and the drink can taste flat or overly tart later.
Tip: Taste a drop of the juice now. It should be lightly sweet with a small tang.
Step 3: Let the berries soften
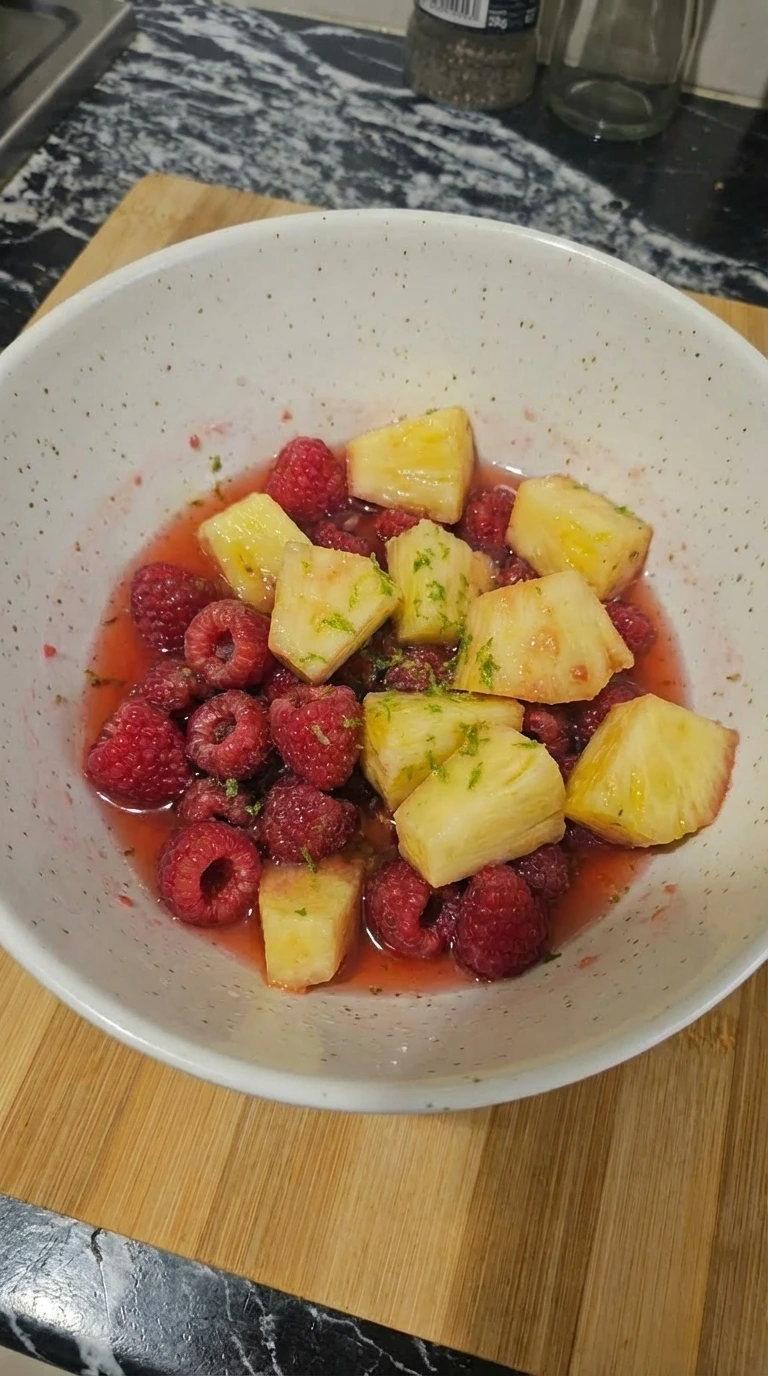
Leave the bowl at room temperature, around 68 to 70°F, for 8 to 10 minutes. Don’t stir during this time. The sugar pulls liquid out naturally. You’ll see the raspberries slump and a rosy syrup form. Give one gentle stir at minute 5. If you rush this, the blender has to work harder and the texture turns gritty. (I used to skip this and always got a duller color.)
Tip: If your kitchen is cold, cover loosely to help the fruit soften faster.
Step 4: Coat the serving glasses
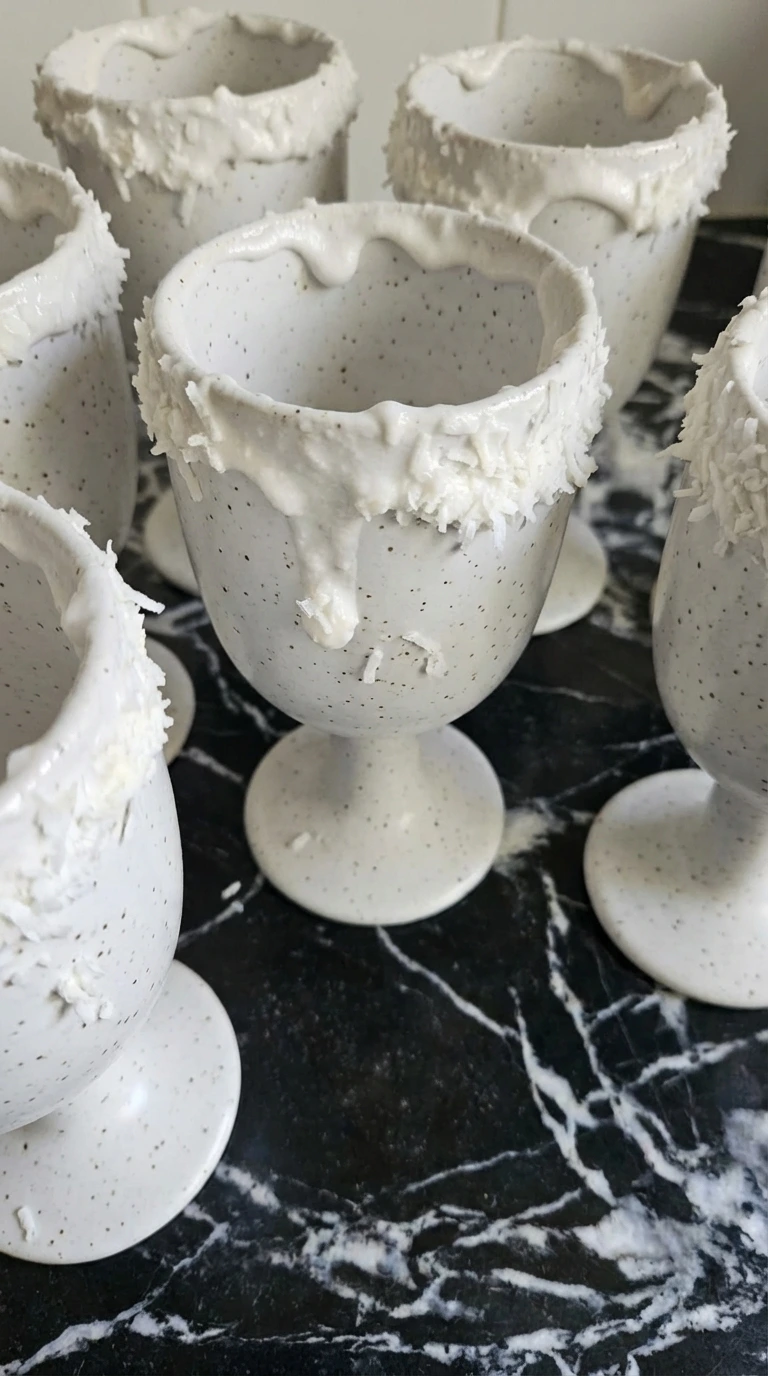
Chill your glasses in the freezer at 0°F for at least 10 minutes before starting. Spread coconut cream around the rim using a circular finger motion. Press into shredded coconut with a light twist. You want uneven coverage. The coconut should stick but not clump. If the glasses aren’t cold enough, the coating slides off and won’t hold.
Tip: Dip just the outer rim, not inside, so the drink stays clean.
Step 5: Add the creamy base

Transfer the fruit and syrup into the blender, then add coconut cream, cream of coconut, and pineapple juice at fridge temp around 38°F. Pour slowly so layers stay visible. Use a spatula to scrape the bowl clean. The mix should look layered with white and pink streaks. If you dump it all fast, it blends unevenly and you lose control over texture.
Tip: Add liquids last so they sit on top and help the blades start smoothly.
Step 6: Mix until thick and frosty

Blend on medium speed, about level 5 out of 10, for 45 to 60 seconds. Pause at 30 seconds and scrape down the sides using a downward motion. Watch for a soft pink color and thick swirl pattern. You should still see tiny berry specks. Overblend past 75 seconds and it turns thin instead of creamy.
Tip: Listen for the blender pitch to deepen. That means it’s thickening properly.
Step 7: Adjust with ice and loosened fruit

Add crushed ice straight from the freezer at 0°F and pulse 5 to 7 times, about 1 second each. Use short bursts, not a continuous blend. The mixture should mound slightly and hold shape. You’ll see small crystals form. If you blend too long, the ice melts and the drink gets watery. (I learned this the hard way after a few soupy batches.)
Tip: Start with less ice and add more if needed. You can’t fix a watered mix.
Step 8: Assemble the drinks
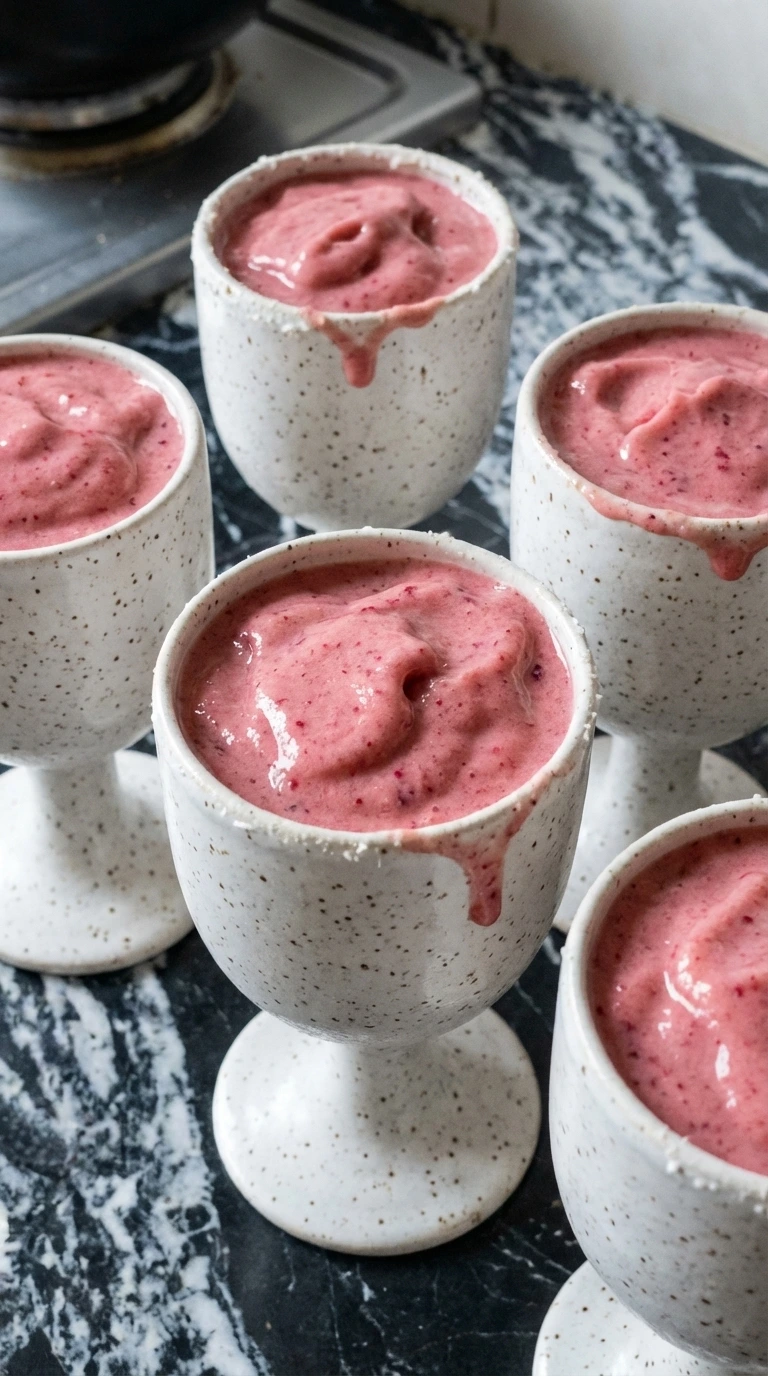
Work quickly while the mixture is still cold, under 35°F, and spoon it into the glasses over 1 to 2 minutes. Use a lifting and dropping motion to create natural swirls. Let it settle for about 30 seconds. You’ll see soft ridges form on top. If you overpack or flatten it, the drink looks dense and loses that airy feel.
Tip: Tap the glass once on the counter to help the mixture settle naturally.
Step 9: Finish with toppings

Scatter toasted coconut over the top immediately while the surface is still cold, around 35°F. Drop it from a few inches above so it lands loosely. Add raspberries and mint with a light press. The coconut should stay crisp and golden. If you wait too long, it sinks and softens into the drink.
Tip: Toast coconut at 325°F for 5 to 7 minutes ahead of time and cool fully.
Step 10: Plate and serve

Serve right away within 2 to 3 minutes while the drink is still frozen. The texture should be thick and slightly mounded at the top. You’ll notice small glossy melt spots forming. That’s perfect. Wait past 10 minutes and it starts separating and losing that creamy body.
Tip: Serve with a wide straw or spoon so you get the full texture.
Pro Tips
- Use very ripe pineapple for a naturally sweeter blend.
- Let raspberries sit until glossy and slightly collapsed for better color.
- Freeze some pineapple chunks if you want a thicker texture.
- Add toasted coconut right before serving so it stays crisp.
Substitutions & Variations
- coconut cream: full-fat coconut milk — slightly thinner result, less rich
- cream of coconut: maple syrup + coconut milk — less glossy and a bit less sweet
- pineapple juice: orange juice — changes the tropical balance but still works
- granulated sugar: honey — adds floral notes and slightly darker flavor
- shredded coconut: crushed graham crumbs — different texture, more dessert-like feel
- raspberries: strawberries — sweeter and less tangy, similar vibe like <a href=”https://leagueofcooking.com/?p=3325″>Strawberry Cheesecake</a>
Storing Leftovers
This is best right after blending. That’s when the texture holds. If needed, freeze for up to 1 hour and re-blend for 20 to 30 seconds. You can also freeze leftovers into pops or re-blend with a splash of juice.
Raspberry Colada
Ingredients
- 2 cups fresh raspberries
- 1 1/2 cups pineapple chunks
- 1 cup coconut cream
- 3/4 cup unsweetened pineapple juice
- 1/3 cup cream of coconut
- 1 whole fresh lime
- 2 tablespoons granulated sugar
- 1/8 teaspoon fine sea salt
- 3 cups crushed ice
- 1/4 cup sweetened shredded coconut
- 2 tablespoons toasted coconut flakes
- 4 leaves fresh mint leaves
- 8 berries extra raspberries
Instructions
-
Add the raspberries and the pineapple chunks to a speckled white ceramic mixing bowl. The pineapple pieces should look a little irregular in size, and the raspberries should sit loosely against them instead of being arranged neatly. Scatter over the lime zest so the bright green flecks catch in random places. At this stage, everything still looks fresh and raw, with the berries whole, the pineapple glossy, and the colors clearly separate.

-
Sprinkle the sugar and sea salt over the fruit in the same bowl, then squeeze in the lime juice. The sugar should fall in uneven patches, and the salt should disappear into the shiny fruit surface rather than sitting in a perfect ring. The fruit now looks lightly seasoned and wetter than before. A little juice begins pooling at the bottom, and the raspberries start to look glossy around the edges while the pineapple takes on a brighter, slicker surface.

-
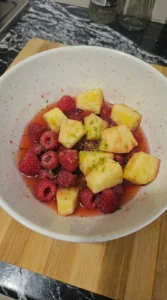
Let the bowl sit so the raspberries can soften and the sugar can draw out more juices. The berries should slump slightly, with a few collapsing into the liquid while the pineapple pieces remain chunkier and more defined. This is the point where the mixture visibly shifts from raw and dry to softened and lightly marinated. The juices turn rosy, the bottom of the bowl looks syrupy, and the fruit no longer looks crisp and untouched.
-
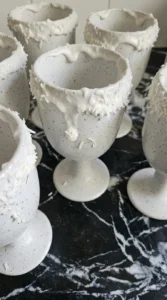
Spoon a little coconut cream around the inside edge of four chilled speckled white ceramic goblets, then press the rims into shredded coconut. The coating should look uneven and homemade, with some areas more thickly covered than others. Visually, this step adds the first creamy element. The white coconut clings in rough patches, and a few stray flakes stick lower on the rim instead of forming a perfect border.
-
Transfer the softened fruit and its rosy juices into a blender jar, then add the coconut cream, cream of coconut, and pineapple juice. The liquids should settle around the fruit in loose layers, with creamy white streaks drifting through the pink and yellow. Nothing is blended yet, so the ingredients are clearly separate but beginning to mingle. The look is part layered, part pooled, with heavy creaminess resting over the fruit and juice collecting in uneven pockets.

-
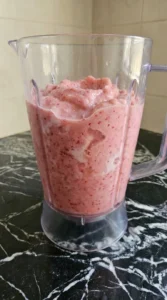
Blend the mixture until the fruit breaks down and the color turns a cloudy blush pink. The texture should look thick and creamy, but not perfectly smooth, with tiny specks of raspberry and soft pale streaks of coconut still visible. The visual change here is major: the separate ingredients become one frosty mixture. The ice and fruit soften into the liquid, creating a heavier slush with rounded swirls and a colder, fuller body.
-
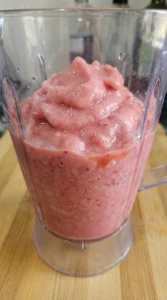
Add the crushed ice and pulse again just until the mixture turns thicker and more mounded, with small uneven crystals throughout. The drink should visibly evolve from creamy to frozen and piled, with softer edges where the ice starts to melt into the fruit base. This stage brings that raw-to-softened-to-melted progression into focus. The slush looks colder, denser, and slightly airy on top, while the bottom remains a little looser and more glossy.
-
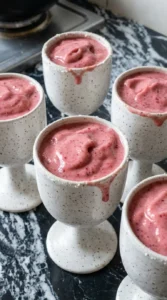
Spoon and pour the frozen mixture into the coconut-rimmed goblets, letting it settle in natural swirls. Some glasses can sit a little fuller than others, and a few drips or smears near the rim make the presentation feel real rather than overly styled. The drink now looks close to finished, with thick pink curves pressing against the white ceramic and a soft, creamy mound forming at the top. The surface should be imperfect, with dips, ridges, and a few berry flecks visible.
-
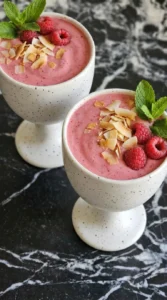
Scatter toasted coconut flakes over the tops so they land unevenly, then tuck in the extra raspberries and mint leaves without forcing them into perfect alignment. The golden flakes should cling in random spots, with some sinking slightly into the creamy surface. This finishing step adds the final contrast the drink needs. The toasted coconut brings slight golden-brown color, the mint adds fresh green movement, and the top now looks layered, textured, and ready to serve.
-
Set the finished goblets together as the final plated dish, with the frozen drink slightly settled and the garnish looking naturally relaxed. The tops should show creamy melted patches between the toasted coconut, and the pink mixture should have a rich, thick look instead of anything pale or flat. This is the fully finished Raspberry Colada: frosty, creamy, visibly blended, and topped with slight golden-brown color from the toasted coconut. The surface is imperfect in the best way, with uneven garnish, soft melt around the edges, and a homemade, ready-to-serve finish.

Notes
Questions I Get Asked
You can prep the fruit and store it chilled for a few hours. Blend right before serving for the best texture. Freezing too long makes it icy.
Usually too much blending or warm ingredients. Use colder liquids and pulse the ice instead of fully blending it.
It already is. Just make sure your coconut products don’t include dairy additives.
Wrap Up
This one’s all about balance. Bright berries, creamy coconut, and that icy texture.
Once you get the timing down, it’s easy to repeat. And if you want something lighter next time, try the <a href=”https://leagueofcooking.
com/? p=3204″>Detox Green Smoothie.
Raspberries naturally contain tiny air pockets, which helps blended drinks feel lighter and less dense.