3 Ingredient Oreo Dessert
This one’s for the nights when you want dessert now, not after a long prep. It’s soft, chocolatey, and honestly a little surprising the first time you pull it from the oven. You crush Oreos, stir in milk and baking powder, and somehow it turns into a tender little cake.
I make it right after something light like Healthy Avocado Toast (https://leagueofcooking. com/healthy-avocado-toast/) when I want balance without overthinking it. It’s the kind of thing you can throw together in 20 minutes and still feel like you made something special.
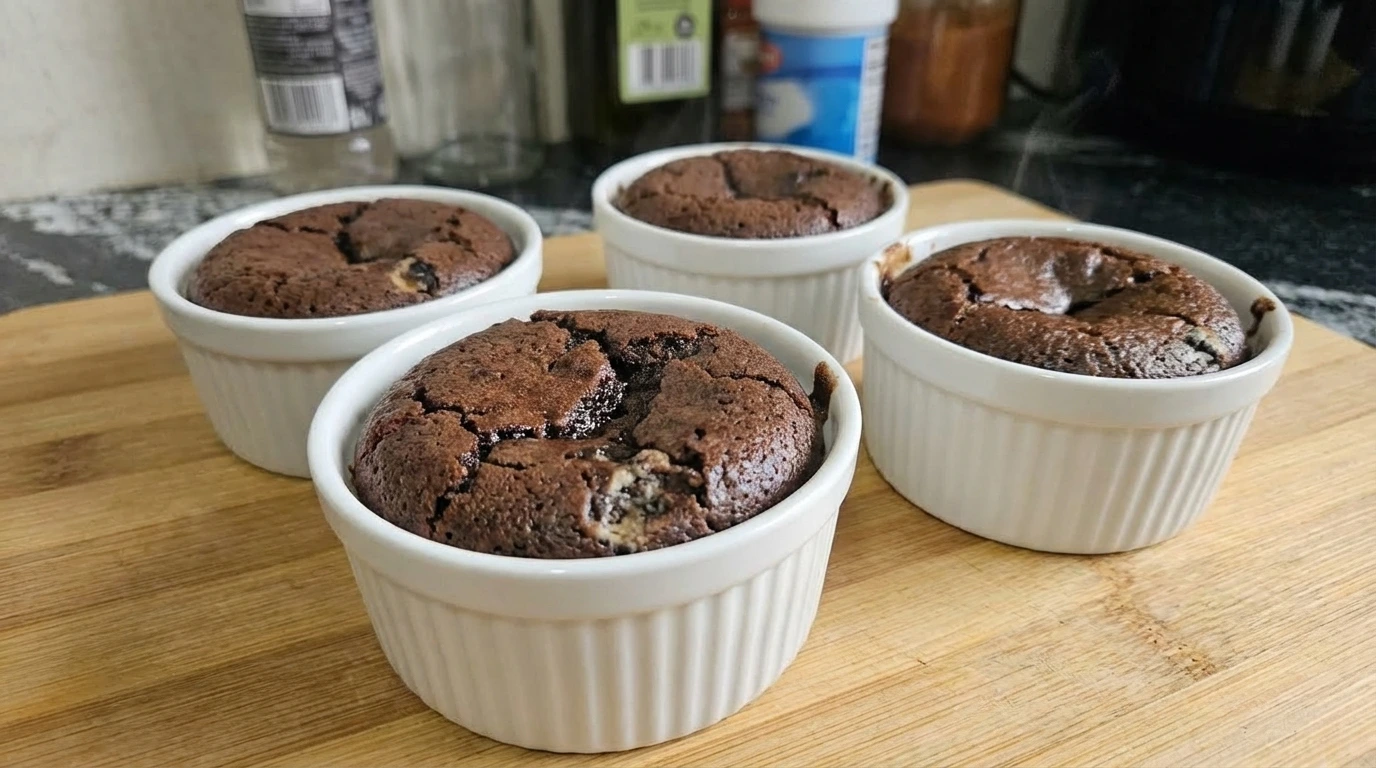
No mixer, no fuss, just warm cookies and cream in a spoonable form.
Why You Will Love This
The baking powder reacts once the crumbs are fully hydrated, so giving the batter a short rest before baking helps it lift evenly. Baking at 350°F sets the edges while keeping the center soft, which is why timing matters so much. Too long in the oven and the moisture from the filling cooks off, leaving it dry.
Ingredients

- Oreo sandwich cookies: Regular Oreos work best so the cookie-to-cream ratio stays balanced and the crumbs bind properly.
- Milk: Whole or 2% milk helps soften the crumbs quickly and creates a thick, scoopable batter.
- Baking powder: A small amount gives lift during baking so the dessert turns light instead of dense.
Kitchen Equipment
Method
Step 1: Crush the Oreo cookies
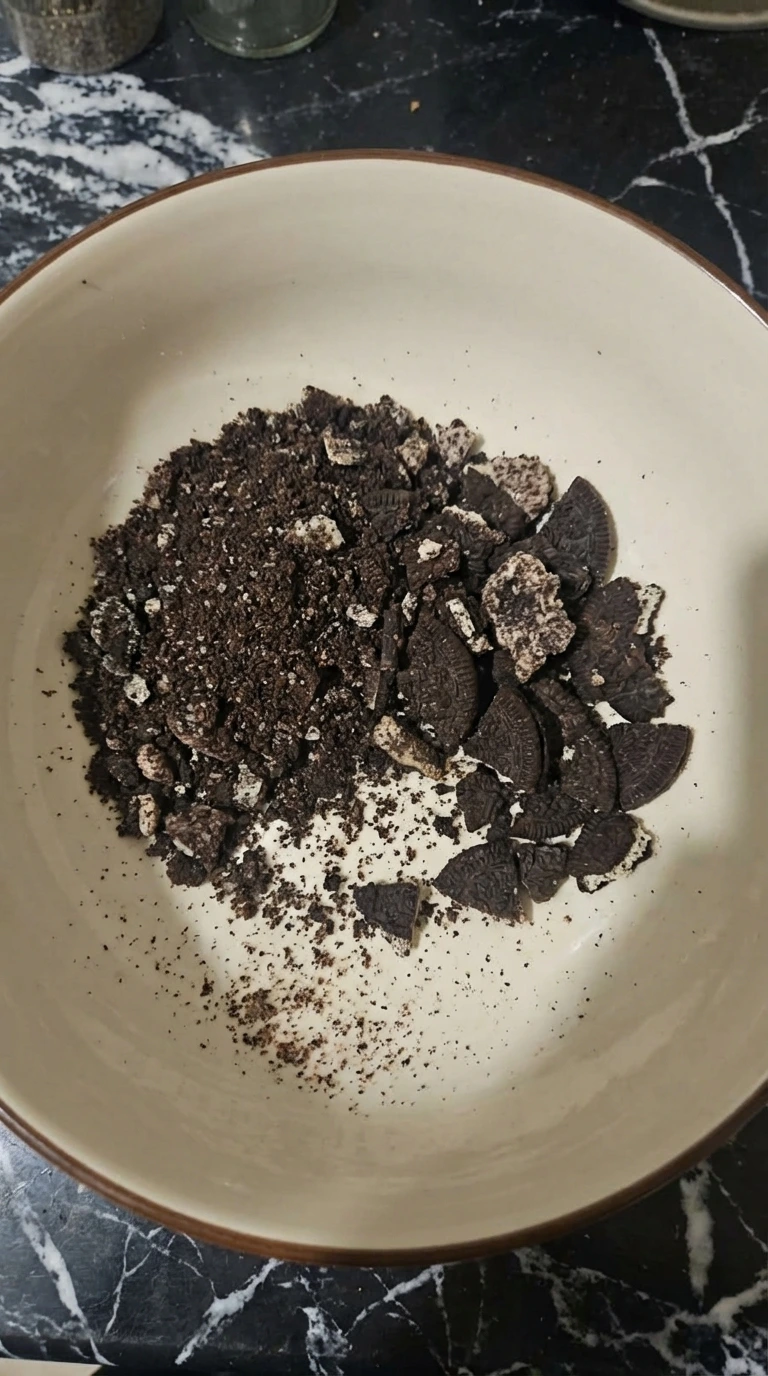
Set yourself up at room temp, about 70°F, and crush the cookies for 3 to 4 minutes until you have mostly fine crumbs with a few small chunks. Use a pressing and rubbing motion between your fingers or the back of a glass. You want it uneven on purpose. You’ll see the crumbs start dry, then slightly clumpy as the filling warms and sticks. That’s your cue. If you over-crush, the mix turns pasty and dense later, and you lose that nice texture on top.
Tip: A zip-top bag and rolling pin make this faster and less messy.
Step 2: Mix in the milk and baking powder
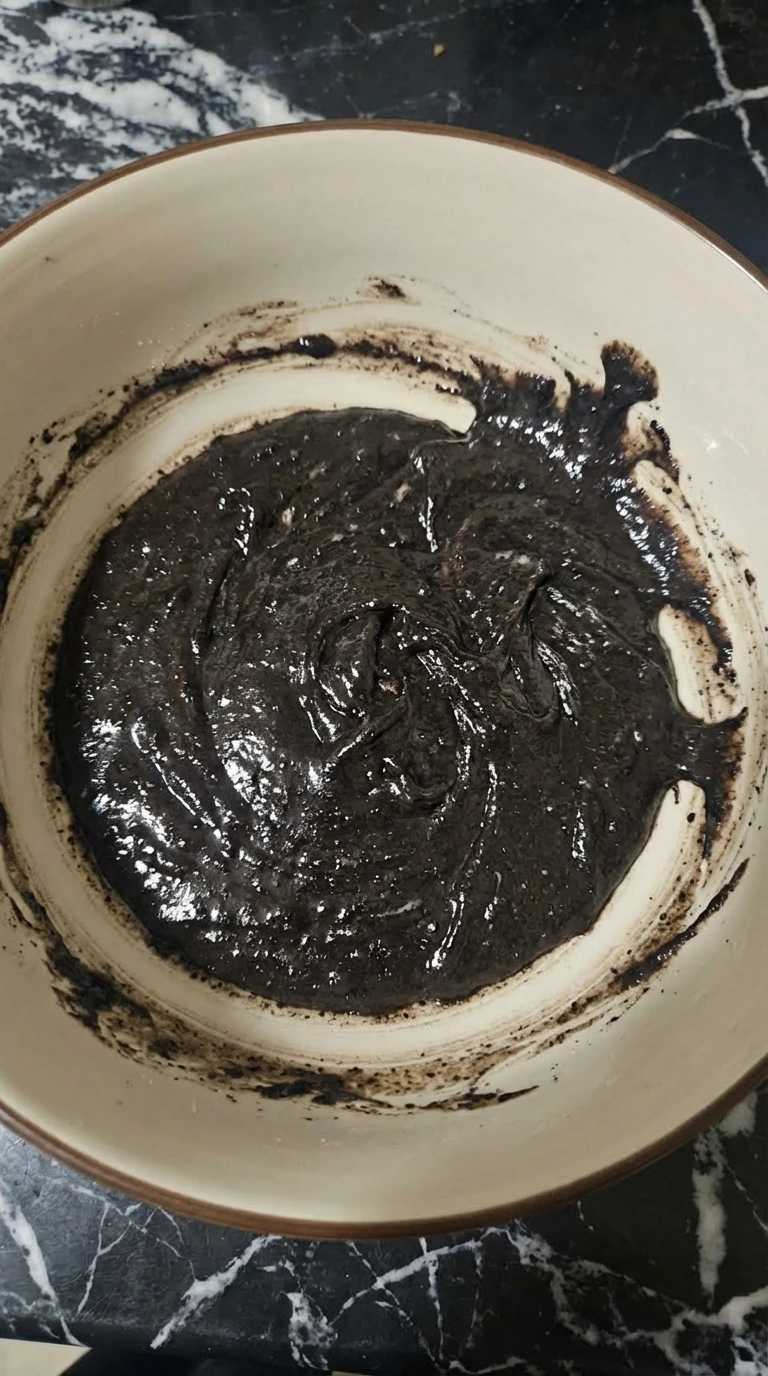
Pour in the milk and sprinkle the baking powder, then stir for about 60 to 90 seconds using a folding motion. Scrape the sides halfway through so no dry pockets hide at the edges. Aim for a thick batter that slowly drops off the spoon. You’ll notice it turn glossy and slightly airy as you mix. That’s the baking powder starting to activate. Stop once it’s mostly smooth with a few bits left. Overmixing for more than 2 minutes knocks out the air and makes it heavy.
Tip: Let the batter sit for 1 minute before portioning so it thickens slightly.
Step 3: Divide the batter into ramekins
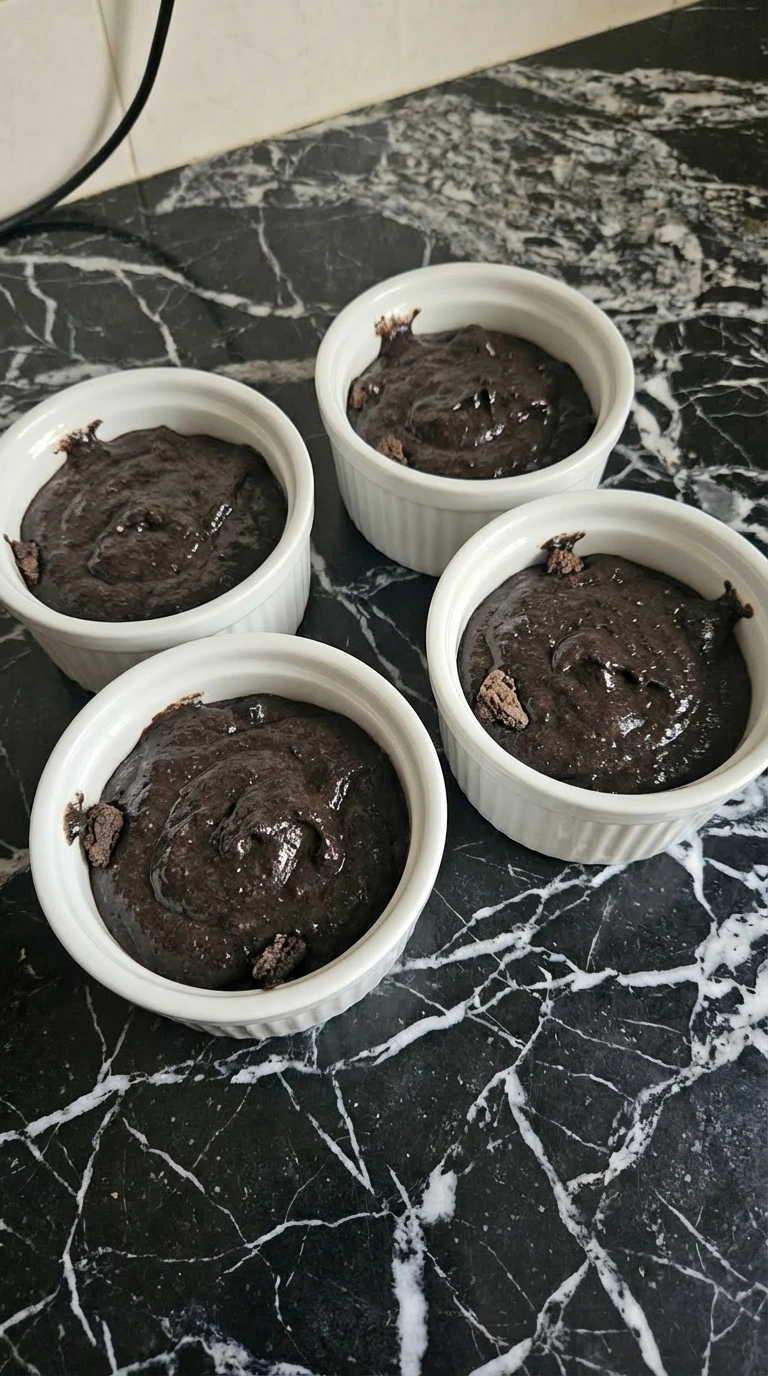
Preheat your oven to 350°F, then spoon the batter evenly into four ramekins over 2 to 3 minutes. Use a scoop and gently drop it in, then lightly tap each ramekin once on the counter to settle. The tops should look uneven with soft peaks and dips. That’s perfect. If you smooth it too much, the tops won’t crack as nicely during baking, and you miss that rustic look and texture.
Tip: Fill each ramekin about three-quarters full so they have room to rise.
Step 4: Bake until puffed and cracked
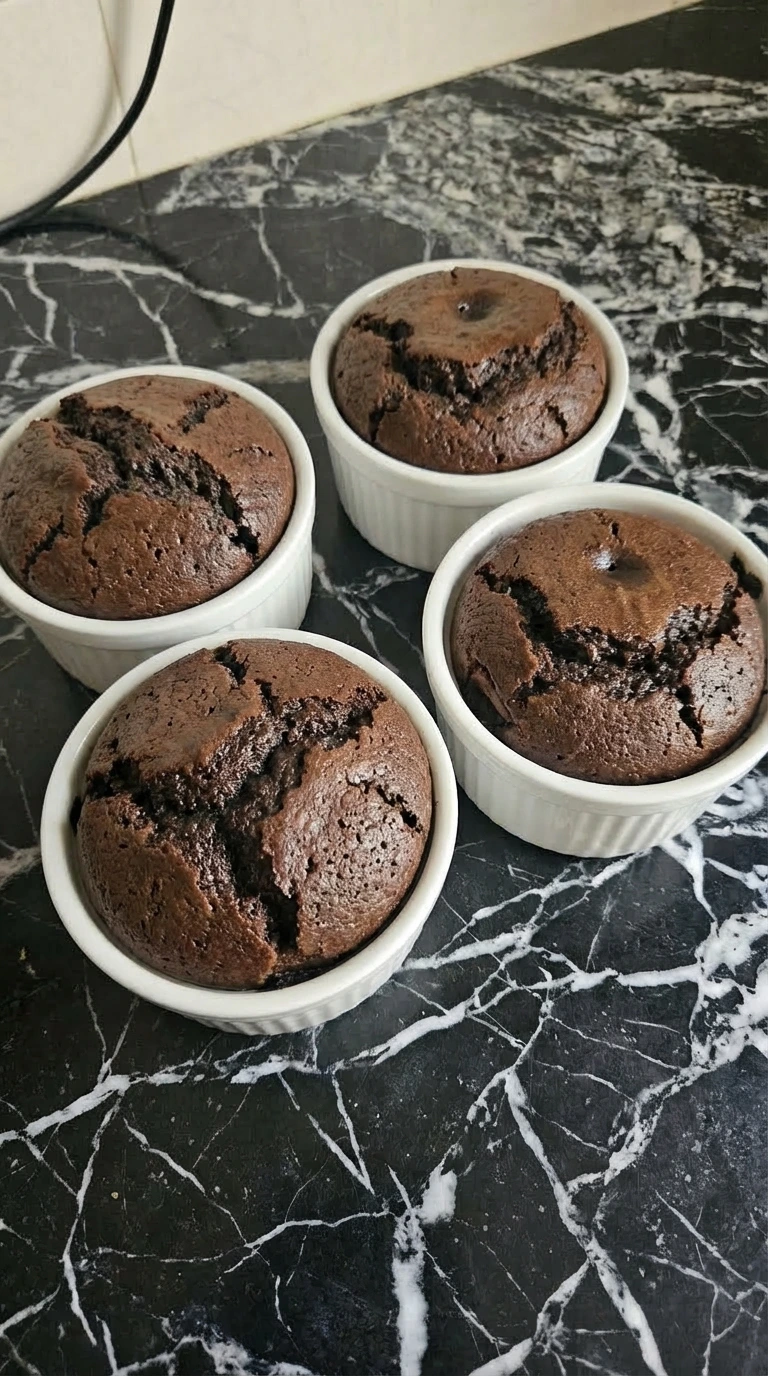
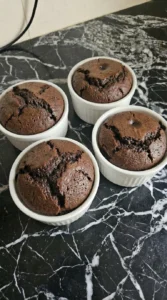
Place the ramekins in the 350°F oven and bake for 12 to 15 minutes. Don’t open the door until at least minute 10. The heat needs to stay steady for the lift to work. You’ll see the tops puff, then split into small cracks, with darker edges forming. You’ll smell a warm chocolate aroma right at the finish. Pull them as soon as the centers look just set. Go past 15 minutes and the bottoms start to dry out.
Tip: Rotate the tray at minute 10 if your oven has hot spots.
Step 5: Serve one warm portion
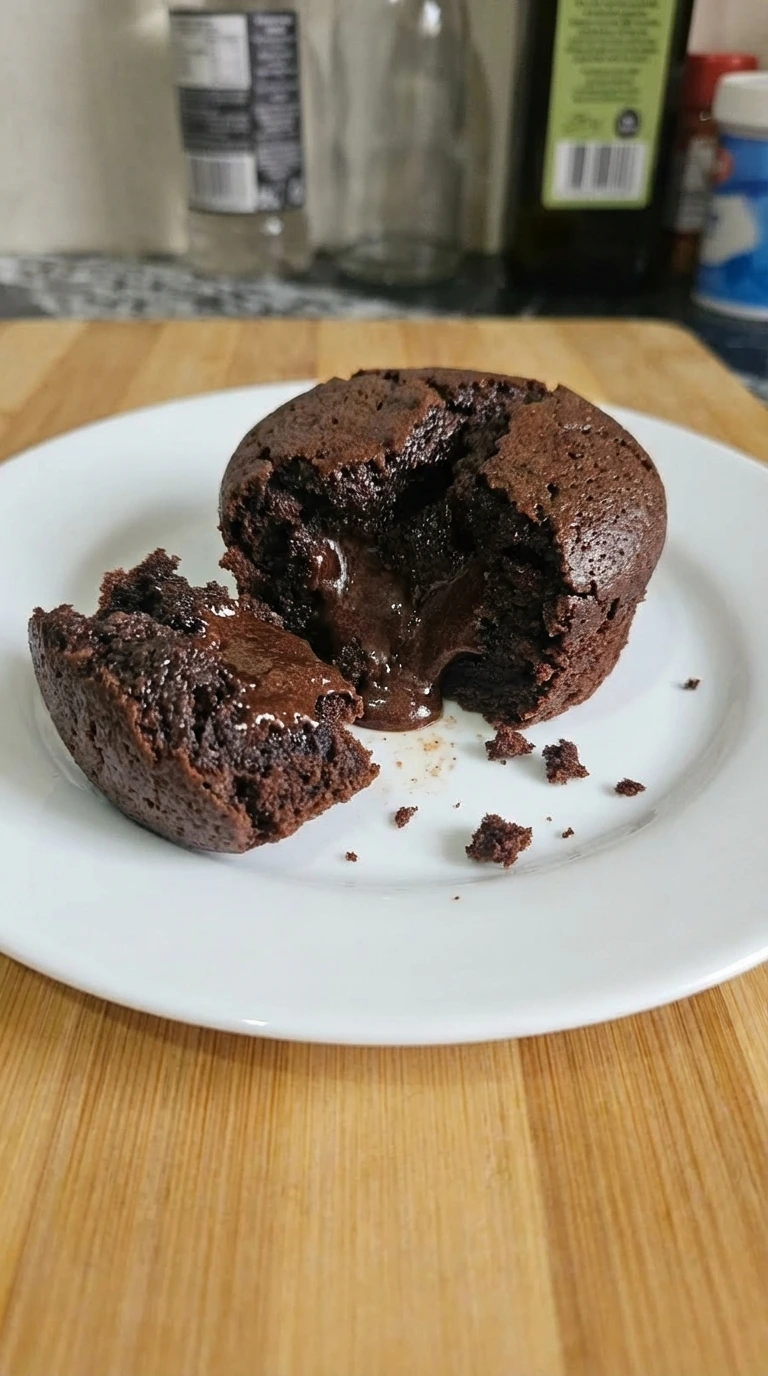
Let the ramekins sit for 2 to 3 minutes out of the oven at room temp, then scoop and serve. Use a spoon to break into the center with a gentle press so it opens naturally. You’ll see a soft, slightly molten middle with a crumbly edge. That contrast is what you want. (I used to wait too long to serve, and the center always firmed up more than I liked.) Miss this window and it turns more cake-like than soft.
Tip: Add a splash of cold milk or a scoop of ice cream right before serving.
My Best Tips
- Stick with regular Oreos for the right balance of crumb and filling.
- Keep some crumbs slightly chunky for better texture after baking.
- Pull them from the oven as soon as the center sets to keep it soft.
- Serve warm so the middle stays tender and slightly gooey.
Make It Your Own
- Milk: Almond or oat milk — Works fine but the flavor is slightly lighter and less creamy.
- Oreo cookies: Gluten-free chocolate sandwich cookies — Keeps it gluten-free but texture may be a bit more crumbly.
- Oreo cookies: Chocolate cream biscuits — Similar result but sweetness and filling texture can vary.
- Milk: Evaporated milk — Richer texture but slightly denser finish.
- Baking powder: Self-rising flour (1 tablespoon added) — Changes texture to more cake-like. Try it with Strawberry Cheesecake (https://leagueofcooking.com/?p=3325) style toppings.
Storing Leftovers
Let everything cool completely before covering. Store in the fridge in an airtight container for up to 3 days. Reheat in the microwave for about 20 to 30 seconds until just warm. Any longer and the center firms up too much.
3 Ingredient Oreo Dessert
Ingredients
- 24 cookies Oreo sandwich cookies
- 1 cup Milk
- 1 teaspoon Baking powder
Instructions
-
Break the 24 Oreo cookies into fine dark crumbs with a few larger pale cream flecks still visible so the mixture looks uneven and natural. The crumbs should look dry and loose at first and then slightly clumpy from the filling as the cookie pieces rub together.

-
Pour the milk over the crumbs and scatter in the baking powder so the dark crumbs start soaking and turning glossy. As everything comes together the mixture changes from loose crumbs into a thick speckled batter with tiny pale streaks and irregular pockets of softened cookie.

-
Spoon the batter into four ramekins so each one is filled unevenly with soft peaks and little dips across the top. The batter now has structure and sits in thick mounds while a few darker cookie bits rest near the edges instead of disappearing into a flat surface.
-
As the dessert bakes the tops rise and split with small cracks while the colour turns deeper at the edges and slightly lighter on the lifted ridges. The batter changes into soft cake with a tender center and a few darker browned spots that make each ramekin look homemade and different.
-
Scoop one warm portion onto a white plate so the inside shows a soft slightly molten center and broken cookie crumb texture. The plated serving looks rustic and imperfect with jagged edges and natural cracks and a darker baked top resting over the lighter tender middle.

Notes
Frequently Asked Questions
Yes, but increase the bake time to about 18 to 22 minutes at 350°F. The center will be slightly less soft compared to individual portions.
It likely baked too long. Even 2 extra minutes can dry it out. Pull it as soon as the center looks set but still soft.
You can try 60 to 90 seconds on high per ramekin. The texture will be softer but less structured than oven baking.
Final Thoughts
If you want something quick, warm, and chocolatey, this one really delivers. It’s simple, reliable, and hard to mess up once you get the timing right.
Pair it after something light like Detox Green Smoothie (https://leagueofcooking. com/?
p=3204) and you’ve got a pretty great balance going.
The cream filling in Oreos actually helps bind the batter here, acting like both sugar and fat in a traditional cake.