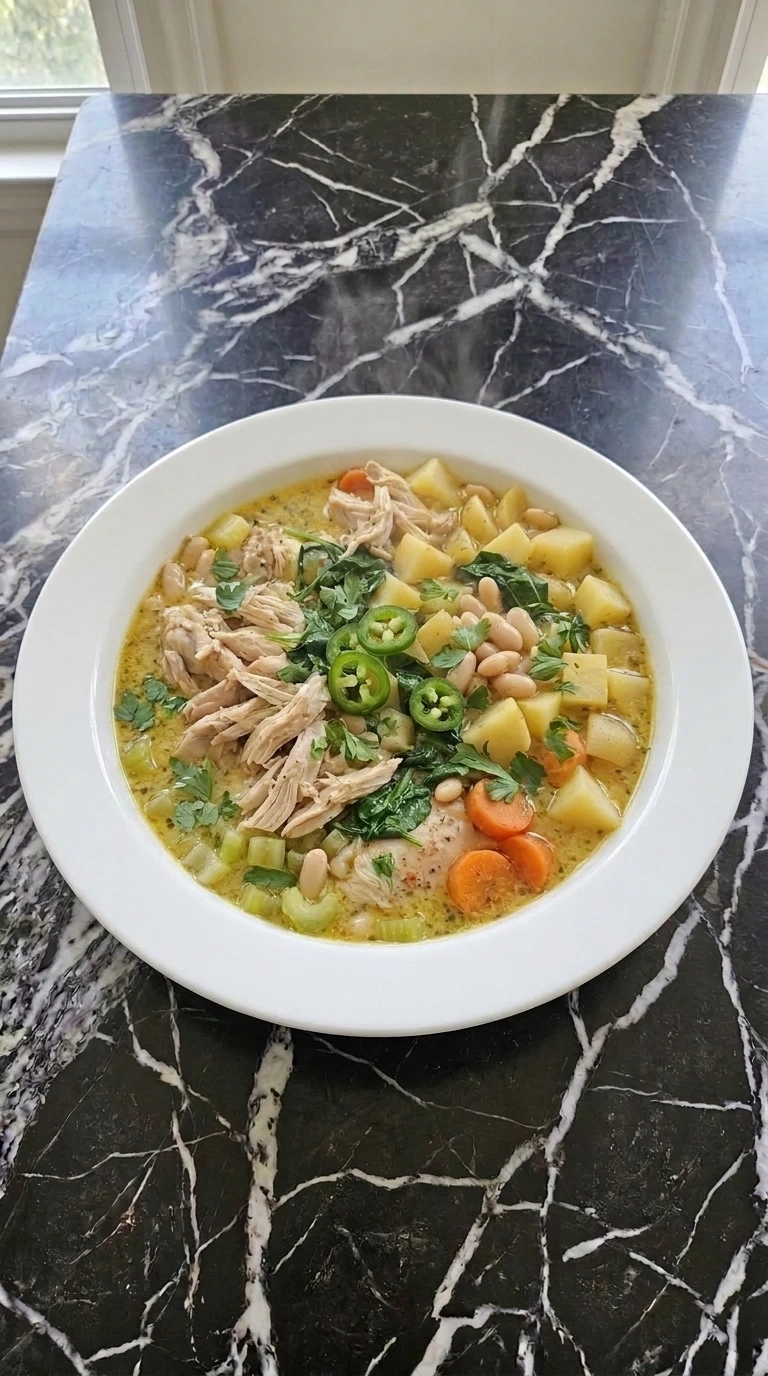
Thanksgiving Butternut Squash
I honestly haven’t shared many squash recipes on my blog yet, but this Thanksgiving Butternut Squash was one I really wanted to bring you. It’s inspired by classic holiday cooking, and it’s easy to make with those cozy fall flavors everyone loves. The dish is packed with a creamy texture and naturally sweet roasted squash that makes every bite feel warm, filling, and comforting.
When people think about butternut squash thanksgiving recipes, they often skip them because they assume they’ll take too much time or effort. But this version keeps things simple and shows just how delicious roasted butternut squash can be as a beautiful holiday centerpiece. If you love seasonal fall flavors, you might also enjoy our Easy Slow Cooker Tomato Soup for Cozy Fall Dinners for another comforting meal.

This recipe is especially useful for: thanksgiving butternut squash recipes, butternut squash recipes thanksgiving.
The Science Behind It
Roasting the butternut squash at 375°F allows the natural sugars to caramelize without drying the flesh. The creamy filling works because softened cream cheese combines with shredded mozzarella to create a stable texture during baking.
The short rest after baking keeps the filling from sliding out when served. For another cozy seasonal option, try our Creamy Roasted Red Pepper and Tomato Soup with this holiday meal.
Thanksgiving Butternut Squash Ingredients
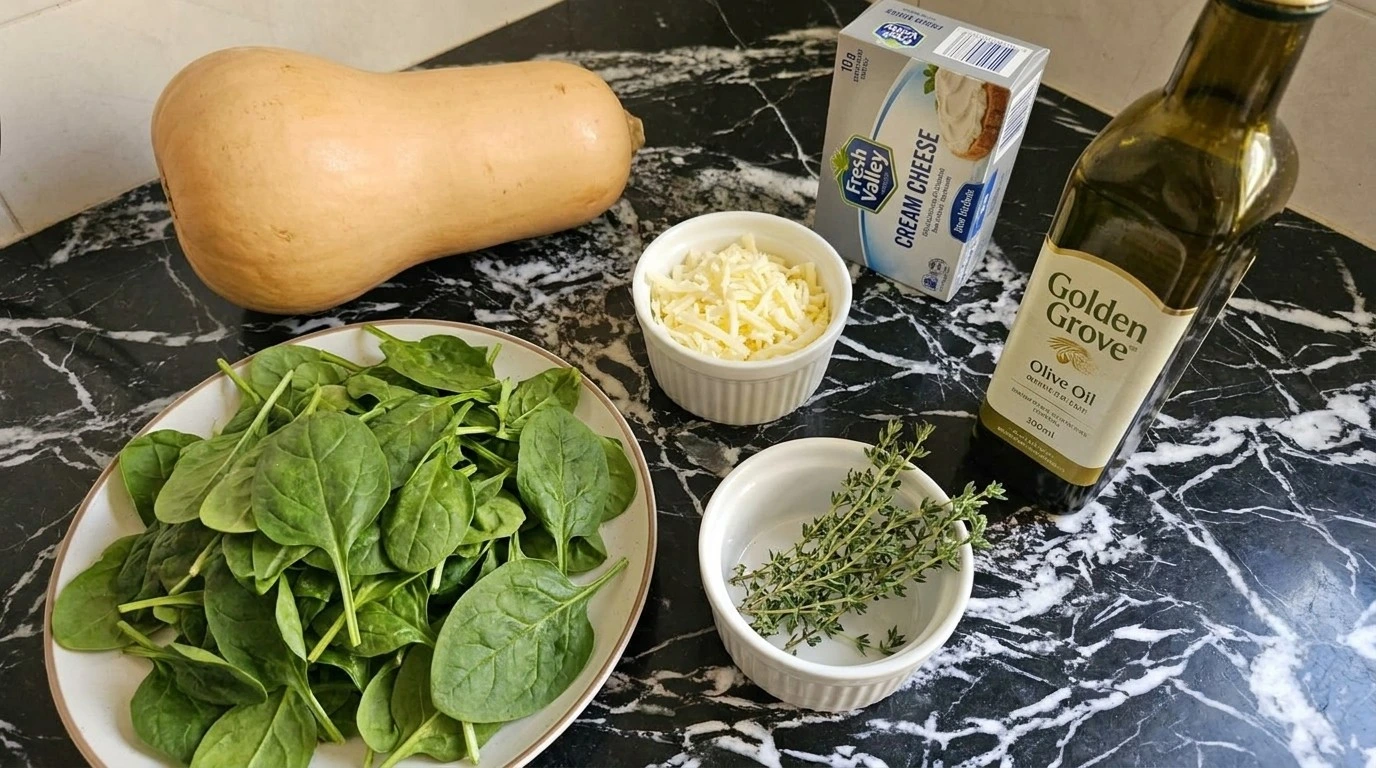
- butternut squash: Halved lengthwise and seeded to create the roasted serving shells.
- olive oil: Brushed over the squash surface to help browning and prevent drying.
- sea salt: Added for seasoning and balancing the natural sweetness of squash.
- black pepper: Ground fresh to add mild warmth to the filling.
- fresh thyme: Used for roasting flavor and added as a fresh finishing herb.
- cream cheese: Softened before mixing to create a smooth creamy filling.
- shredded mozzarella cheese: Added to create melted texture and golden baked spots.
- spinach: Chopped and folded into the filling for color and flavor.
- garlic: Minced to add savory depth to the cheese mixture.
What You’ll Use
- Large baking tray: A heavy 13×9 inch baking tray gives the squash space to roast evenly and prevents crowded pieces from steaming instead of caramelizing.
- Mixing bowl: A medium bowl helps combine the creamy filling and should be large enough for folding ingredients without spilling.
How to Make Thanksgiving Butternut Squash Step by Step
Step 1: Halve and season the butternut squash

Preheat the oven to 375°F. Cut 2 medium butternut squash lengthwise and remove the seeds. Brush the cut sides with 2 tablespoons olive oil, then season with sea salt black pepper and thyme.
Roast at 375°F for 25 to 30 minutes with the cut side facing down. Turn the squash over after 20 minutes using a gentle flip motion. You’ll see softened orange flesh with caramelized edges and smell the sweet roasted aroma.
(I tried 400°F first, the edges darkened before the center softened. ) Miss this timing and the squash stays firm inside. Roasting at 375°F keeps the sugars caramelizing while the flesh softens evenly.
Tip: Choose squash with a firm matte skin because softer squash can release extra water during roasting.
Step 2: Scoop and mix the creamy filling

Scoop some roasted butternut squash flesh into a bowl while leaving the shells intact. Mix 4 ounces cream cheese, 1 cup shredded mozzarella cheese, 1 cup chopped spinach, and minced garlic at room temperature for 3 to 4 minutes using a folding motion.
The filling should look creamy with green spinach pieces evenly distributed. You’ll notice the cheese mixture becomes smooth and smells savory from the garlic.
Skip this balance and the filling can become heavy or watery. Mixing gently for 4 minutes helps the cheese hold structure during baking.
Tip: Let cream cheese soften for 30 minutes before mixing so the filling blends without lumps.
Step 3: Fill and bake the squash halves

Spoon the creamy mixture into the roasted squash cavities and spread it unevenly. Bake at 375°F for 15 to 18 minutes until the cheese melts and the tops begin to turn golden. Use a gentle spreading motion so the filling stays inside the squash.
You’ll see bubbling cheese with browned spots across the surface. The edges become deeper orange and the filling smells rich and warm. (My first batch used too much filling and overflowed.
Keeping a slight gap fixes it. ) Bake within this window because longer cooking can dry the filling. The heat melts cheese proteins while keeping the squash moist.
Tip: Leave about half an inch of space below the rim so melted filling stays contained.
Step 4: Finish and plate the roasted squash

Remove the baked squash and rest it for 5 minutes before adding fresh thyme leaves. Transfer one filled squash half to a plate and arrange it with a slight angle. Use a small garnish motion to place herbs without covering the browned filling.
The surface should show melted cheese, golden patches, and natural uneven browning. You’ll smell roasted squash and herbs immediately. Don’t skip the short rest because the filling needs time to settle.
Resting 5 minutes keeps the creamy center stable for serving.
Tip: Add fresh herbs after baking because high heat dulls their bright flavor.
Tips and Tricks
- Choose butternut squash that feels heavy for its size and has firm skin because fresher squash caramelizes better during the 375°F roast.
- Cut the squash halves as evenly as possible at about the same thickness so they soften within the same 25 to 30 minute roasting window.
- Avoid adding extra filling above the rim because the cheese expands while baking for 15 to 18 minutes and can spill over.
- Use freshly shredded mozzarella instead of pre-shredded cheese when possible because it melts smoother and creates better golden patches.
- Rest the baked squash for 5 minutes before serving so the creamy center thickens slightly and holds its shape.
- Add fresh thyme after baking instead of before because the herbs keep a brighter flavor and fresher aroma.
- Add 1/2 cup cooked crumbled bacon and extra black pepper for a smoky holiday version with a richer savory filling.
- Mix 1/4 teaspoon nutmeg into the cheese filling for a sweeter autumn flavor that pairs well with roasted squash.
- Replace spinach with 1 cup sautéed mushrooms for an earthy variation that adds more texture to the creamy center.
- Create a lighter version by using Greek yogurt instead of half the cream cheese, but expect a tangier filling with a softer set.
Variations to Try
- cream cheese: dairy-free cream cheese alternative — Use the same 4 ounces for a dairy-free version. The filling becomes slightly lighter and may have a softer texture because plant-based versions contain different stabilizers.
- shredded mozzarella cheese: shredded dairy-free mozzarella — Replace with 1 cup dairy-free mozzarella if avoiding dairy. It melts differently and usually creates fewer golden spots, but it keeps the creamy texture.
- spinach: chopped kale — Use 1 cup chopped kale instead of spinach. Kale gives a stronger earthy flavor and needs an extra 2 minutes of mixing to soften before baking.
- fresh thyme: fresh rosemary — Use 1 tablespoon finely chopped rosemary instead of thyme. The flavor becomes more pine-like and stronger, so reduce the amount to avoid overpowering the squash.
Storage Tips
Keep any leftover Thanksgiving Butternut Squash in an airtight glass container and store it in the refrigerator for up to 4 days. If you’d like to save it longer, you can freeze the baked halves for up to 2 months. Just wrap each portion tightly before placing it in a freezer bag to help protect the flavor and texture.
When you’re ready to enjoy it again, thaw the frozen portions overnight in the refrigerator before reheating. Warm individual servings at 350°F for about 20 minutes, or until the center is heated through and the cheese becomes soft again. I like adding a small sprinkle of fresh thyme after reheating because it gives the dish a fresh, bright finish.
Be sure to discard leftovers if the filling has a sour smell, unusual color, or too much slimy moisture.
Thanksgiving Butternut Squash
Ingredients
- 2 medium butternut squash Halved lengthwise and seeded to create the roasted serving shells.
- 2 tablespoons olive oil Brushed over the squash surface to help browning and prevent drying.
- 1 teaspoon sea salt Added for seasoning and balancing the natural sweetness of squash.
- 1/2 teaspoon black pepper Ground fresh to add mild warmth to the filling.
- 2 tablespoons fresh thyme Used for roasting flavor and added as a fresh finishing herb.
- 4 ounces cream cheese Softened before mixing to create a smooth creamy filling.
- 1 cup shredded mozzarella cheese Added to create melted texture and golden baked spots.
- 1 cup spinach Chopped and folded into the filling for color and flavor.
- 2 cloves garlic Minced to add savory depth to the cheese mixture.
Instructions
- Preheat the oven to 375°F. Cut 2 medium butternut squash lengthwise and remove the seeds. Brush the cut sides with 2 tablespoons olive oil, then season with sea salt black pepper and thyme. Roast at 375°F for 25 to 30 minutes with the cut side facing down. Turn the squash over after 20 minutes using a gentle flip motion. You’ll see softened orange flesh with caramelized edges and smell the sweet roasted aroma. (I tried 400°F first, the edges darkened before the center softened.) Miss this timing and the squash stays firm inside. Roasting at 375°F keeps the sugars caramelizing while the flesh softens evenly.

- Scoop some roasted butternut squash flesh into a bowl while leaving the shells intact. Mix 4 ounces cream cheese, 1 cup shredded mozzarella cheese, 1 cup chopped spinach, and minced garlic at room temperature for 3 to 4 minutes using a folding motion. The filling should look creamy with green spinach pieces evenly distributed. You’ll notice the cheese mixture becomes smooth and smells savory from the garlic. Skip this balance and the filling can become heavy or watery. Mixing gently for 4 minutes helps the cheese hold structure during baking.

- Spoon the creamy mixture into the roasted squash cavities and spread it unevenly. Bake at 375°F for 15 to 18 minutes until the cheese melts and the tops begin to turn golden. Use a gentle spreading motion so the filling stays inside the squash. You’ll see bubbling cheese with browned spots across the surface. The edges become deeper orange and the filling smells rich and warm. (My first batch used too much filling and overflowed. Keeping a slight gap fixes it.) Bake within this window because longer cooking can dry the filling. The heat melts cheese proteins while keeping the squash moist.

- Remove the baked squash and rest it for 5 minutes before adding fresh thyme leaves. Transfer one filled squash half to a plate and arrange it with a slight angle. Use a small garnish motion to place herbs without covering the browned filling. The surface should show melted cheese, golden patches, and natural uneven browning. You’ll smell roasted squash and herbs immediately. Don’t skip the short rest because the filling needs time to settle. Resting 5 minutes keeps the creamy center stable for serving.

Notes
Nutrition
Reader Questions
Yes, you can roast the squash and prepare the filling up to 2 days ahead. Keep both parts covered in separate containers in the refrigerator, then assemble and bake at 375°F for 15 to 18 minutes before serving.
Store leftovers in an airtight container for up to 4 days. Keep the squash chilled below 40°F and check for sour smells or watery filling before reheating.
Watery filling usually happens when the squash releases extra moisture or the spinach wasn’t drained well. Roast the squash for 25 to 30 minutes and squeeze excess liquid from spinach before mixing.
You can freeze the baked squash for up to 2 months when wrapped tightly. Thaw overnight in the refrigerator and reheat at 350°F for 20 minutes until the filling is warm.
Yes, double the ingredients and use two baking trays instead of overcrowding one. Bake both trays at 375°F for 15 to 18 minutes after filling so the cheese melts evenly.
A Final Note
One of my favorite holiday recipes to make! This Thanksgiving Butternut Squash combines roasted squash with a creamy cheese filling that brings together sweet and savory flavors in every bite. It does take a little extra time while the squash roasts, but trust me, it’s worth the wait.
The caramelized edges add so much flavor, and the warm, creamy filling makes the dish feel extra special. This recipe is a perfect choice for thanksgiving butternut squash recipes and butternut squash thanksgiving recipes when you’re planning a family gathering or holiday dinner. You can also serve it alongside other cozy favorites like Easy Slow Cooker Tomato Soup for Cozy Fall Dinners or Creamy Roasted Red Pepper and Tomato Soup. Give it a try this season and enjoy sharing it with everyone at your table.
Readers also use it for: butternut squash recipes thanksgiving.
Butternut squash became a favorite fall ingredient because it stores well during the colder months and gets even sweeter as it matures. Roasting brings out those natural sugars and creates a richer flavor, which is why it fits so perfectly into cozy holiday dishes.