Peanut Butter Cookies
Some afternoons call for a homemade cookie and the smell of roasted peanuts drifting through the kitchen. That’s when I reach for this Peanut Butter Cookies recipe. The edges turn lightly crisp while the centers stay soft and chewy. These easy peanut butter cookies use everyday ingredients and don’t need any special baking skills.
Just a bowl, a little mixing and that familiar fork pattern on top. I started making these when I wanted a simple cookie that didn’t need frosting or extra decoration. The peanut butter does most of the work, giving each bite a deep nutty taste and a tender crumb. If you enjoy baking different homemade cookies, you’ll also like our Butter Pecan Cookies for another classic treat with a lovely toasted flavor.
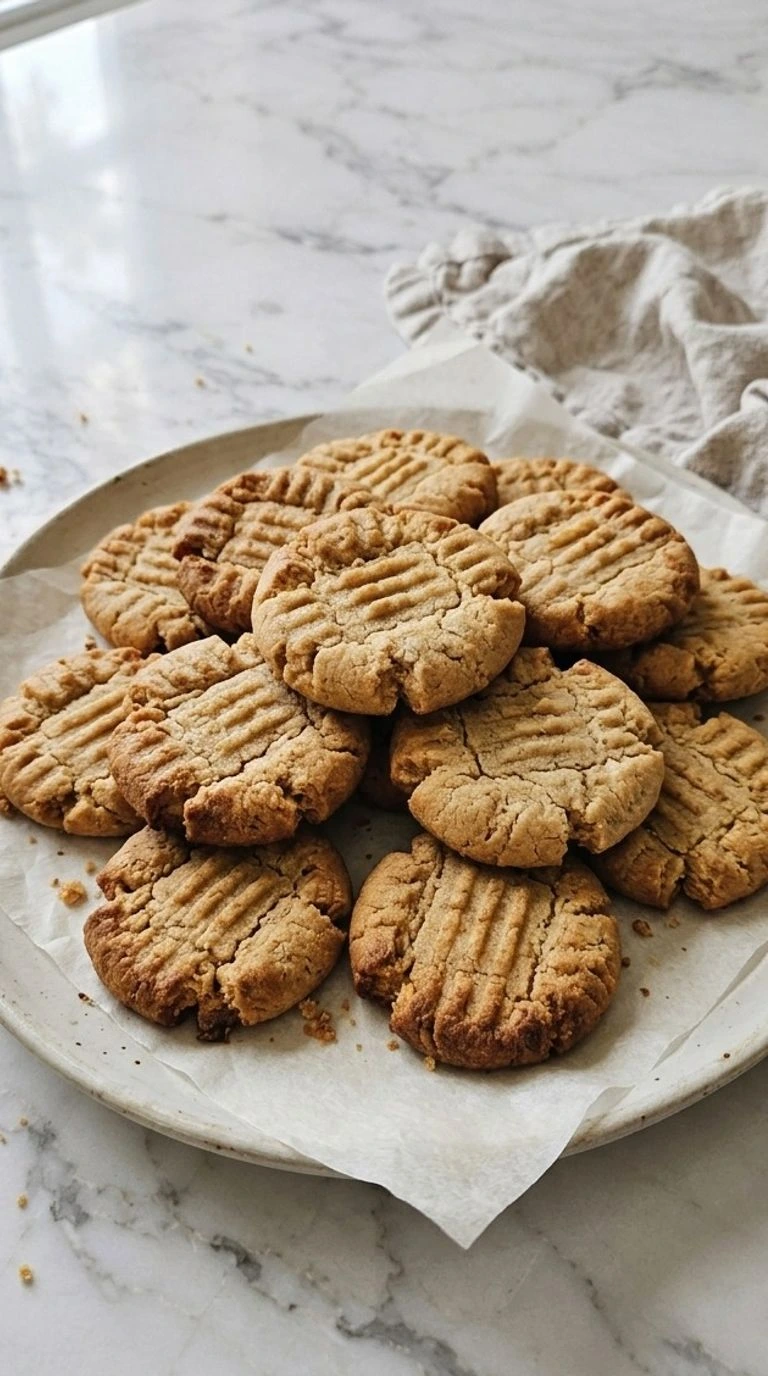
And there’s something nice about a recipe you can make without planning days ahead. The dough takes only a few minutes to mix and the cookies bake in about 10 to 12 minutes. I like making the fork marks by hand because they give every cookie its own little character. No two need to look exactly alike.
Why This Recipe Works
Creaming the peanut butter with softened butter and both sugars for 2 to 3 minutes adds air and helps create a tender cookie. Light brown sugar holds moisture while granulated sugar encourages those slightly crisp edges.
Baking at 350°F gives the centers time to set without drying out the outside. The fork marks flatten the dough just enough for even baking and help prevent overly thick centers.
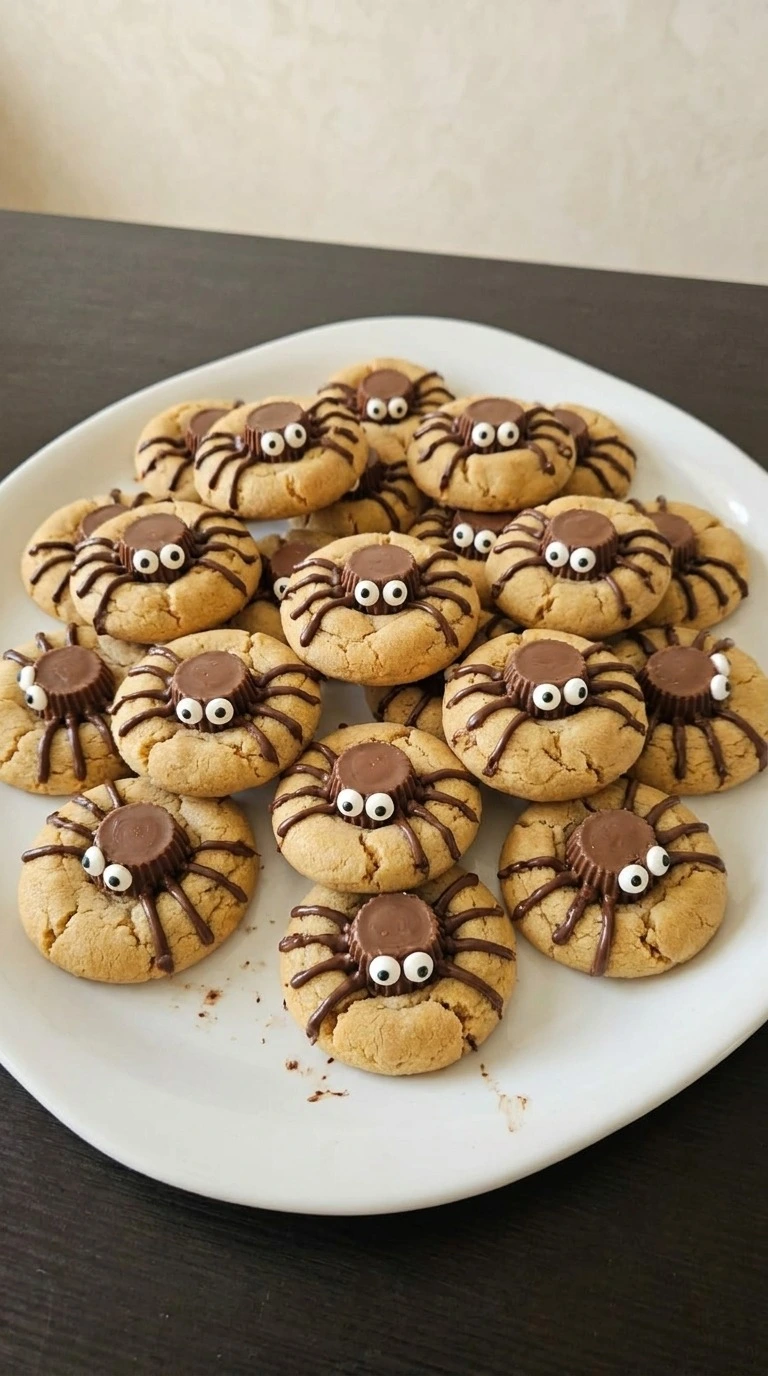
If you enjoy classic homemade bakes, our Halloween Peanut Butter Cookies offer another way to enjoy this familiar nutty flavor.
Ingredients
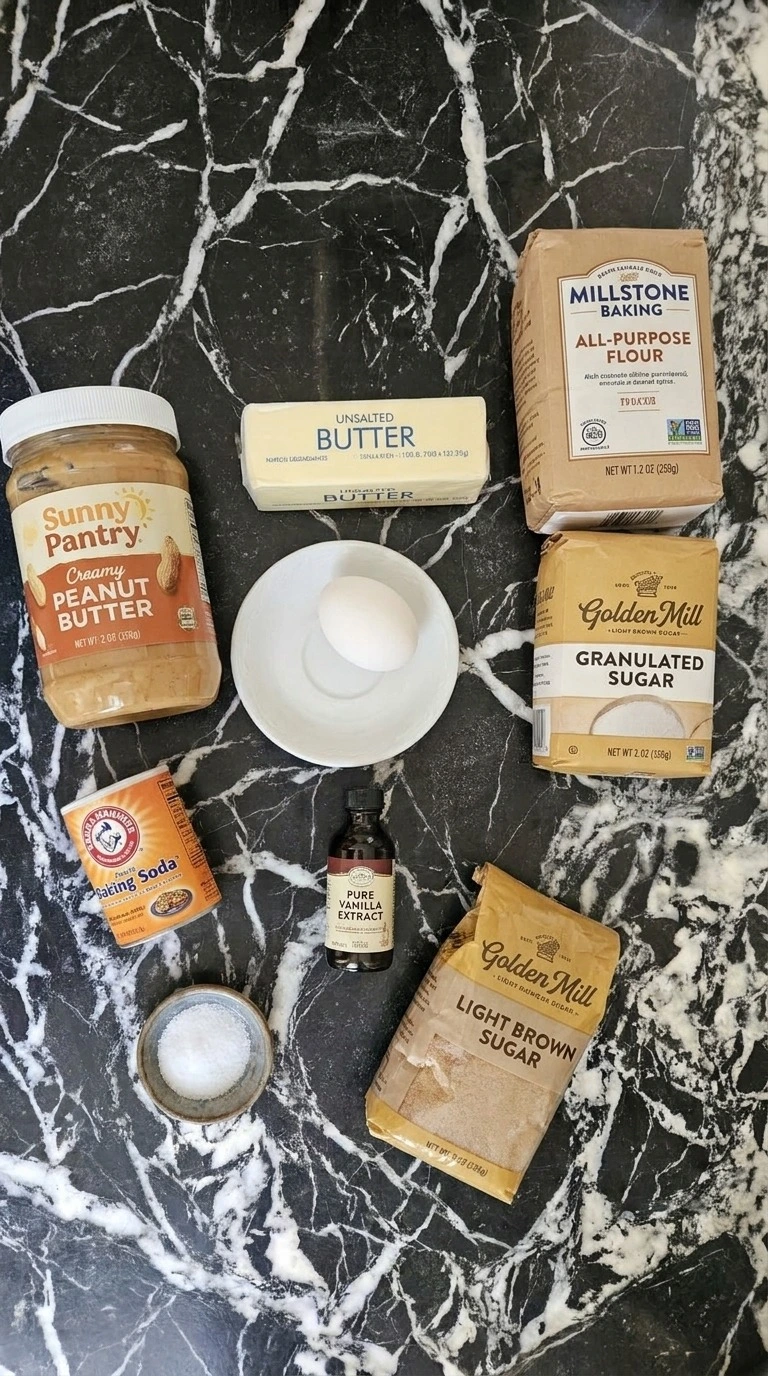
- Creamy peanut butter: Use conventional smooth peanut butter with a well-blended consistency for a stable dough and even peanut flavor.
- Unsalted butter: Softened until it yields gently when pressed, so it creams smoothly with the sugars.
- Granulated sugar: Adds sweetness and helps create lightly crisp edges as the cookies bake.
- Light brown sugar: Packed firmly into the measuring cup to add moisture and a mild caramel flavor.
- Large egg: Brought to room temperature before mixing so it blends evenly into the butter mixture.
- Pure vanilla extract: Adds a warm aroma and rounds out the roasted peanut flavor.
- All-purpose flour: Measured by spooning into the cup and leveling to create a tender structure without excess flour.
- Baking soda: Provides a little lift and helps the edges develop their golden color.
- Fine salt: Balances the sweetness and brings out the natural flavor of the peanut butter.
Kitchen Equipment
- Large mixing bowl: A 4-quart bowl gives enough room to cream the butter and mix the dough without spilling, while a shallow bowl makes folding flour difficult.
- Electric hand mixer: A mixer with at least 5 speed settings creams the butter and sugars evenly, while a weak mixer can leave dense butter lumps.
- Measuring cups and spoons: Use standard measuring cups and level measuring spoons for accurate flour and leavener amounts, since excess flour can make the cookies dry.
- Rubber spatula: A flexible silicone spatula helps scrape the bottom and sides of the bowl, while a stiff spatula can leave unmixed flour pockets.
- Baking sheet: A sturdy 13-by-18-inch rimmed baking sheet distributes oven heat more evenly than a thin sheet that can cause dark cookie bottoms.
- Parchment paper: A sheet of oven-safe parchment prevents sticking and helps the cookies release cleanly, while an unlined tray may cause excessive browning underneath.
- Dinner fork: A standard dinner fork creates the traditional crossed pattern and helps flatten each dough ball evenly without crushing it.
- Cooling rack: A wire rack allows air to circulate beneath the cookies after their initial 5-minute tray rest, preventing soggy bottoms.
How to Make It
Step 1: Cream the peanut butter and sugars
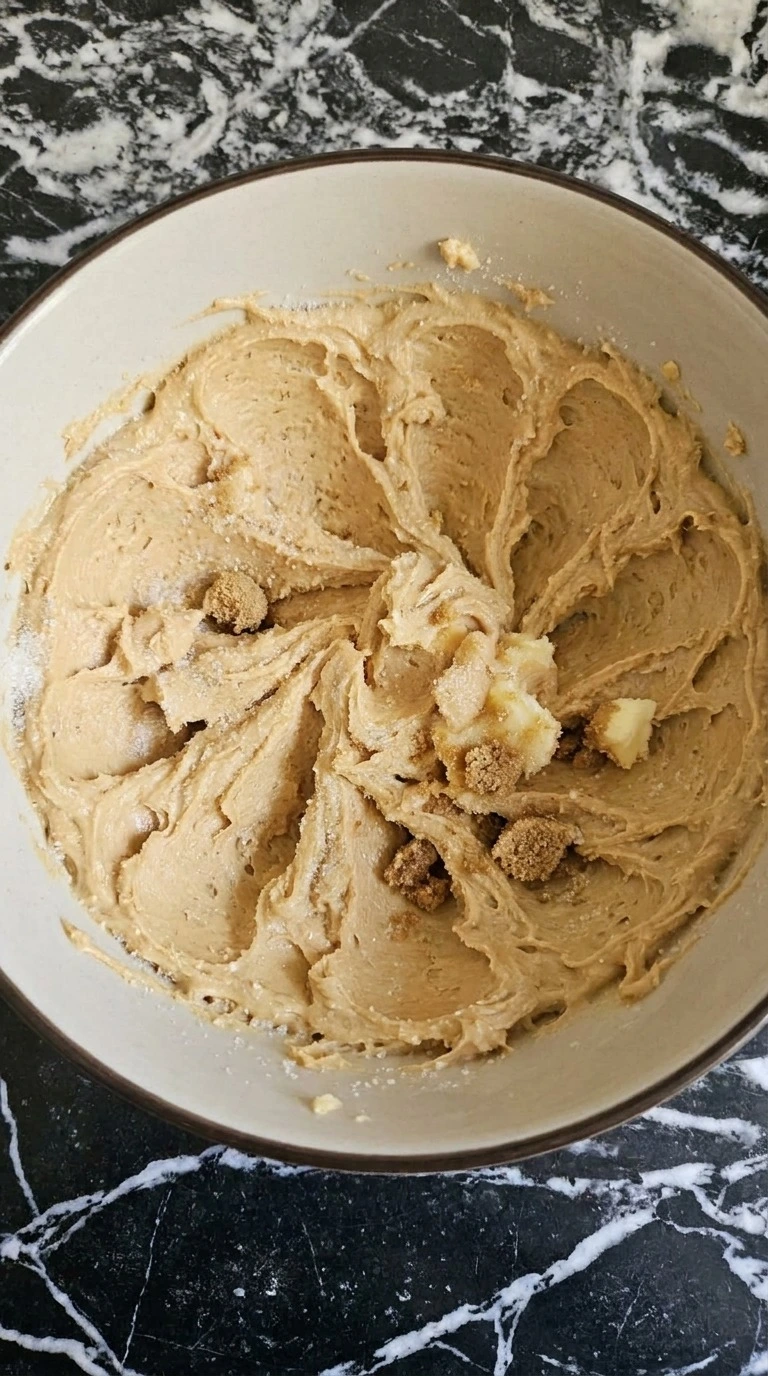
Set the oven to 350°F and let the unsalted butter soften until it yields gently when pressed. Add 1 cup creamy peanut butter, 1/2 cup softened unsalted butter, 3/4 cup granulated sugar and 3/4 cup packed light brown sugar to a large mixing bowl. Beat at medium speed for 2 to 3 minutes, then scrape the sides with a rubber spatula halfway through.
Keep mixing until the blend turns lighter in color and looks fluffy. Don’t rush this part. If the butter is too cold, the mixture stays lumpy and won’t hold enough air.
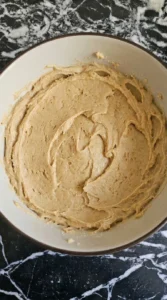
The finished mixture should look creamy and slightly grainy from the sugar. You’ll notice a rich peanut aroma as the ingredients blend together. Creaming for this amount of time builds the structure that helps the cookies stay tender.
Tip: Use regular creamy peanut butter rather than natural separated peanut butter for a more stable dough and consistent cookie texture.
Step 2: Mix the egg and dry ingredients into the dough
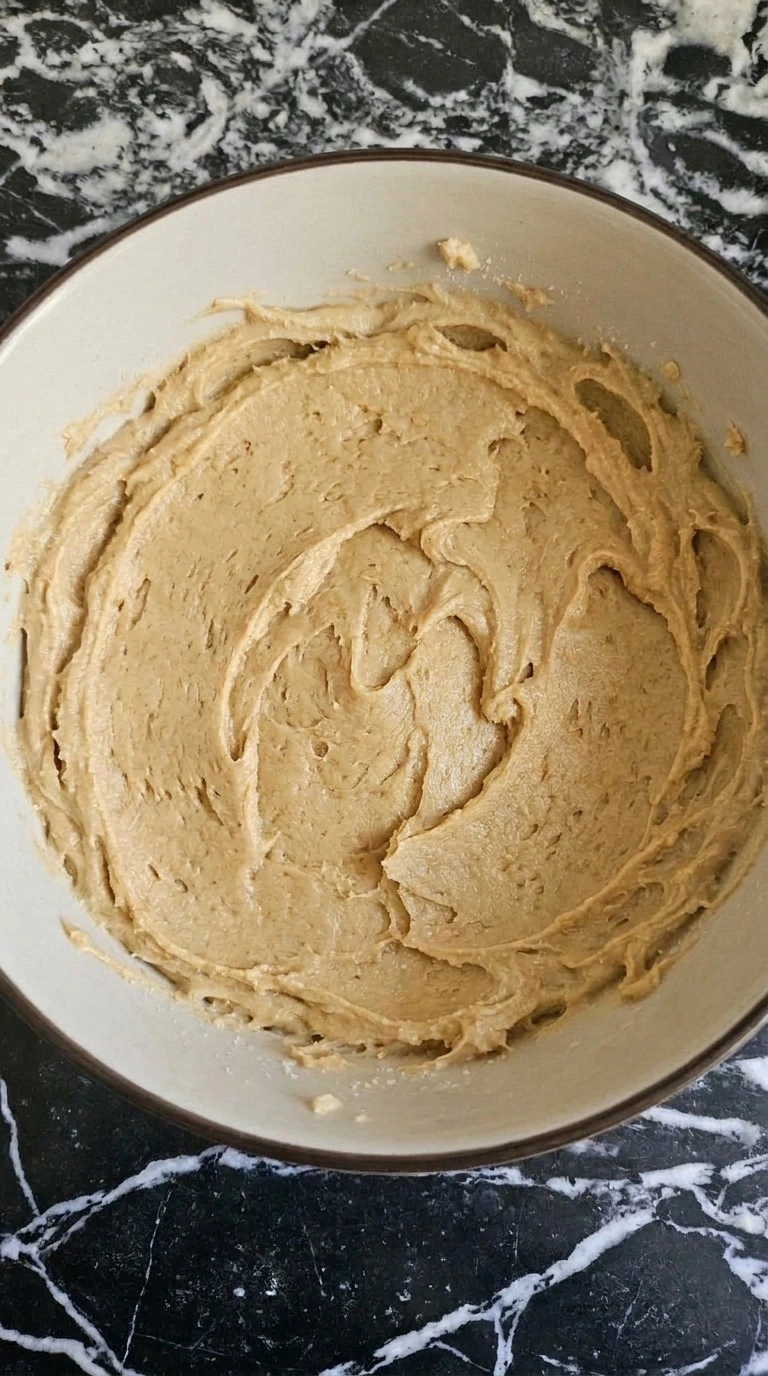
Add 1 large egg and 1 teaspoon pure vanilla extract to the creamy peanut butter mixture. Beat at low speed for about 30 seconds until the egg disappears into the mixture. In a separate bowl, combine 1 1/2 cups all-purpose flour, 1/2 teaspoon baking soda and 1/2 teaspoon fine salt.
Add the dry mixture in two portions and fold with a rubber spatula until no dry flour remains. Scrape the bottom of the bowl as you go. Stop as soon as the dough holds together, because too much mixing makes the cookies firm.
The dough should be thick, soft and slightly tacky rather than wet. You’ll see a uniform tan color with no loose flour pockets. That’s the texture you want.
Tip: Measure flour by spooning it into the measuring cup and leveling the top to avoid adding too much.
Step 3: Shape the dough and press the fork pattern
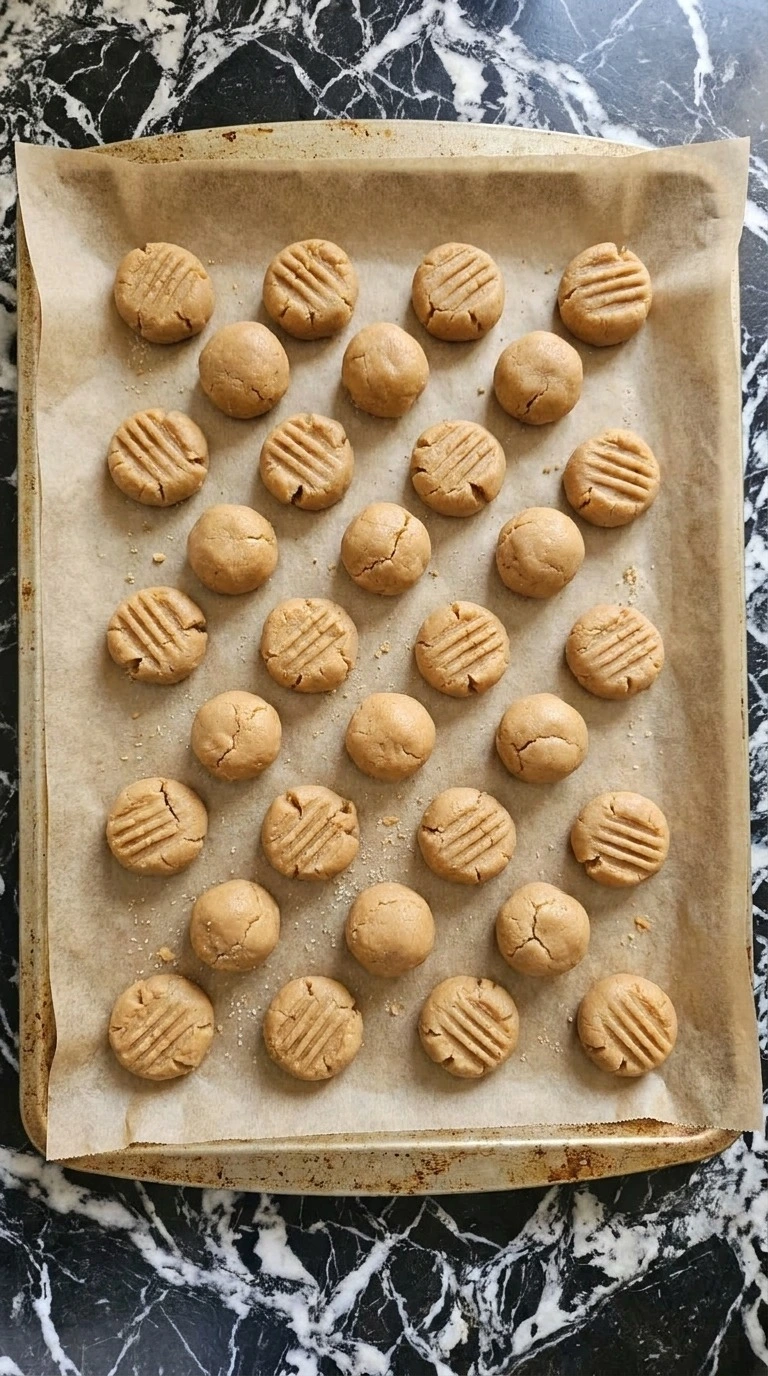
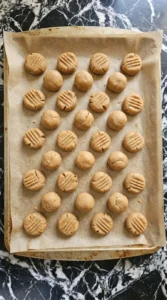
Scoop the dough into 24 portions of roughly 1 tablespoon each. Roll each portion gently between your palms to form a slightly irregular ball, then arrange them on a parchment-lined baking sheet with about 2 inches between each one. Press the top of every ball gently with the back of a fork, then turn the fork 90 degrees and press again to create the classic crossed pattern.
Keep the pressure light so the cookies remain thick enough to stay tender. Shape everything within 8 to 10 minutes while the dough is still easy to handle. The tops should have clear ridges and small natural cracks.
Don’t flatten them too much. (I found that pressing twice with firm but gentle pressure gives the most recognizable pattern without making the edges split.
Tip: Dip the fork lightly in granulated sugar between a few presses if the dough starts sticking to its surface.
Step 4: Bake until the edges turn golden
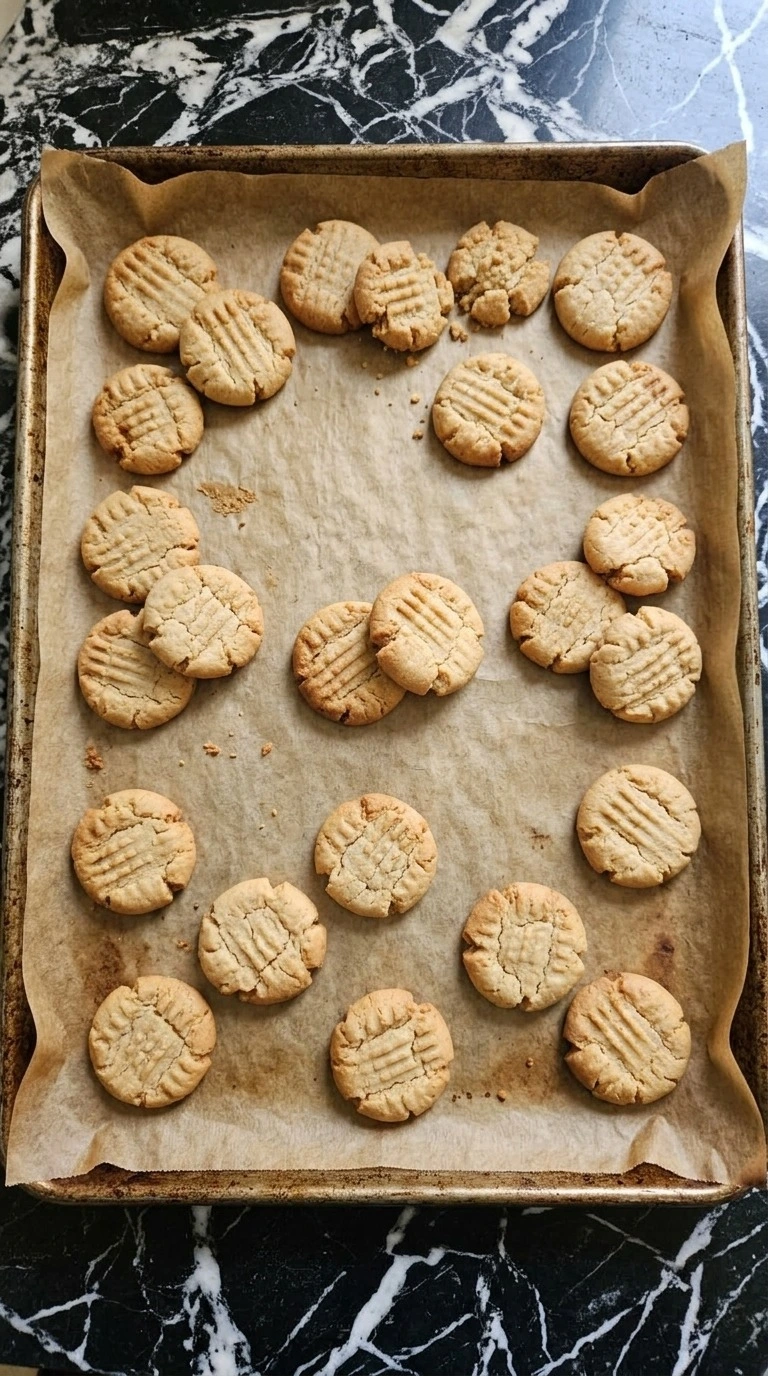
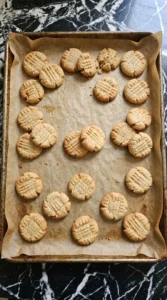
Bake the shaped cookies at 350°F for 10 to 12 minutes on the middle oven rack. Check at minute 10 and rotate the baking sheet halfway through if your oven heats unevenly. Watch the outer edges rather than waiting for the centers to look fully firm. They should turn light golden while the middle remains slightly pale and soft.
Remove the tray as soon as the edges set. Going beyond 12 minutes can dry out the centers and make the cookies crumbly. Let the cookies rest on the hot baking sheet for 5 minutes before moving them. Their centers will continue to set as they cool.
The tops should show small cracks and the fork pattern should remain visible. Baking at 350°F protects the soft center while the edges develop their golden crust.
Tip: Bake one test cookie first if your oven runs hot, then adjust the remaining batch by one minute if needed.
Pro Tips
- Choose conventional creamy peanut butter rather than natural varieties with separated oil. A stable consistency makes the dough easier to mix and shape.
- Bring the egg to room temperature for 20 to 30 minutes before mixing. It blends more smoothly into the creamed butter and sugar.
- Measure the flour using the spoon-and-level method instead of dipping the measuring cup into the bag. Too much flour makes Peanut Butter Cookies dry and dense.
- Keep the dough portions close to 1 tablespoon each so all 24 cookies bake at roughly the same rate. A small cookie scoop helps maintain consistency.
- Use a light-colored baking sheet when possible because dark metal absorbs more heat and can brown the cookie bottoms too quickly.
- Check the first batch at 10 minutes rather than waiting for completely firm centers. The edges should look set while the middle remains slightly soft.
- Let the cookies cool for 5 minutes on the baking sheet before transferring them. Their centers need this short rest to firm up without breaking.
- For a little extra flavor, sprinkle a tiny pinch of flaky sea salt over the warm cookies immediately after baking. It brings out the roasted peanut notes.
- Chocolate Chip Peanut Butter Cookies: Fold 1/2 cup semisweet chocolate chips into the finished dough before shaping for pockets of melted chocolate.
- Peanut Butter and Honey Cookies: Replace 2 tablespoons of granulated sugar with 2 tablespoons of honey. Expect slightly softer dough and a mild honey flavor.
- Double Peanut Butter Cookies: Add 1/4 cup finely chopped roasted peanuts to the dough for extra crunch and a stronger nutty taste.
- Cinnamon Peanut Butter Cookies: Mix 1 teaspoon ground cinnamon into the flour before adding it to the wet ingredients for a gentle warm spice flavor.
Substitutions & Variations
- Unsalted butter: Use 1/2 cup dairy-free baking butter in stick form. Choose a firm plant-based butter rather than a soft tub spread. The cookies will have a slightly different flavor but should keep a similar tender texture.
- All-purpose flour: Use 1 1/2 cups of a 1-to-1 gluten-free baking flour blend containing xanthan gum. The texture may be slightly more crumbly than the original. Let the mixed dough rest for 15 minutes before shaping so the flour can absorb moisture.
- Large egg: Use 1 tablespoon ground flaxseed mixed with 3 tablespoons water. Let the mixture thicken for 10 minutes before adding it. The cookies will be a little denser and less airy, but the peanut butter helps hold the dough together.
- Creamy peanut butter: Use 1 cup crunchy peanut butter. The cookies will have small peanut pieces throughout and a more noticeable crunch. Keep the quantity unchanged and use conventional peanut butter for consistent dough moisture.
- Light brown sugar: Use 3/4 cup dark brown sugar, packed. Dark brown sugar adds a deeper molasses flavor and slightly chewier centers. The cookies may look a shade darker after baking, so check their edges at minute 10.
Storage Instructions
Let the Peanut Butter Cookies cool completely before storing them in an airtight container. Keep them at room temperature for up to 5 days, with parchment paper between layers if needed. For longer storage, freeze the baked cookies in a sealed freezer bag for up to 3 months.
You can also freeze the shaped dough portions separately and bake them later. To enjoy frozen baked cookies, thaw them at room temperature for 30 to 45 minutes. For a warm texture, heat them at 300°F for 3 to 4 minutes.
Discard any cookies showing mold or an unusual smell.
Peanut Butter Cookies
Ingredients
Method
- Set the oven to 350°F and let the unsalted butter soften until it yields gently when pressed. Add 1 cup creamy peanut butter, 1/2 cup softened unsalted butter, 3/4 cup granulated sugar and 3/4 cup packed light brown sugar to a large mixing bowl. Beat at medium speed for 2 to 3 minutes, then scrape the sides with a rubber spatula halfway through. Keep mixing until the blend turns lighter in color and looks fluffy. Don’t rush this part. If the butter is too cold, the mixture stays lumpy and won’t hold enough air. The finished mixture should look creamy and slightly grainy from the sugar. You’ll notice a rich peanut aroma as the ingredients blend together. Creaming for this amount of time builds the structure that helps the cookies stay tender.
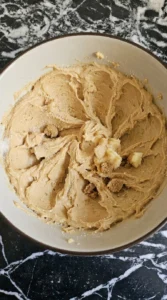
- Add 1 large egg and 1 teaspoon pure vanilla extract to the creamy peanut butter mixture. Beat at low speed for about 30 seconds until the egg disappears into the mixture. In a separate bowl, combine 1 1/2 cups all-purpose flour, 1/2 teaspoon baking soda and 1/2 teaspoon fine salt. Add the dry mixture in two portions and fold with a rubber spatula until no dry flour remains. Scrape the bottom of the bowl as you go. Stop as soon as the dough holds together, because too much mixing makes the cookies firm. The dough should be thick, soft and slightly tacky rather than wet. You’ll see a uniform tan color with no loose flour pockets. That’s the texture you want.
- Scoop the dough into 24 portions of roughly 1 tablespoon each. Roll each portion gently between your palms to form a slightly irregular ball, then arrange them on a parchment-lined baking sheet with about 2 inches between each one. Press the top of every ball gently with the back of a fork, then turn the fork 90 degrees and press again to create the classic crossed pattern. Keep the pressure light so the cookies remain thick enough to stay tender. Shape everything within 8 to 10 minutes while the dough is still easy to handle. The tops should have clear ridges and small natural cracks. Don’t flatten them too much. (I found that pressing twice with firm but gentle pressure gives the most recognizable pattern without making the edges split.)
- Bake the shaped cookies at 350°F for 10 to 12 minutes on the middle oven rack. Check at minute 10 and rotate the baking sheet halfway through if your oven heats unevenly. Watch the outer edges rather than waiting for the centers to look fully firm. They should turn light golden while the middle remains slightly pale and soft. Remove the tray as soon as the edges set. Going beyond 12 minutes can dry out the centers and make the cookies crumbly. Let the cookies rest on the hot baking sheet for 5 minutes before moving them. Their centers will continue to set as they cool. The tops should show small cracks and the fork pattern should remain visible. Baking at 350°F protects the soft center while the edges develop their golden crust.
Notes
Frequently Asked Questions
Yes, prepare the dough and cover it tightly before refrigerating for up to 48 hours. Let it sit at room temperature for 15 to 20 minutes before shaping if it feels too firm. Bake at 350°F for 10 to 12 minutes.
Store the cooled cookies in an airtight container at room temperature for up to 5 days. Separate layers with parchment paper to prevent sticking. For longer storage, freeze them for up to 3 months.
Too much flour or excessive baking time can remove moisture from the dough. Measure 1 1/2 cups flour carefully and check the cookies after 10 minutes at 350°F. Remove them when the edges are set but the centers still look soft.
Yes, replace the 1/2 cup unsalted butter with an equal amount of firm dairy-free baking butter. Check that your peanut butter contains no added dairy. The flavor may vary slightly, but the cookies should retain their familiar shape.
Yes, double every ingredient to make approximately 48 cookies. Mix the dough in two batches if your bowl is small, then bake one tray at a time at 350°F for 10 to 12 minutes. Keep unused dough refrigerated between batches.
Shape the dough into 24 balls and arrange them separately before freezing for about 2 hours. Transfer the firm portions into a freezer-safe bag for up to 3 months. Bake directly from frozen at 350°F, adding approximately 2 minutes to the baking time.
Final Thoughts
On a quiet afternoon with a fresh batch cooling nearby, it’s easy to see why these cookies have a place in my kitchen. The little trick of removing them while the centers still look slightly soft makes all the difference.
This Peanut Butter Cookies recipe is simple, reliable and full of rich peanut flavor. If you enjoy easy peanut butter cookies, give this batch a try and share your favorite homemade cookie memories.
You can also explore our Halloween Peanut Butter Spider Cookies for another fun variation.
The classic fork pattern on peanut butter cookies isn’t just decorative. Pressing the dough in two directions flattens the thick balls so they bake more evenly and develop their familiar ridged tops.