Soft and Chewy Chocolate
Sometimes you just want a chocolate cookie that leans deeper and richer than the usual chip cookie. This one hits that spot. It’s soft in the center, a little crisp at the edges, and packed with cocoa. I bake these when I need something reliable for a tray or just a quiet night in.
They hold up next to anything, even something like these Green Velvet Cupcakes (https://leagueofcooking. com/? p=3464) when you want a mix of colors and flavors. They’re simple enough to make without thinking too hard.
And honestly, they disappear fast. You’ll probably end up making a second batch sooner than planned.
The Secret to This Recipe
Melted butter mixed at around 70°F room temperature helps dissolve the sugars quickly, which gives you that glossy dough and chewy center. Baking at 350°F sets the edges fast while the middle stays soft for the first 8 to 10 minutes. Pulling them slightly underbaked lets residual heat finish the center without drying it out.
Ingredients
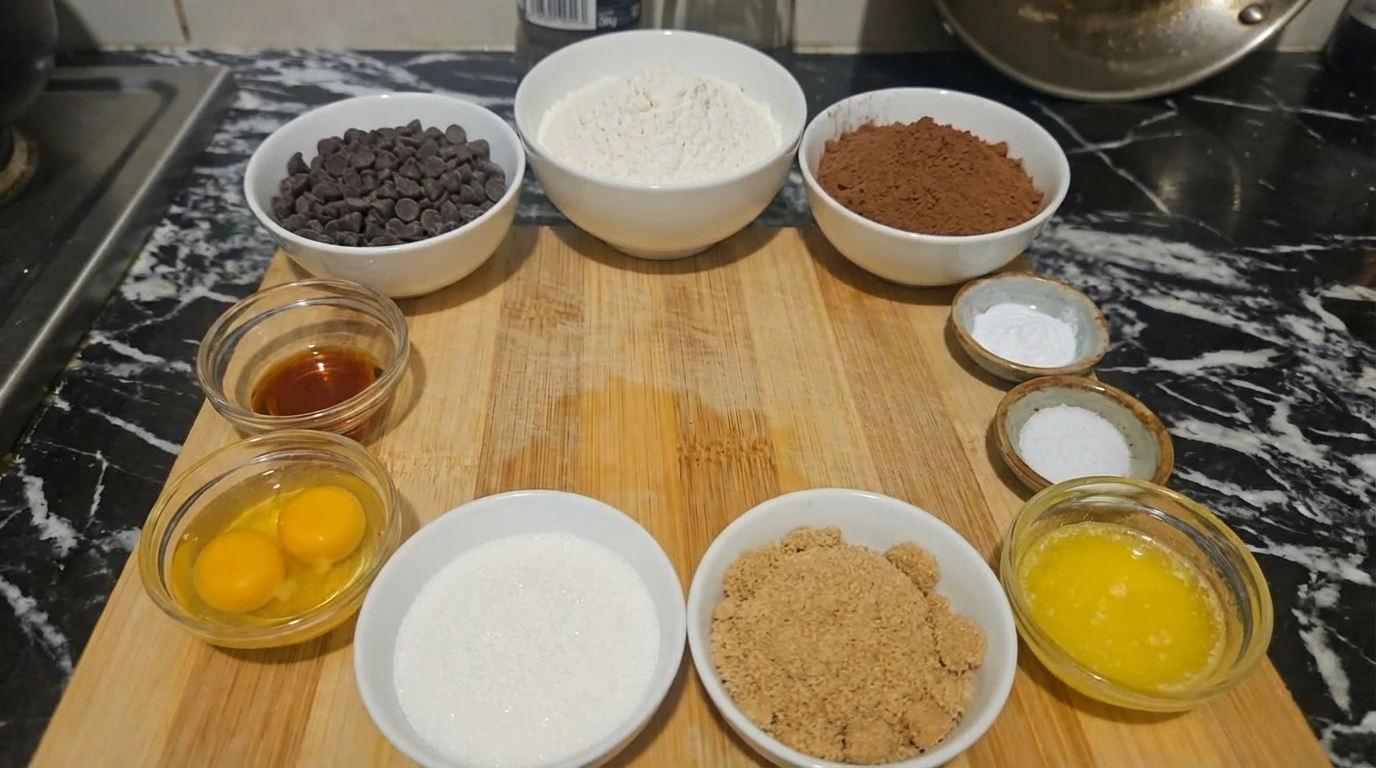
- all-purpose flour: Provides structure so the cookies hold shape but still stay soft in the middle.
- unsweetened cocoa powder: Delivers deep chocolate flavor and gives the dough its dark color.
- baking soda: Helps the cookies spread and rise just enough for a chewy texture.
- salt: Balances sweetness and sharpens the chocolate taste.
- unsalted butter: Adds richness and creates a glossy, chewy interior when melted.
- light brown sugar: Adds moisture and a slight caramel note that keeps cookies soft.
- granulated sugar: Sweetens and helps the edges set with a light crispness.
- large eggs: Bind everything together and add moisture for a tender bite.
- vanilla extract: Rounds out the chocolate with a warm, subtle sweetness.
- semi-sweet chocolate chips: Melt into pockets that stay soft and slightly gooey after baking.
Kitchen Equipment
How to Make It
Step 1: Mix the dark cookie dough
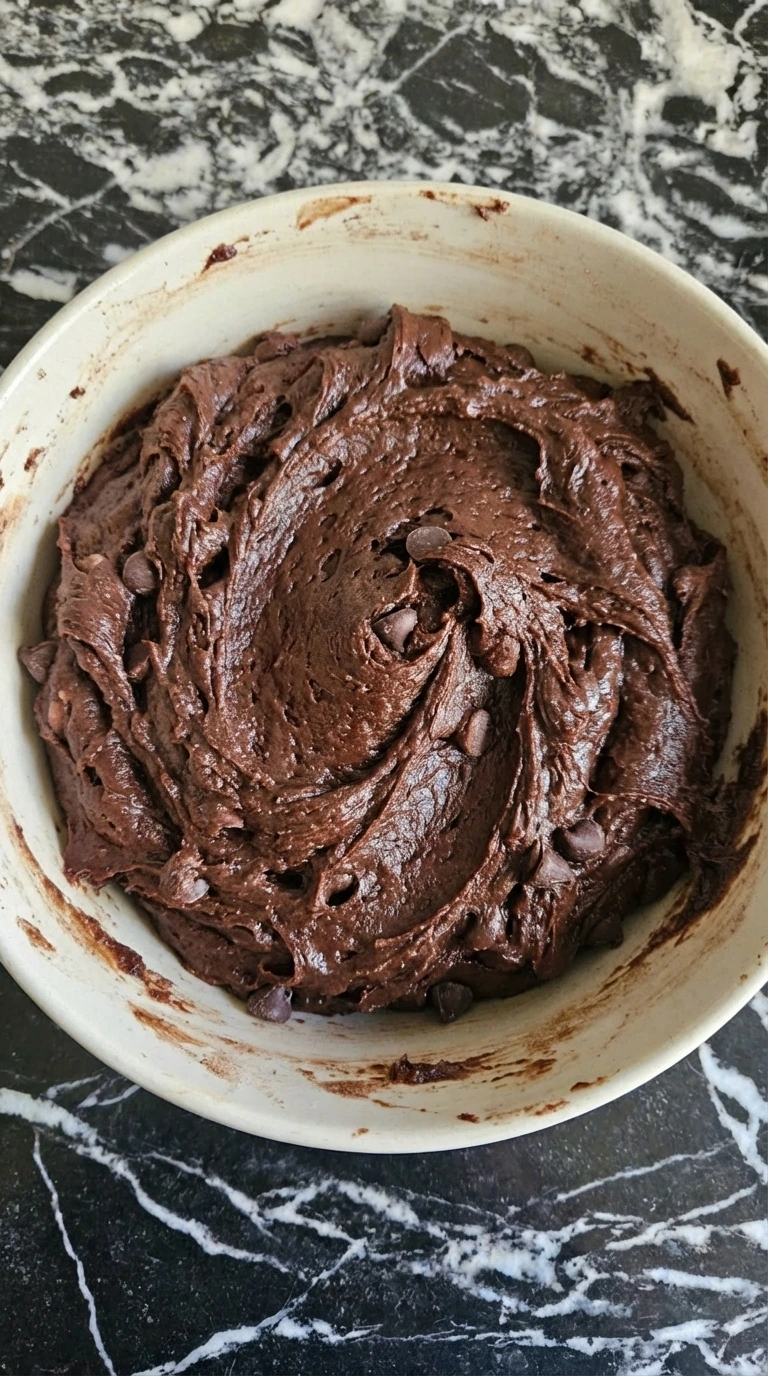
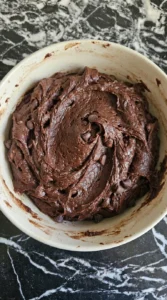
Work in a room around 70°F so the melted butter blends smoothly. Mix for about 2 to 3 minutes using a folding motion, scraping the bowl down halfway. The dough will turn thick and dark, with a mix of glossy and matte patches. Keep folding until no dry streaks remain and the chips are evenly tucked in. You’ll feel the dough get heavier and slightly sticky, and you’ll smell the cocoa bloom. If you keep mixing past that point, the dough tightens and the cookies bake up tough.
Tip: Use a spatula for the final folds so you don’t overwork the dough.
Step 2: Portion the dough onto the tray
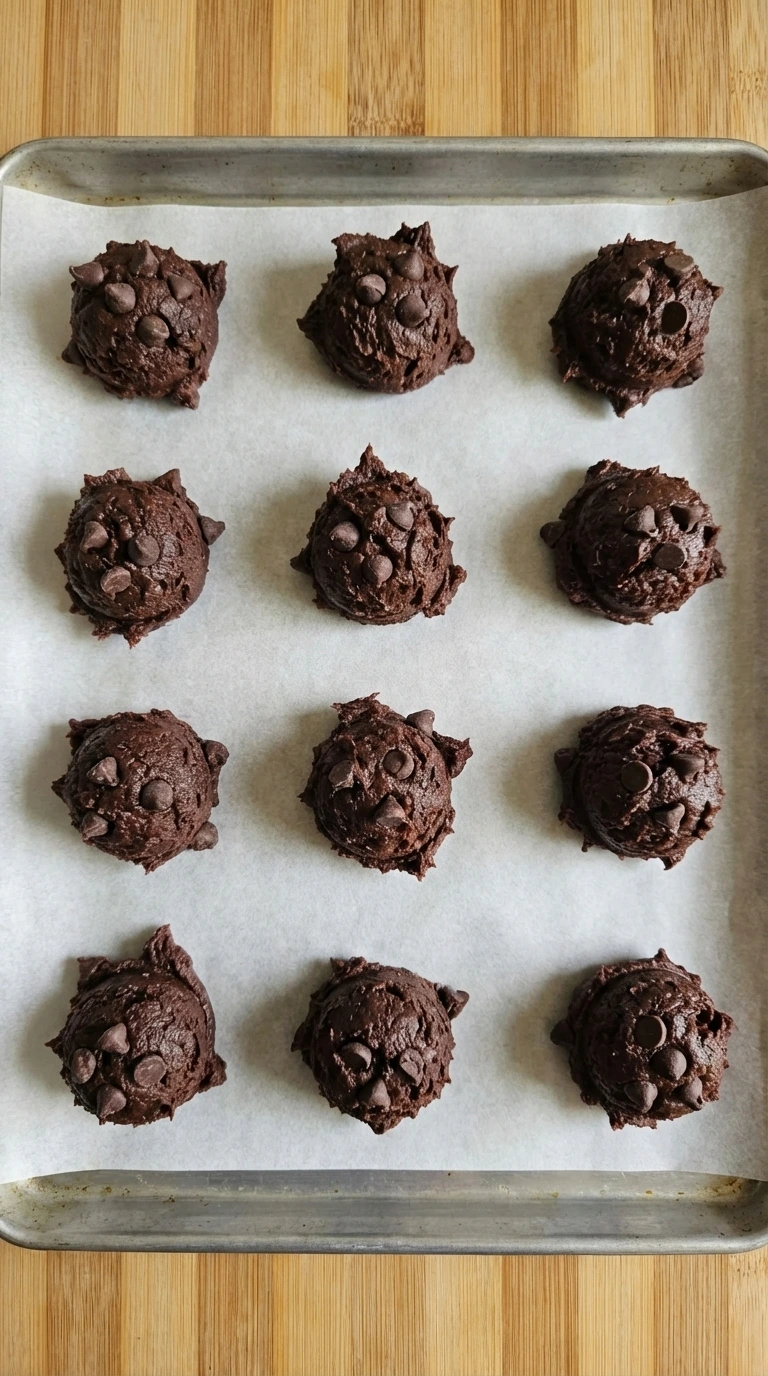
Scoop the dough at room temperature, about 70°F, into even portions and place them on a lined tray. Take about 1 to 2 minutes to portion, spacing each scoop at least 2 inches apart so they have room to spread. Leave the tops rough and uneven. Don’t press them flat. You’ll see chocolate chips poking out, which is exactly what you want. If you pack or smooth them too much, the cookies won’t crackle and they bake up dense instead of soft.
Tip: Use a cookie scoop for even baking so all cookies finish at the same time.
Step 3: Bake until puffed and lightly crackled

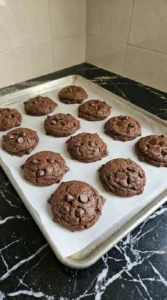
Bake in a preheated 350°F oven for 8 to 10 minutes. Around minute 6, give the tray a quick turn for even heat. The cookies will spread, puff slightly, and start forming cracks across the top. Watch for the edges to set while the centers still look soft and a bit glossy. You’ll smell a rich chocolate aroma right at the finish. Leave them too long past minute 10 and the bottoms firm up too much, losing that chewy center. (I used to wait for them to look fully set, but they always turned out dry.)
Tip: Rotate the tray halfway through baking to prevent uneven browning.
Step 4: Cool and plate the cookies
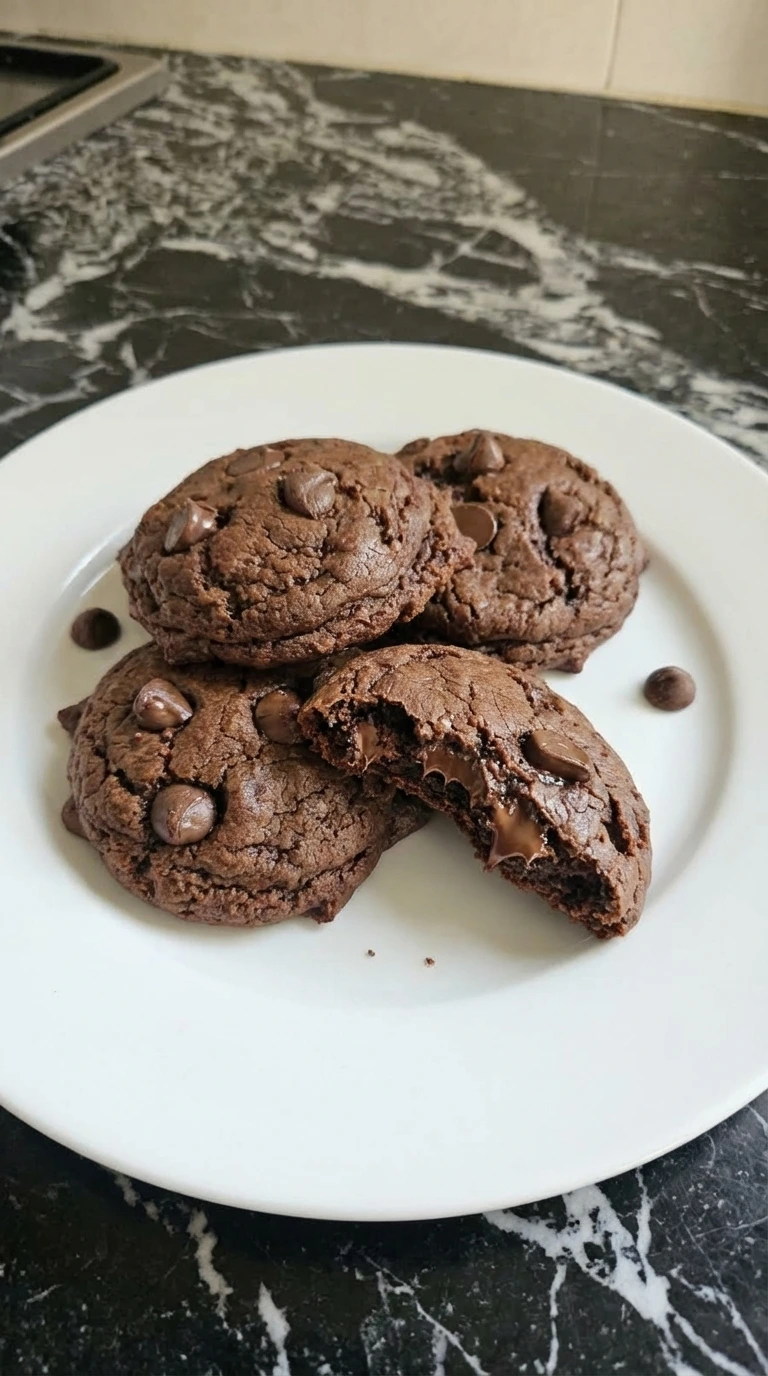
Let the cookies sit on the tray at room temperature, about 70°F, for 5 minutes before moving them. This short rest lets the centers set while staying soft. Transfer them gently using a spatula and let them cool another 10 minutes on a rack. You’ll see the centers settle and the edges stay slightly firm. If you move them too early, they can break apart, and if you skip the rest, the texture won’t fully develop.
Tip: Use a thin spatula to lift them cleanly without tearing the soft centers.
Helpful Tips
- Melted butter gives you that dense, chewy center every time.
- Pull them early. They finish setting as they cool.
- Leave a few chips on top so they melt into glossy spots.
- Spoon and level your flour so the dough doesn’t turn stiff.
Make It Your Own
- all-purpose flour: gluten-free 1:1 baking flour — Works well but the cookies may spread a bit less and feel slightly more delicate.
- unsalted butter: plant-based butter — Keeps the texture close, though the flavor is a little less rich.
- light brown sugar: dark brown sugar — Adds deeper molasses flavor and slightly softer cookies.
- semi-sweet chocolate chips: dark chocolate chunks — Gives a more intense chocolate bite with less sweetness.
- eggs: flax eggs — Makes the cookies softer and a bit more crumbly, not quite as chewy. Works better if you chill the dough first. Pairs nicely with something like Healthy Avocado Toast (https://leagueofcooking.com/healthy-avocado-toast/) for a balanced meal.
Storage Instructions
Keep the cookies in an airtight container at room temperature for up to 4 days. Add a small piece of bread to help them stay soft. For longer storage, freeze them in layers with parchment between. Let them thaw at room temperature for about 30 minutes before eating.
Soft and Chewy Chocolate
Ingredients
- 1 1/2 cups all-purpose flour
- 1/2 cup unsweetened cocoa powder
- 1 teaspoon baking soda
- 1/2 teaspoon salt
- 1/2 cup melted unsalted butter
- 3/4 cup packed light brown sugar
- 1/2 cup granulated sugar
- 2 large eggs
- 2 teaspoons vanilla extract
- 1 cup semi-sweet chocolate chips
Instructions
-
The dry ingredients and the melted butter and sugars and eggs and vanilla come together into a thick dark dough that looks glossy in some spots and matte in others while streaks disappear as the mixture turns fully chocolatey. The dough stays a little uneven and heavy which is exactly what helps the baked cookies stay soft in the center. Once the chocolate chips are folded in they sit throughout the dough with natural spacing and slight clumping so every scoop will bake a little differently and feel homemade.
-
The dough changes from one mass into separate scoops with rough tops and irregular edges while the chocolate chips peek out at different angles across each mound. The portions are loosely spaced and not perfectly round so the tray already looks like a real batch from a home kitchen. This step also sets up the final shape because the uneven tops will bake into crinkles while the exposed chips melt into glossy pockets.

-
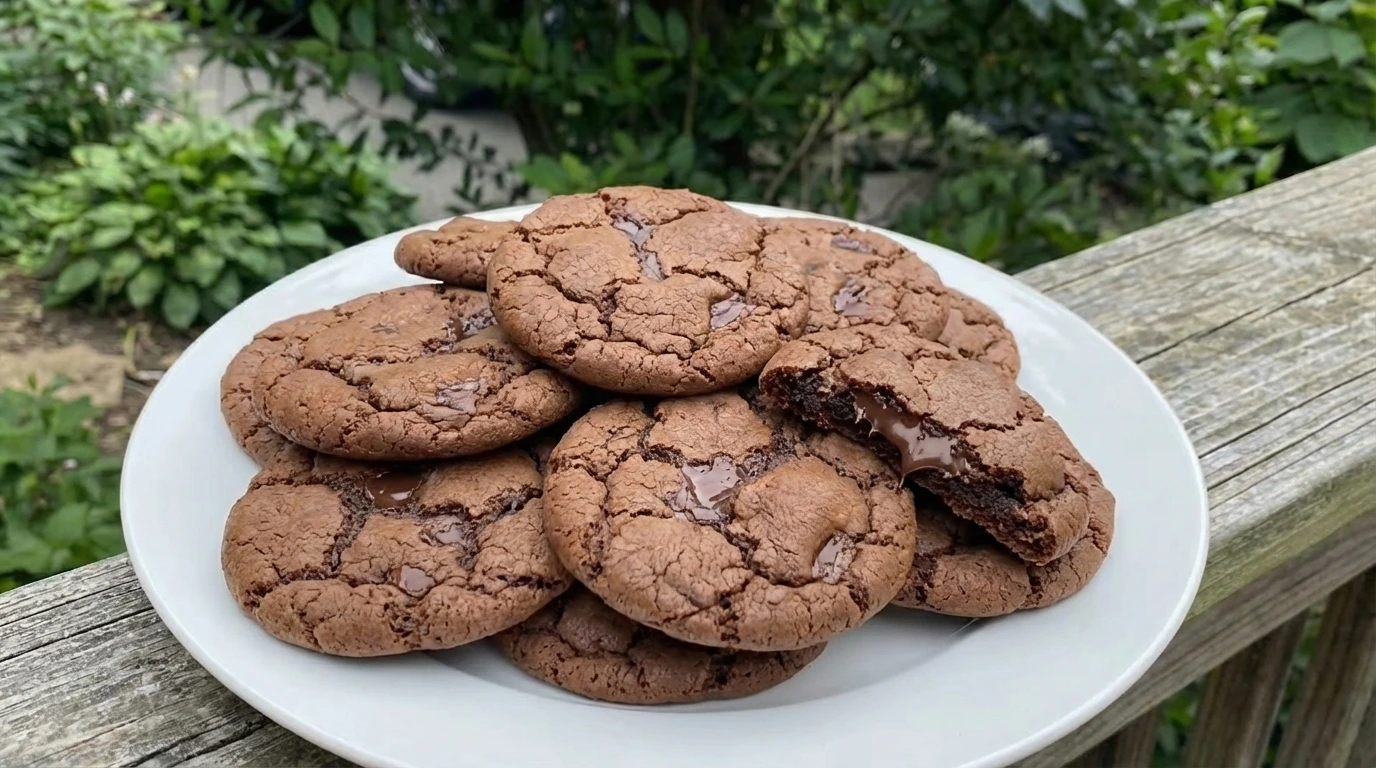
The scoops spread into cookies as the edges set and the centers puff slightly while the tops crack in uneven lines and the chips soften into shiny pockets. The color deepens and the surface looks dry in some areas and glossy in others which gives the batch that soft and chewy promise before cooling. Not every cookie bakes into the same shape and that slight variation makes the tray look more natural and appealing than anything too uniform.
-
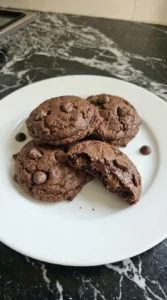
As the cookies settle they flatten just a little and the centers turn denser and softer while the edges stay lightly firm and the melted chips keep their glossy look. Moved onto the plate they overlap casually with visible cracks and uneven thickness that make the final dessert feel warm and homemade. The finished cookies show deep chocolate color and slight browning around the edges with a texture that looks tender enough to bend rather than snap.
Notes
Common Questions
Most likely they baked too long or had too much flour. Pull them when the centers still look slightly soft. Also check your flour measurement since extra flour makes them dense.
Yes, chilling for 30 to 60 minutes helps deepen the flavor and control spreading. Just let the dough sit for a few minutes before scooping so it’s not too firm.
You can, but the texture changes slightly. The chips add moisture pockets, so without them the cookies will feel a bit more uniform and less gooey.
Look for set edges and soft centers with light cracks on top. If they look fully firm in the oven, they’ve gone too far.
Wrap Up
This recipe fixes a lot of the common cookie problems in one go. Soft centers, crisp edges, and real chocolate flavor.
Give it a try and then check out something like Strawberry Cheesecake (https://leagueofcooking. com/?
p=3325) if you’re in a baking mood. And if you make these, I’d love to hear how they turned out.
Cocoa powder absorbs more moisture than melted chocolate, which is why these cookies stay soft but still hold their shape.