Crispy Oven Baked Chicken Wings
There’s something about wings that just hits right, especially when the skin actually crisps up in the oven. No splattering oil, no fuss. Just a hot oven and a tray that does the work. I make these when I want that game day feel without turning the kitchen into a mess.
The seasoning sticks, the edges get golden, and they come out ready to grab. If you like simple dinners like this, you’d probably also enjoy this Grilled Chicken Salad: https://leagueofcooking. com/? p=3219.
They’re great for a weeknight or when people show up hungry. You won’t need anything fancy. Just patience for that last few minutes when the skin really crisps.
Why This Recipe Works
High heat at 400°F renders the fat under the skin fast, which is what gives you that crisp finish without frying. Drying the wings first removes surface moisture so the skin can brown instead of steam. Flipping halfway keeps both sides exposed to the heat so nothing turns soggy.
Ingredients
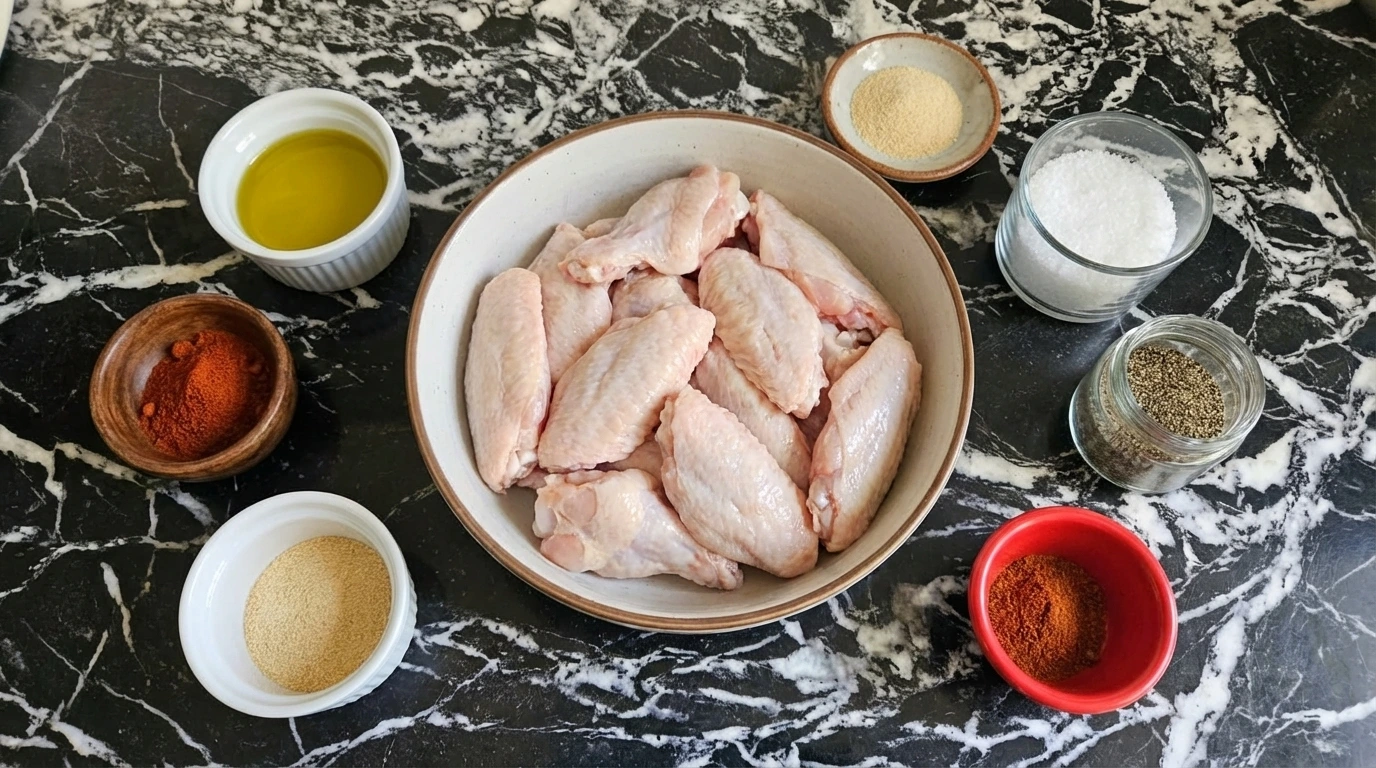
- chicken wings: Split wings or whole, skin-on for best crisping in the oven.
- olive oil: A light coating helps the seasoning stick and encourages browning.
- paprika: Adds color and a mild smoky depth as the wings roast.
- garlic powder: Gives a steady savory flavor that won’t burn like fresh garlic.
- onion powder: Rounds out the seasoning with a subtle sweetness.
- salt: Essential for drawing out moisture and boosting flavor.
- black pepper: Adds a light bite that balances the richness.
- cayenne pepper: Optional heat that builds slowly as the wings bake.
- Baking sheet: A large sheet so the wings can sit in a single, spaced layer.
- Parchment paper: Prevents sticking and makes cleanup easier.
Kitchen Equipment
How to Make It
Step 1: Prepare the Chicken Wings
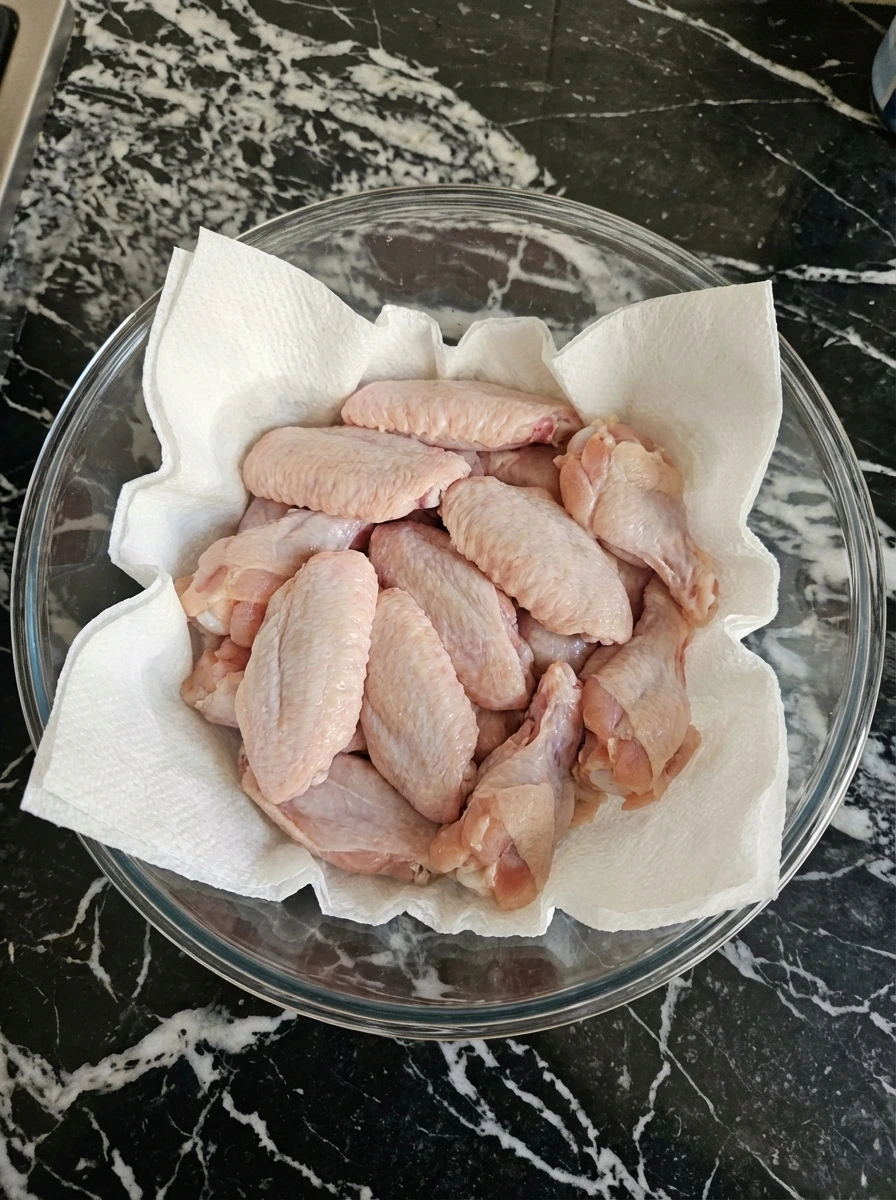
Rinse the wings under cold running water for about 30 seconds, then lay them out and pat completely dry with paper towels. Press firmly and turn each piece so no moisture is left on the surface. Set them in a bowl once dry. Even though the oven will be set to 400°F later, this drying step takes about 5 minutes and makes a big difference. You’ll notice the skin feels slightly tacky, not wet. If you skip this, the wings steam instead of crisp and you won’t get that golden finish.
Tip: Let the wings sit uncovered in the fridge for 30 minutes if you have time. It dries the skin even more.
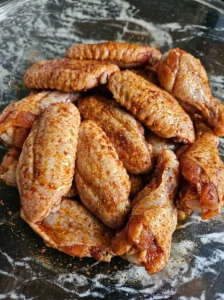
Step 2: Season the Chicken Wings

Mix the paprika, garlic powder, onion powder, salt, black pepper, and cayenne in a small bowl. Drizzle olive oil over the wings, then sprinkle the seasoning evenly. Toss using your hands, lifting and turning for about 60 to 90 seconds until everything is coated. You’re aiming for an even layer with no dry spots. The spices should cling and look slightly damp from the oil. If you rush this, some wings stay bland and others get too salty. (I used to just dump and stir, but coating each wing properly changed the flavor a lot.)
Tip: Add seasoning in two rounds instead of all at once so it spreads more evenly.
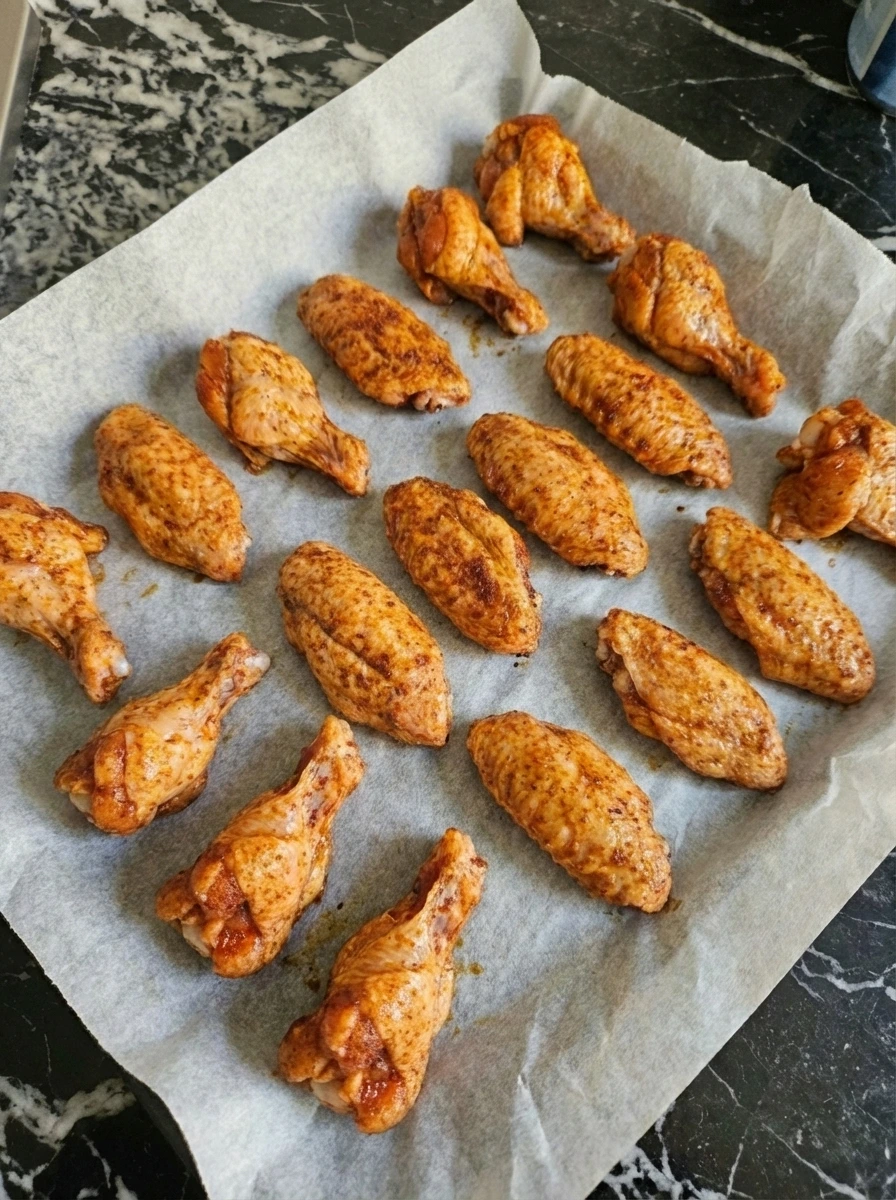
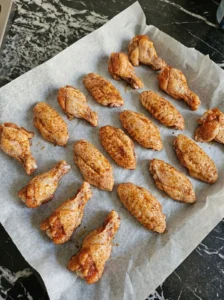
Step 3: Arrange the Wings on a Baking Tray

Line your baking sheet with parchment paper, then place each wing in a single layer with space between them. Leave at least 1 inch between pieces so hot air can move around. This takes about 2 to 3 minutes if you place them one by one. You should still see the tray between wings. That’s what helps them crisp at 400°F later. If they’re touching, you’ll notice moisture pooling instead of browning. Miss this spacing and the skin stays soft instead of crisp.
Tip: Use two trays if needed instead of crowding one.
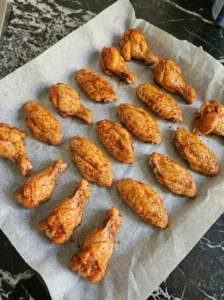
Step 4: Bake the Wings
Place the tray in a preheated 400°F oven and bake for 25 to 30 minutes. At minute 13 or 14, open the oven and flip each wing using tongs, turning them over in one smooth motion. By the end, the skin should be deep golden and you’ll hear a faint sizzle when you pull the tray out. The edges will look slightly crisp and dry. If you go past 30 minutes, the bottoms can overcook and turn tough instead of juicy.
Tip: Rotate the tray front to back when you flip for more even heat.
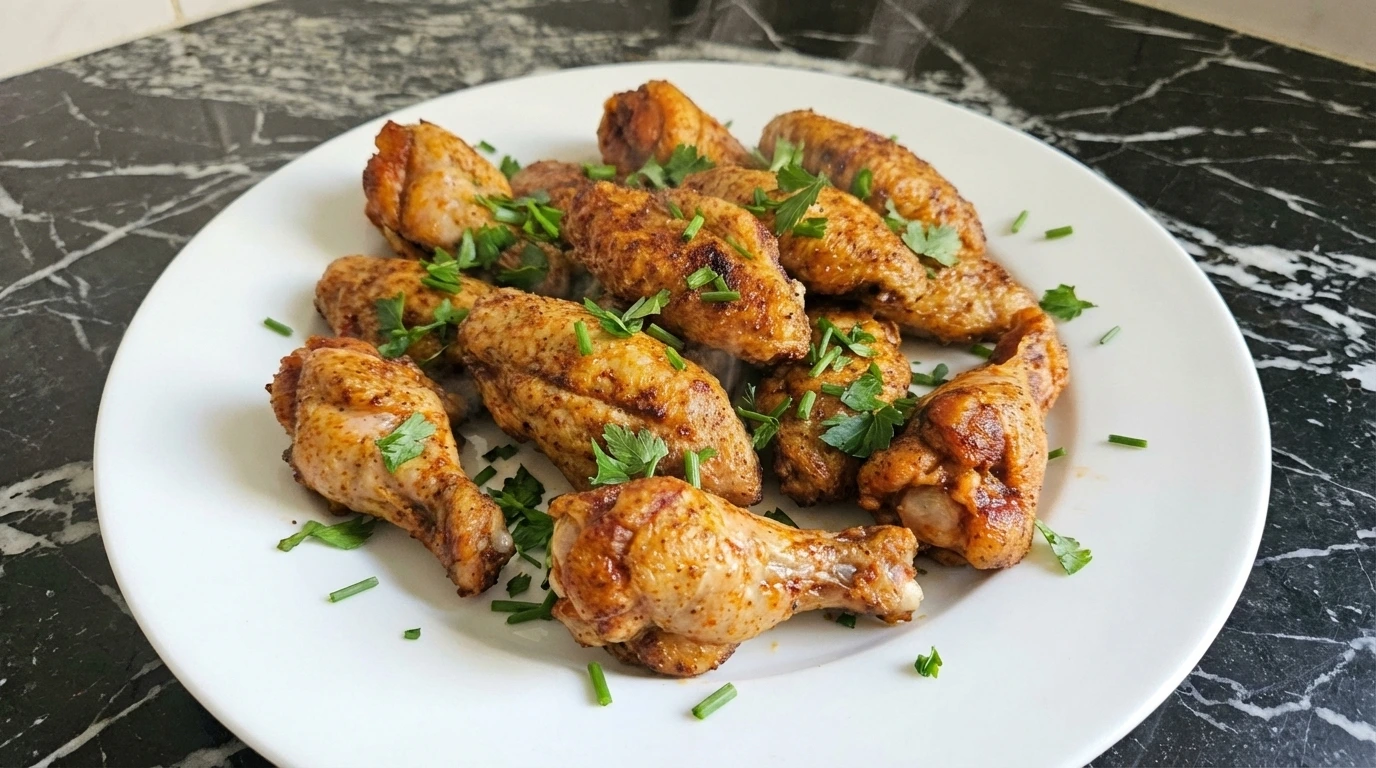
Step 5: Serve and Enjoy
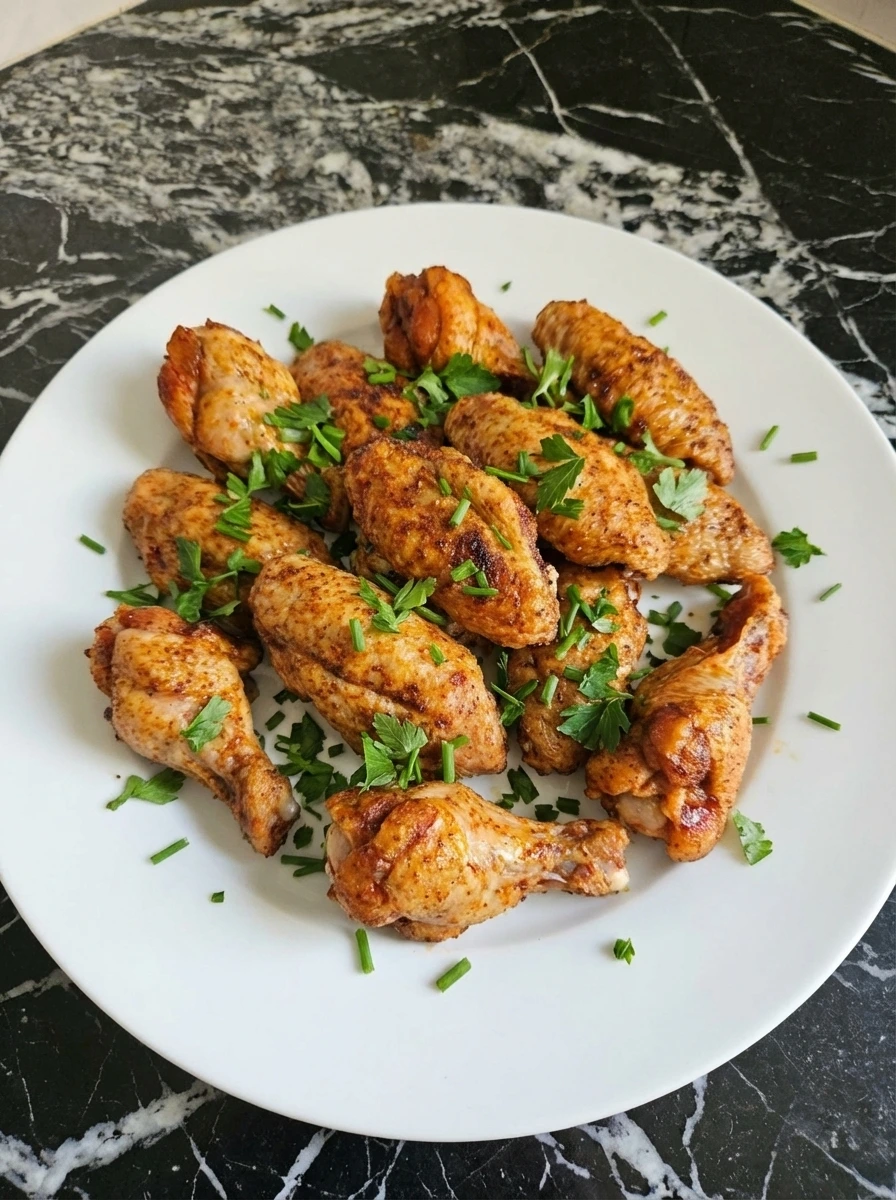
Let the wings rest on the tray for about 2 to 3 minutes after removing them from the 400°F oven. Then transfer them to a plate using tongs, keeping the crispy side facing up. They should feel light and crisp when picked up, not greasy. You’ll hear a slight crunch when you bite in. Serve right away while hot. Wait too long and the steam softens the skin, which takes away that crisp texture.
Tip: Place wings on a rack instead of a plate if holding them for a few minutes to keep them crisp.
My Best Tips
- Dry the wings really well before seasoning so the skin can crisp instead of steam.
- Give each wing space on the tray so hot air can circulate properly.
- Flip right at the halfway point so both sides brown evenly.
- Check for 165°F internally to be sure they’re fully cooked.
Substitutions & Variations
- olive oil: avocado oil — Works well and handles high heat, flavor stays neutral.
- paprika: smoked paprika — Adds a deeper smoky taste, slightly stronger flavor.
- cayenne pepper: chili powder — Milder heat and slightly earthy, less sharp spice.
- chicken wings: drumsticks — Takes longer to cook and won’t crisp exactly the same.
- parchment paper: foil with oil — Works fine but can stick more if not lightly greased.
- seasoning mix: store-bought wing rub — Convenient, but salt levels vary. Adjust carefully. Try pairing with Healthy Quinoa Salad: https://leagueofcooking.com/healthy-quinoa-salad/
Storing Leftovers
Store leftover wings in an airtight container in the fridge for up to 3 days. Let them cool fully before sealing so they don’t trap steam. To reheat, place them in a 375°F oven for 8 to 10 minutes until hot and crisp again. You can freeze them for up to 2 months, but the skin won’t be quite as crisp after thawing.
Crispy Oven Baked Chicken Wings
Ingredients
- 12 chicken wings
- 2 tablespoons olive oil
- 1 teaspoon paprika
- 1 teaspoon garlic powder
- 1 teaspoon onion powder
- 1 teaspoon salt
- 1/2 teaspoon black pepper
- 1/2 teaspoon cayenne pepper
Instructions
-
Start by thoroughly rinsing the chicken wings under cold water. Pat them dry with paper towels to remove excess moisture. This is an important step to ensure that the wings get crispy during baking. Once dry, place the wings in a large mixing bowl.

-
In a small bowl, mix together the paprika, garlic powder, onion powder, salt, black pepper, and cayenne pepper. Drizzle the olive oil over the chicken wings, then sprinkle the seasoning mix evenly over the wings. Toss everything together so the wings are fully coated with the seasoning.
-
Line a baking sheet with parchment paper or foil. Arrange the seasoned chicken wings in a single layer on the tray, making sure they aren’t overcrowded. This ensures the wings cook evenly and crisp up nicely.
-
Bake the wings at 400°F (200°C) for 25-30 minutes or until they are golden brown and crispy. Halfway through, flip the wings to ensure they cook evenly on both sides. The skin should be crispy, and the meat should be fully cooked.
-
Remove the wings from the oven and transfer them to a serving plate. Arrange them neatly and garnish with your favorite herbs or a squeeze of lemon if desired. Serve immediately while hot and crispy.

Notes
Frequently Asked Questions
Make sure they’re completely dry before seasoning and don’t overcrowd the tray. Bake at 400°F and flip halfway through. Those three steps make the biggest difference.
Yes, but thaw them fully first and dry them well. Extra moisture from freezing can prevent crisping if not removed.
It helps but isn’t required. A rack lets air circulate underneath, but spacing on a tray still works well if done right.
Usually it’s too much moisture or overcrowding. Also check your oven temperature. If it’s below 400°F, they won’t crisp properly.
Final Thoughts
These wings are simple, reliable, and always come out crisp when you follow the steps. Once you try them, they’ll probably end up in your regular rotation.
And if you want something creamy on the side, check out this Creamy Garlic Parmesan Pasta: https://leagueofcooking. com/?
p=3098.
Chicken wings crisp in the oven because the fat under the skin renders out and essentially fries the surface as it bakes.