Red Velvet Cupcakes
Red velvet always feels a little special. Not quite chocolate, not quite vanilla. Just soft, lightly cocoa-rich, and that deep red color that makes people pause before the first bite. I make these when I want something dependable but still a little fun.
Birthdays, holidays, or just a quiet baking afternoon. If you like rich desserts, you might also want to try Easy Chocolate Lava Cake They’re simple once you’ve done them once.

And after that, you’ll know exactly what to look for. That’s the part that makes them feel easy.
Why You Will Love This
The batter relies on the vinegar and baking soda reacting right away, which gives a light lift if you bake it quickly at 350°F. Using oil instead of butter keeps the crumb soft even after chilling. And that short mixing time keeps gluten from tightening, so the cupcakes stay tender instead of dense.
Ingredients You Will Need
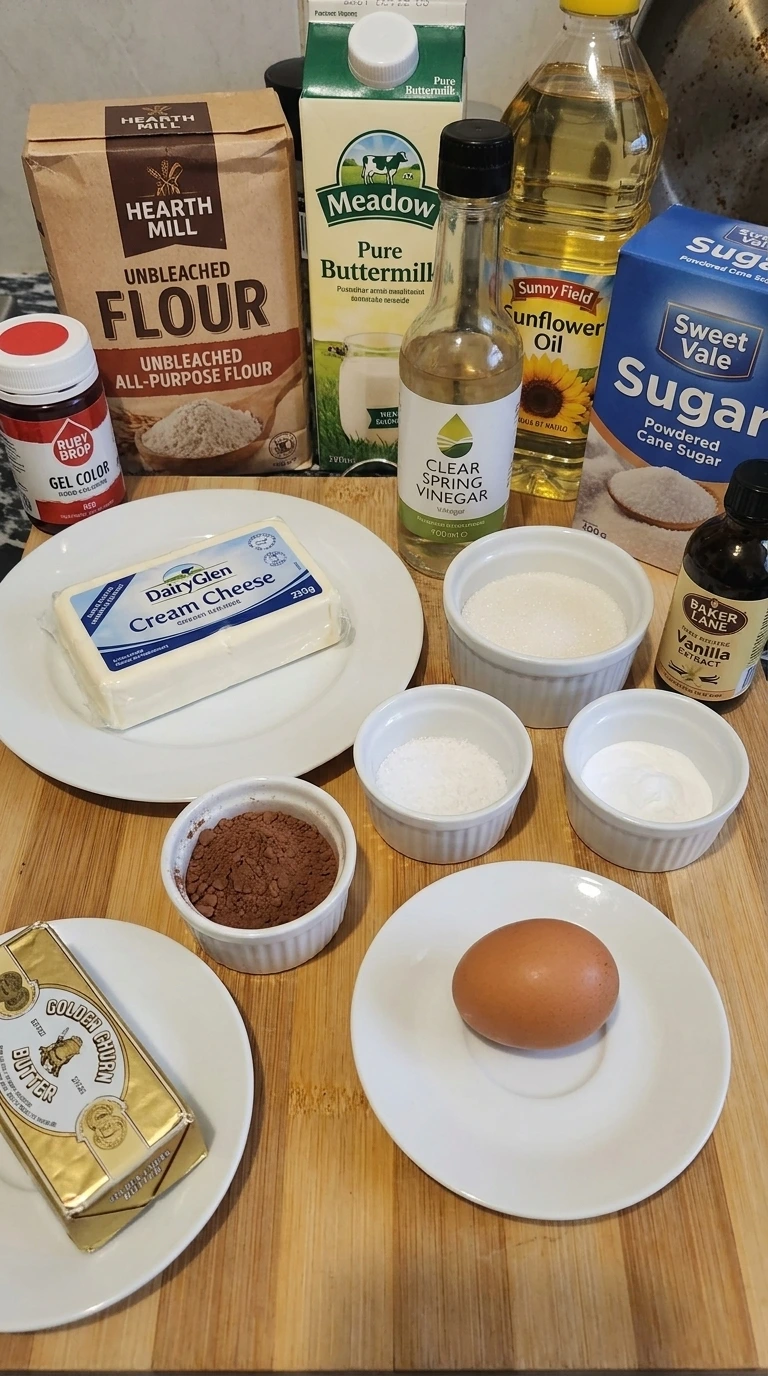
- unbleached all-purpose flour: Gives structure while keeping the crumb soft when lightly mixed.
- Dutch-process cocoa powder: Provides a smooth cocoa flavor and deepens the red tone.
- fine sea salt: Sharpens the sweetness and balances the cocoa.
- baking soda: Activates with vinegar for a quick rise in the oven.
- granulated cane sugar: Sweetens and helps create a tender, moist texture.
- large brown egg: Adds richness and helps bind the batter together.
- full-fat buttermilk: Brings tang and keeps the crumb soft.
- refined sunflower oil: Keeps the cupcakes moist even after chilling.
- pure vanilla extract: Rounds out and softens the cocoa flavor.
- red gel food coloring: Creates a bold red color without thinning the batter.
- distilled white vinegar: Triggers the baking soda for lift and light texture.
- full-fat cream cheese: Forms the base of a tangy, creamy frosting.
- unsalted European-style butter: Adds richness and structure to the frosting.
- powdered cane sugar: Sweetens and thickens the frosting to a spreadable consistency.
Kitchen Equipment
Method
Step 1: Mix the red velvet batter

Start with ingredients at room temperature, about 70°F, so everything blends smoothly. Mix the dry and wet together using a gentle folding motion for about 60 to 90 seconds. Scrape the bowl once halfway through. You’ll see the batter turn evenly red as the cocoa streaks disappear. Keep the mixing light and stop as soon as the flour is gone. The batter should look thick but pourable, with tiny bubbles forming on the surface. If you keep going past 2 minutes, the batter tightens and the cupcakes bake up dense. (I used to keep mixing until it looked perfectly smooth, but they always came out heavy.)
Tip: Use a spatula instead of a mixer at the end to avoid overworking the batter.
Step 2: Fill the cupcake liners

Set your oven to preheat at 350°F before you start filling so the batter doesn’t sit too long. Spoon the batter into liners, filling each about two thirds full. This takes about 2 to 3 minutes total. Use a slight wrist tilt to guide the batter into the center of each liner. The tops will look uneven with small swirls, and that’s fine. If you overfill past three quarters, they spill over and lose that clean dome shape.
Tip: Use a cookie scoop for more even portions across all liners.
Step 3: Bake the cupcakes until domed

Place the tray in a fully preheated 350°F oven and bake for 18 to 20 minutes. Rotate the pan once at minute 12 for even heat. You’ll see the tops rise and turn matte with small cracks. Check by gently pressing the center. It should spring back lightly. You’ll also smell a soft cocoa aroma when they’re ready. If you leave them past 22 minutes, the edges dry out and the crumb loses its softness.
Tip: Use the middle oven rack for the most even baking.
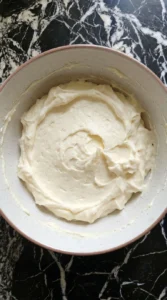
Step 4: Whip the cream cheese frosting

Let the cream cheese and butter sit at room temperature, around 68 to 70°F, for about 30 minutes before mixing. Beat them together for 2 to 3 minutes until smooth, then add powdered sugar gradually over another 2 minutes. Use a scraping motion around the bowl once halfway through. The frosting should form soft ridges and hold its shape. If the mixture looks lumpy or loose, the ingredients were either too cold or too warm, and the texture won’t hold well.
Tip: Chill the frosting for 10 minutes if it feels too soft to spread.
Step 5: Frost the cooled cupcakes

Make sure the cupcakes are fully cooled to room temperature, about 70°F, which takes 45 to 60 minutes after baking. Spread or swirl frosting using a circular wrist motion for about 10 to 15 seconds per cupcake. The frosting should sit thickly on top without sliding. You’ll see small red crumbs catching along the edges. If you frost while warm, the frosting melts and loses its shape completely.
Tip: Use an offset spatula for cleaner, more controlled swirls.
Step 6: Serve one cupcake
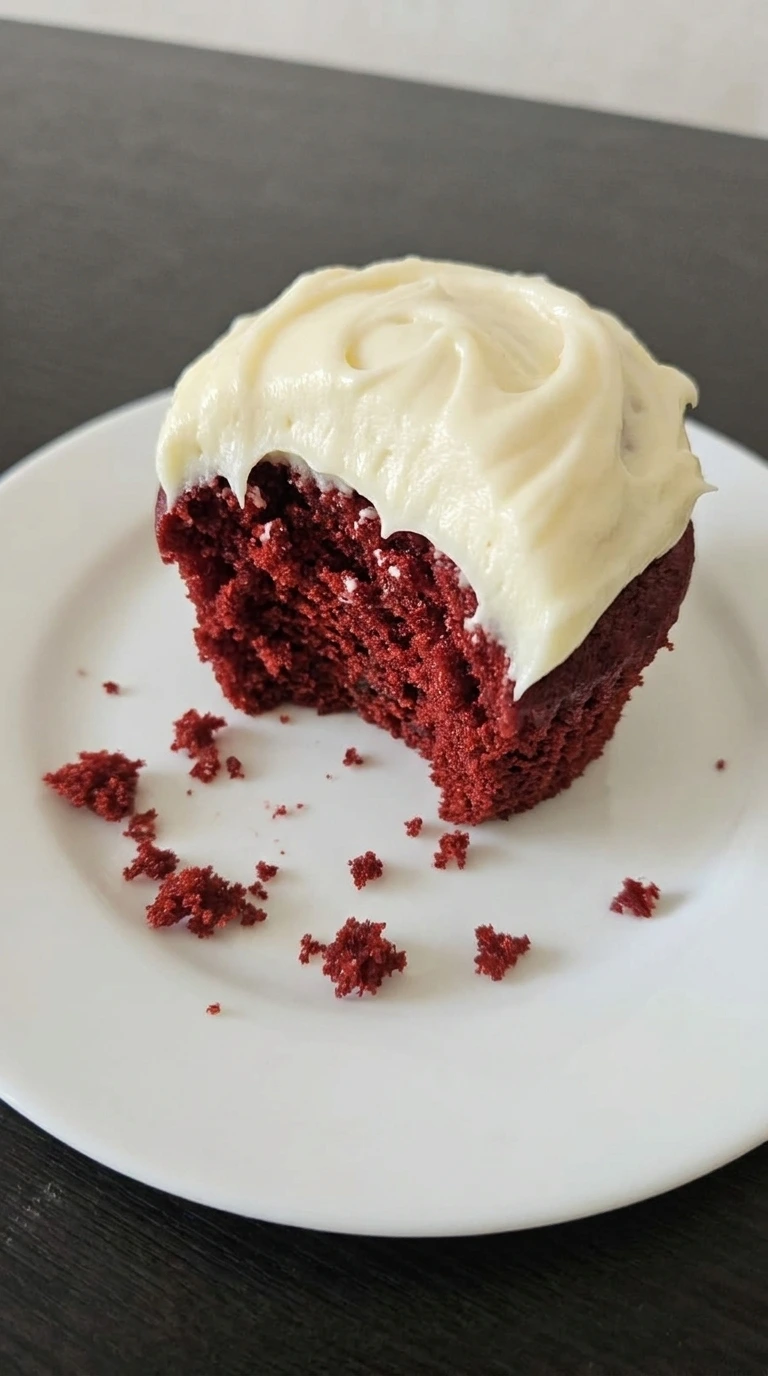
Serve at either room temperature, about 70°F, or slightly chilled around 50°F depending on texture preference. Let chilled cupcakes sit out for 10 minutes before serving for the best balance. Take a bite and look for a soft, even crumb with slight moisture. The frosting should feel creamy, not stiff. If served too cold, the frosting tastes firm and the crumb feels tight instead of tender.
Tip: Use a sharp knife for a clean cut if you want to show the crumb inside.
Tips and Tricks
- Stick with gel coloring so the batter stays thick and .
- Stop mixing as soon as the flour disappears.
- Let cupcakes cool completely before adding frosting.
- Crumble one cupcake on top for a simple garnish.
Swaps and Variations
- buttermilk: milk + lemon juice — works in a pinch but the tang is slightly less rich
- sunflower oil: canola oil — very similar result with no noticeable flavor change
- cream cheese: dairy-free cream cheese — texture is softer and flavor is less tangy
- all-purpose flour: gluten-free flour blend — crumb is slightly more delicate and can crumble easier
- Dutch-process cocoa: natural cocoa powder — color will be lighter and flavor a bit sharper, see Green Velvet Cupcakes: https://leagueofcooking.com/?p=3464 for variation ideas
Storing Leftovers
Store the frosted cupcakes in an airtight container in the fridge for up to 4 days. Before serving, let them sit at room temperature for about 20 minutes so the frosting softens and the crumb relaxes again.
Red Velvet Cupcakes
Ingredients
- 1 1/4 cups unbleached all-purpose flour
- 1 tablespoon Dutch-process cocoa powder
- 1/2 teaspoon fine sea salt
- 1/2 teaspoon baking soda
- 3/4 cup granulated cane sugar
- 1 large brown egg
- 1/2 cup full-fat buttermilk
- 1/2 cup refined sunflower oil
- 1 teaspoon pure vanilla extract
- 1 tablespoon red gel food coloring
- 1/2 teaspoon distilled white vinegar
- 8 ounces full-fat cream cheese
- 1/2 cup unsalted European-style butter
- 2 cups powdered cane sugar
Instructions
-
The dry mixture and wet mixture come together into a deep red batter with cocoa streaks fading into the color. The texture changes from loose separate ingredients into a thick pourable batter with tiny bubbles.

-
The batter is divided into twelve paper liners and the shape changes from one large pool into individual portions. Each cup looks slightly uneven with different surface swirls and varied fill lines.

-
The batter rises into soft domes and the red surface turns matte with tiny cracks. The cupcakes look set and slightly uneven rather than glossy and raw.

-
Cream cheese and butter and powdered cane sugar change into a thick pale frosting with soft ridges. The mixture looks creamy and slightly imperfect with visible swirls.
-
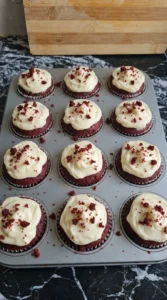
The baked cupcakes change from plain domes into finished treats with thick frosting swirls. The frosting sits unevenly on top with small red crumbs clinging to the edges.
-
One cupcake is served with a bite cut away so the red crumb shows beneath the frosting. The final portion looks tender and homemade with loose crumbs and an imperfect frosting edge.

Notes
Nutrition
Questions I Get Asked
Yes, you can bake them a day ahead and store them covered. Frost right before serving for the best texture. The crumb stays soft if kept sealed.
You can, but the color and flavor will shift slightly. Dutch-process gives a smoother, deeper result. Natural cocoa is a bit sharper.
This usually happens from overbaking or overmixing. Check them at 18 minutes and mix gently. Once the flour disappears, stop.
Yes, freeze them unfrosted for up to 2 months. Wrap tightly and thaw at room temperature before frosting. The texture holds up well.
No, but you won’t get the classic red look. The flavor stays the same. They’ll just look more like a light chocolate cupcake.
Final Thoughts
These are the kind of cupcakes that feel reliable once you’ve made them a couple times. Soft, simple, and just a little special.
If you liked this one, try Strawberry Cheesecake
next. And if you bake these, I’d love to hear how they turned out.
The red color originally came from a natural reaction between cocoa and acidic ingredients before food coloring became common.