Soft and Chewy Chocolate
When you want something different from standard chocolate chip cookies this Soft and Chewy Chocolate recipe offers a delicious twist. These chocolate cookies are rich and simple and packed with deep cocoa flavor perfect for cozy baking days or holiday gatherings.
This recipe is perfect for a holiday cookie tray and a party dessert table and a weekend baking project. It also fits those evenings when you want a quick homemade treat without a lot of fuss.
If you want more chocolate dessert ideas also check out other cookie bars and brownie style favorites on the blog. This one is the kind of bake that feels easy to make and even easier to share.
Ingredients
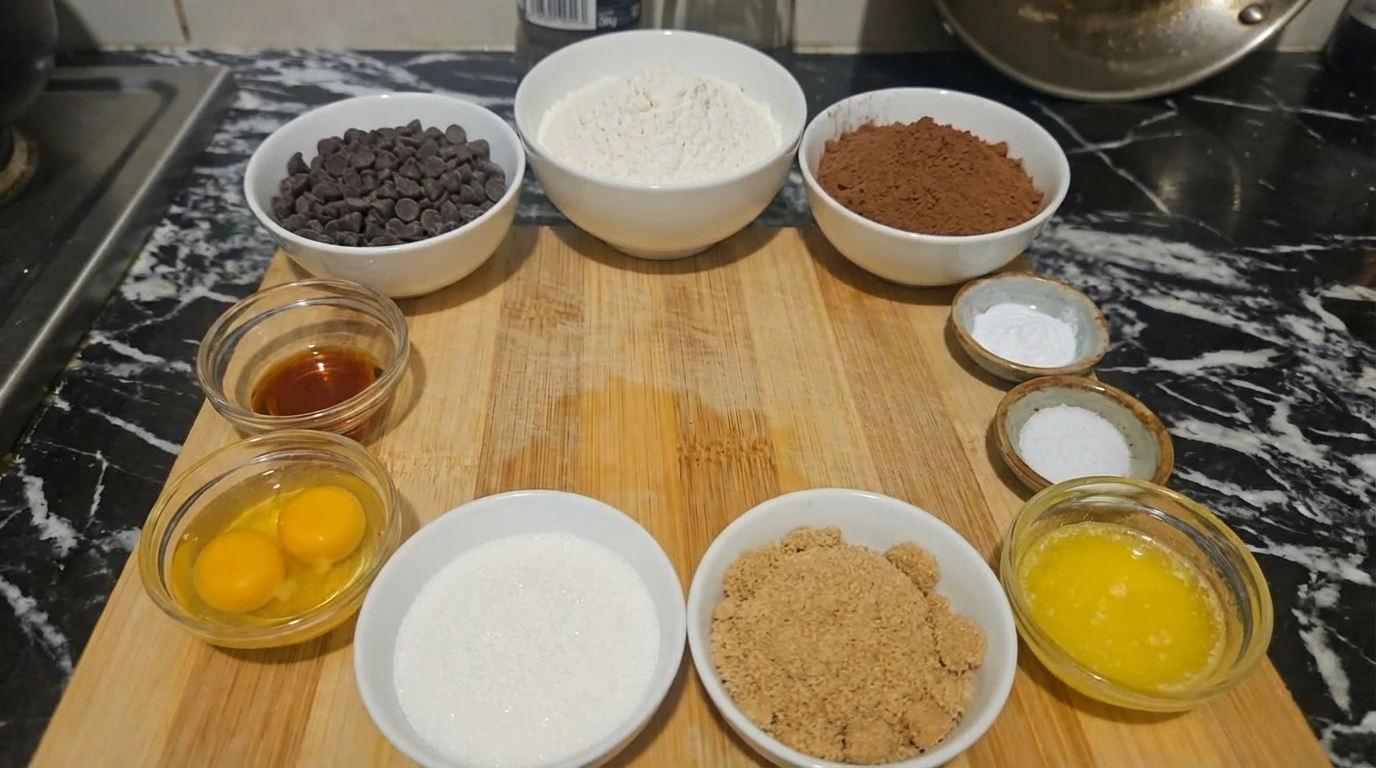
- all-purpose flour: Builds the structure so the cookies hold their shape while staying tender.
- unsweetened cocoa powder: Adds deep chocolate flavor and dark color.
- baking soda: Helps the cookies spread and lift for a soft chewy texture.
- salt: Balances the sweetness and sharpens the chocolate flavor.
- unsalted butter: Adds richness and helps create glossy chewy centers.
- light brown sugar: Brings moisture and caramel notes for softness.
- granulated sugar: Sweetens the dough and helps the edges set lightly.
- large eggs: Bind the dough and add moisture for a tender crumb.
- vanilla extract: Rounds out the chocolate flavor with warm sweetness.
- semi-sweet chocolate chips: Create melted pockets and uneven chocolate bursts throughout.
Kitchen Equipment
- mixing bowl: Holds the dough while ingredients are combined.
- sheet pan: Supports the dough portions while the cookies bake and spread.
- parchment paper: Helps the cookies release cleanly and supports even baking.
- cookie scoop: Keeps the dough portions close in size for even baking.
How to Make It
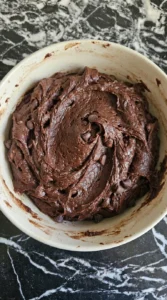
Step 1: Mix the dark cookie dough
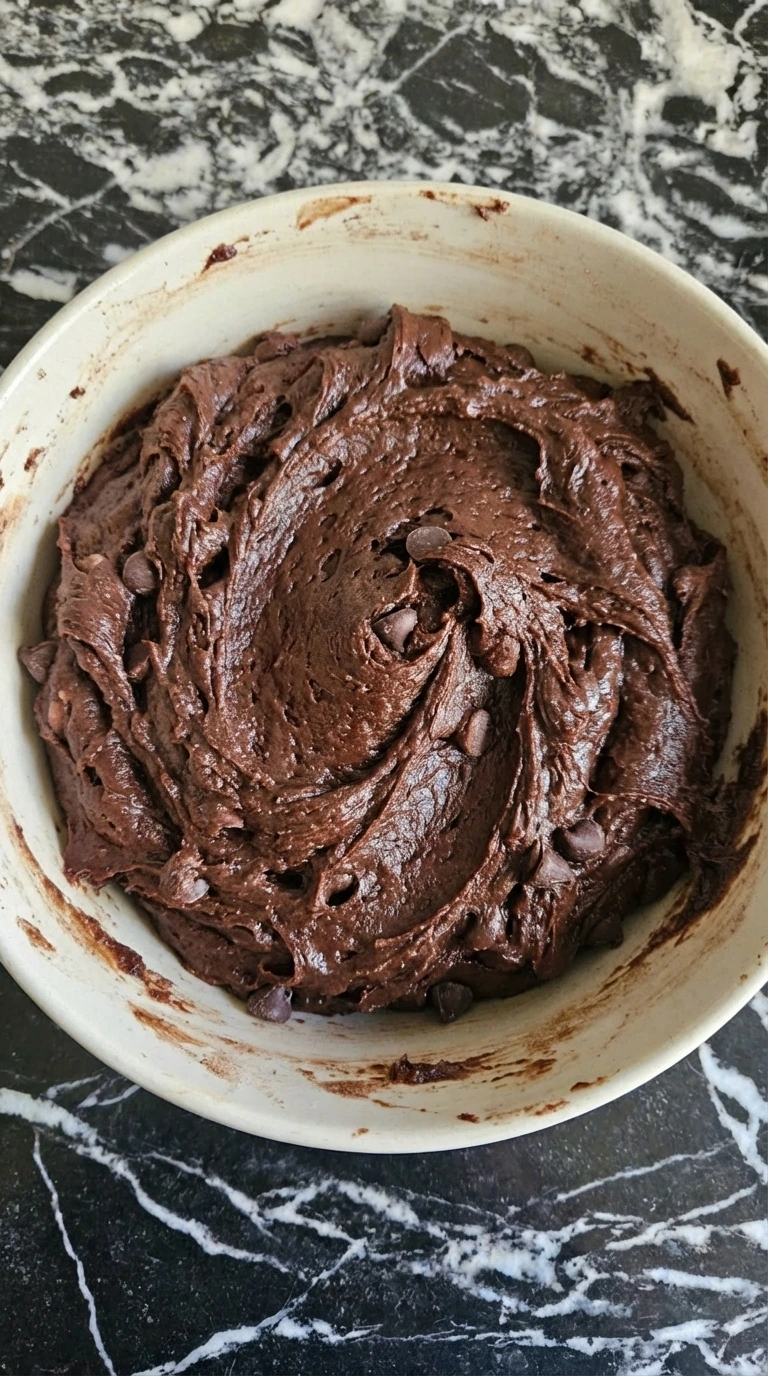
The dry ingredients and the melted butter and sugars and eggs and vanilla come together into a thick dark dough that looks glossy in some spots and matte in others while streaks disappear as the mixture turns fully chocolatey. The dough stays a little uneven and heavy which is exactly what helps the baked cookies stay soft in the center. Once the chocolate chips are folded in they sit throughout the dough with natural spacing and slight clumping so every scoop will bake a little differently and feel homemade.
Tip: Stop mixing as soon as no dry patches remain so the cookies stay tender.
Step 2: Portion the dough onto the tray
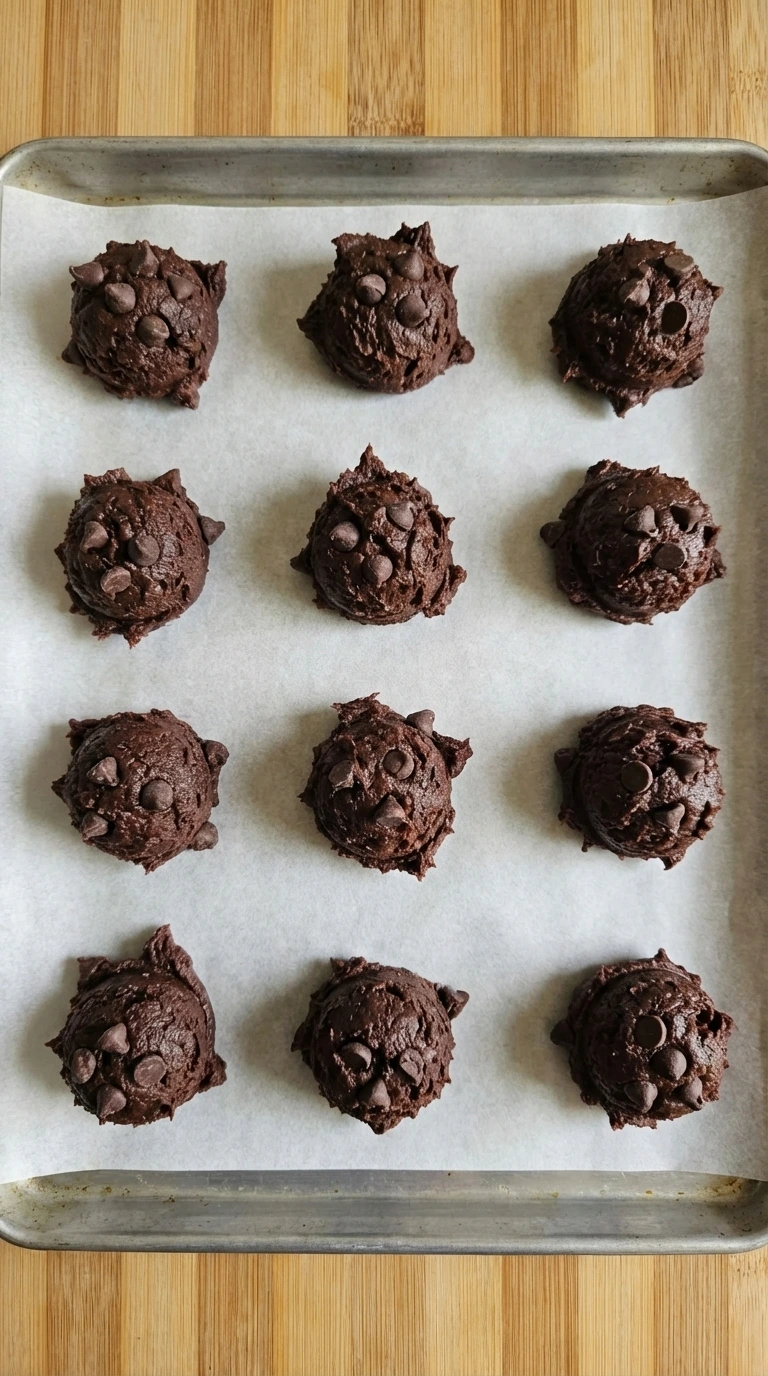
The dough changes from one mass into separate scoops with rough tops and irregular edges while the chocolate chips peek out at different angles across each mound. The portions are loosely spaced and not perfectly round so the tray already looks like a real batch from a home kitchen. This step also sets up the final shape because the uneven tops will bake into crinkles while the exposed chips melt into glossy pockets.
Tip: Leave room between the scoops so they can spread without joining together.
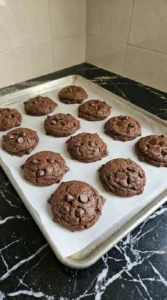
Step 3: Bake until puffed and lightly crackled

The scoops spread into cookies as the edges set and the centers puff slightly while the tops crack in uneven lines and the chips soften into shiny pockets. The color deepens and the surface looks dry in some areas and glossy in others which gives the batch that soft and chewy promise before cooling. Not every cookie bakes into the same shape and that slight variation makes the tray look more natural and appealing than anything too uniform.
Tip: Pull them when the centers still look a little soft so they finish tender instead of dry.
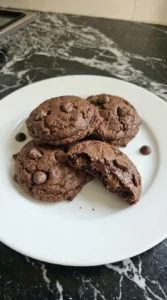
Step 4: Cool and plate the cookies
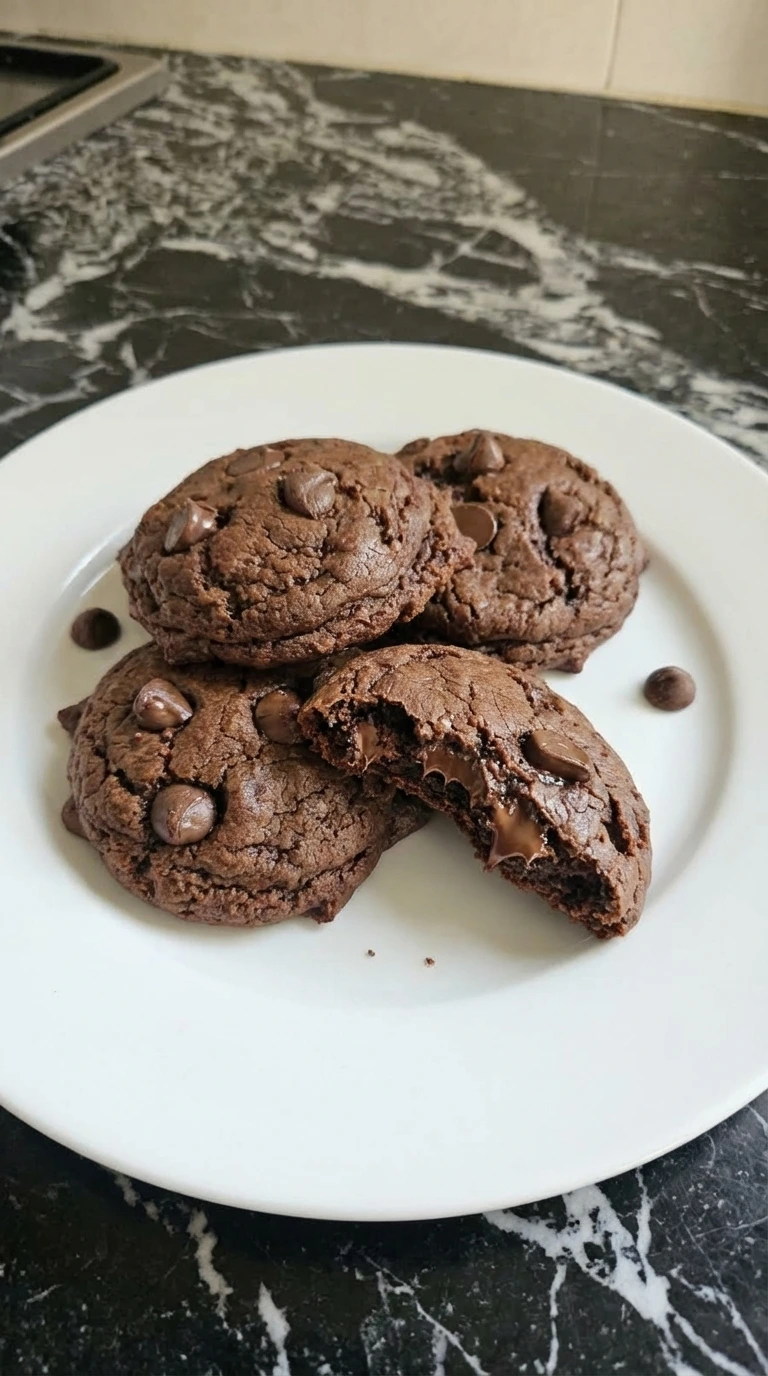
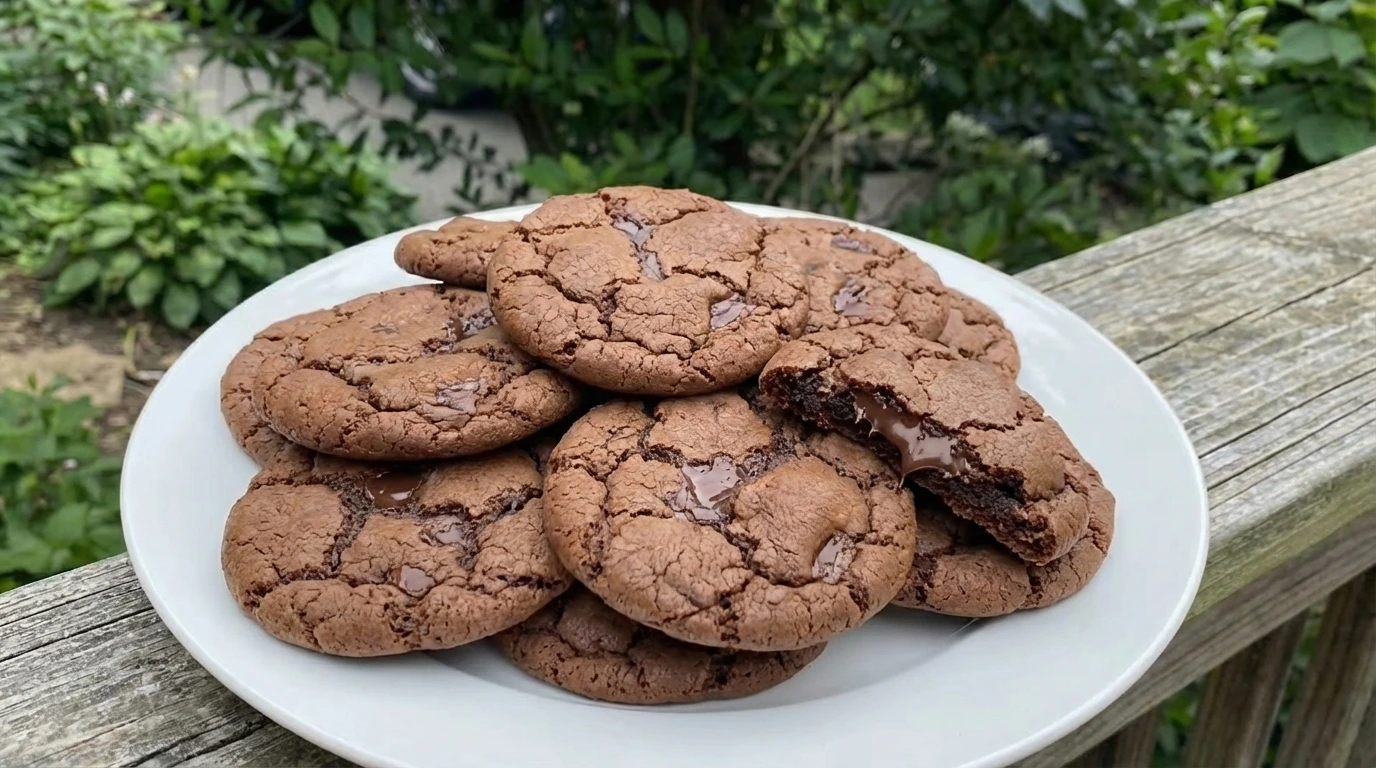
As the cookies settle they flatten just a little and the centers turn denser and softer while the edges stay lightly firm and the melted chips keep their glossy look. Moved onto the plate they overlap casually with visible cracks and uneven thickness that make the final dessert feel warm and homemade. The finished cookies show deep chocolate color and slight browning around the edges with a texture that looks tender enough to bend rather than snap.
Tip: Let the cookies rest briefly so the centers set while staying soft.
Pro Tips
- Use melted butter for a denser and chewier center.
- Do not overbake because the cookies finish setting after they come out.
- Let a few chocolate chips stay exposed on top for glossy melted pockets.
- Measure flour carefully so the dough stays soft rather than stiff.
Storage Instructions
Keep the cooled cookies in an airtight container at room temperature for up to four days and place a small piece of bread inside if you want to help maintain softness. For longer storage freeze the baked cookies in layers with parchment between them and thaw at room temperature when you want a quick chocolate treat.
Soft and Chewy Chocolate
Ingredients
Method
- The dry ingredients and the melted butter and sugars and eggs and vanilla come together into a thick dark dough that looks glossy in some spots and matte in others while streaks disappear as the mixture turns fully chocolatey. The dough stays a little uneven and heavy which is exactly what helps the baked cookies stay soft in the center. Once the chocolate chips are folded in they sit throughout the dough with natural spacing and slight clumping so every scoop will bake a little differently and feel homemade.
- The dough changes from one mass into separate scoops with rough tops and irregular edges while the chocolate chips peek out at different angles across each mound. The portions are loosely spaced and not perfectly round so the tray already looks like a real batch from a home kitchen. This step also sets up the final shape because the uneven tops will bake into crinkles while the exposed chips melt into glossy pockets.

- The scoops spread into cookies as the edges set and the centers puff slightly while the tops crack in uneven lines and the chips soften into shiny pockets. The color deepens and the surface looks dry in some areas and glossy in others which gives the batch that soft and chewy promise before cooling. Not every cookie bakes into the same shape and that slight variation makes the tray look more natural and appealing than anything too uniform.
- As the cookies settle they flatten just a little and the centers turn denser and softer while the edges stay lightly firm and the melted chips keep their glossy look. Moved onto the plate they overlap casually with visible cracks and uneven thickness that make the final dessert feel warm and homemade. The finished cookies show deep chocolate color and slight browning around the edges with a texture that looks tender enough to bend rather than snap.
Notes
Frequently Asked Questions
How do I keep chocolate cookies soft?
Store them in a sealed container after they cool and avoid overbaking so the centers stay tender.
Can I make the dough ahead of time?
Yes you can chill the portioned dough for up to two days and bake when ready.
Why did my cookies turn dry?
Too much flour or too much baking time can make them dry instead of chewy.
Can I freeze these cookies?
Yes both the baked cookies and the unbaked dough portions freeze well for later baking or snacking.
Final Thoughts
This is the kind of recipe I wish I had found years ago. It would have saved me so many disappointing cookie batches.
But now that I have it I make it all the time and I think you will too. If you enjoyed this check out some of my other popular recipes on the blog.
And leave a comment I read every single one and it really makes my day.
Brown sugar helps chocolate cookies stay softer because it holds more moisture than white sugar alone.