No Bake Biscoff Cheesecake
When you’re greedy like me and want proper Biscoff flavour in every bite and not just a faint hint of spiced biscuit that makes you wonder if you imagined it at all then making a No Bake Biscoff Cheesecake suddenly becomes harder than it sounds. I really thought it would be simple: stir Biscoff spread through my favourite no bake cheesecake filling and layer it and spoon more on top. But every option had problems.
Too little spread made the flavour feel shy while too much made the filling slump and lose that lovely sliceable shape. Then there was the topping problem and that was somehow even more annoying. A thin layer soaked in and disappeared while a thick layer sat heavy and dull on top.
This version fixes all of that and gives you a crisp cookie base and a creamy centre and enough Biscoff all the way through to make every forkful worth it.
Ingredients
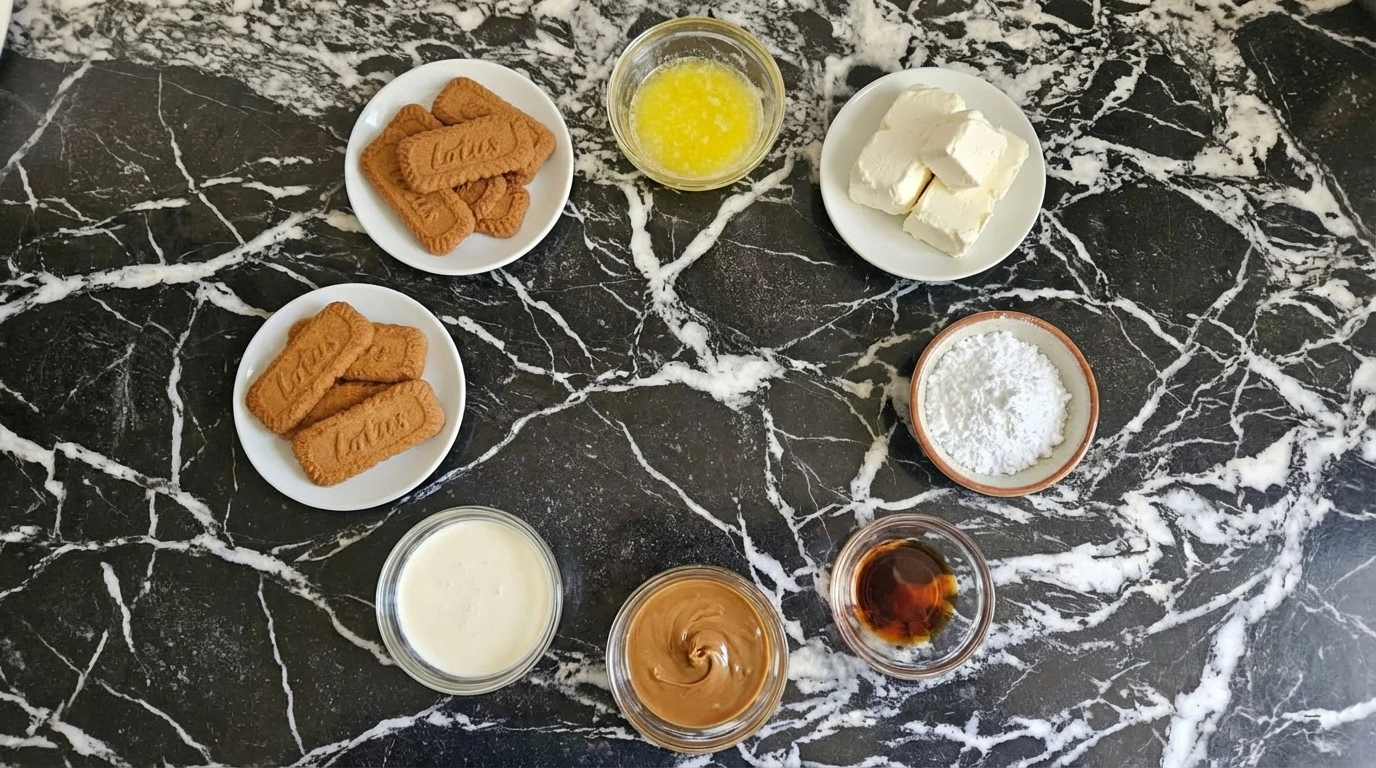
- Biscoff cookies: Crushed for the base and a little extra texture on top.
- Unsalted butter: Melted to bind the cookie crumbs into a firm crust.
- Cream cheese: The rich base of the filling and best used softened for a smooth texture.
- Powdered sugar: Sweetens the filling while keeping it silky.
- Vanilla extract: Rounds out the flavour and softens the tang of the cream cheese.
- Biscoff spread: Flavours the filling and becomes the glossy topping.
- Heavy cream: Whipped to lighten the filling and help it hold shape.
- Extra Biscoff cookies: Crumbled over the top for crunch and a rustic finish.
Kitchen Equipment
- 20 cm cake pan: Holds the crust and filling in a stable shape.
- Mixing bowl: Lets the filling combine smoothly without overworking it.
- Electric mixer: Whips the cream and smooths the filling quickly.
- Spatula: Helps fold the filling gently and spread it evenly.
How to Make It
Step 1: Mix the cookie crumbs with melted butter
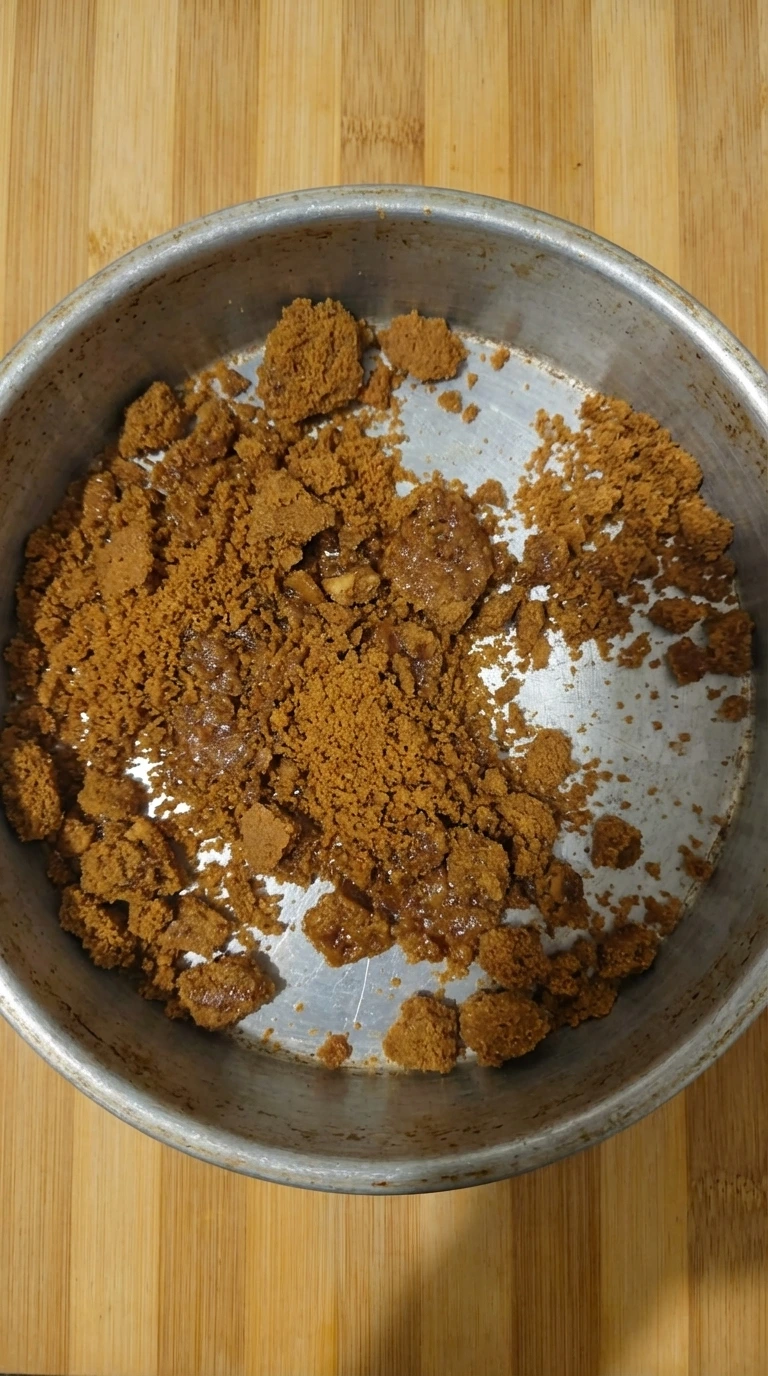
Crushed Biscoff cookies turn darker and slightly glossy as the butter runs through them and the loose sandy crumbs begin to clump in irregular patches. The mixture looks shaggy rather than smooth and you can see dry bits and richer buttery bits sitting together. This is the first real visual shift and it matters because the crumbs stop looking dusty and start looking like something that will hold its shape. Keep the texture a little uneven so the base feels homemade rather than packed into a perfect uniform paste.
Tip: Stop mixing as soon as the crumbs hold together when pressed so the crust stays crisp and not greasy.
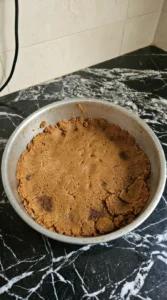
Step 2: Press the crumbs into a firm uneven base

Once the crumbs are pressed down they change from loose clusters into a compact layer with rough edges and tiny dips across the surface. The colour deepens slightly where the butter settles and the base looks solid enough to support the filling while still keeping a few craggy bits around the sides. That structure change is what you want here. The crumbs are no longer separate pieces and now read as one clear layer with a casual homemade finish rather than a perfectly flat factory base.
Tip: Press firmly across the middle and just lightly at the edges so the crust holds together without becoming too hard.
Step 3: Blend the filling until thick and pale
Cream cheese and powdered sugar and vanilla and part of the Biscoff spread come together into a smooth pale tan filling with soft swirls and a noticeably thicker body. The streaks disappear as the ingredients fully mix and the colour shifts from bright white to a warm biscuit shade. This step adds both texture change and colour change. What started as separate soft ingredients becomes one creamy mass with enough body to mound slightly and hold loose ridges instead of sinking flat.
Tip: Mix just until smooth so the filling stays thick and does not loosen too much.
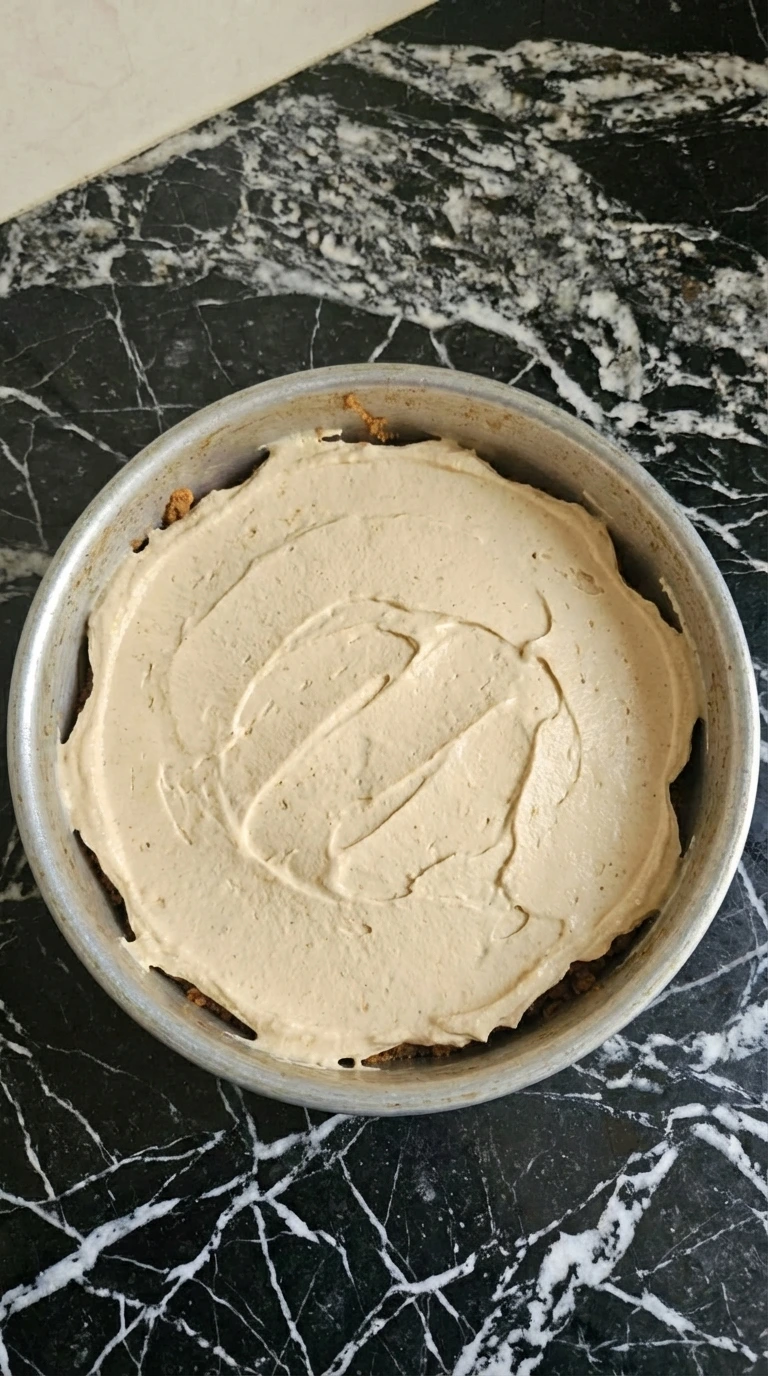
Step 4: Fold in the whipped cream and spread the filling over the crust
As the whipped cream is folded through and the filling is spread into the pan the mixture becomes lighter and airier with broad soft ripples across the top. The crust disappears under the filling yet a little crumb still peeks through at the edges and the surface settles into relaxed uneven waves instead of a flat polished top. This is the structure change that turns the recipe into an actual cheesecake. You now have two clear layers and the filling looks soft and pillowy rather than dense which helps the chilled slice feel creamy rather than heavy.
Tip: Leave gentle swoops on top because they catch the topping beautifully later.
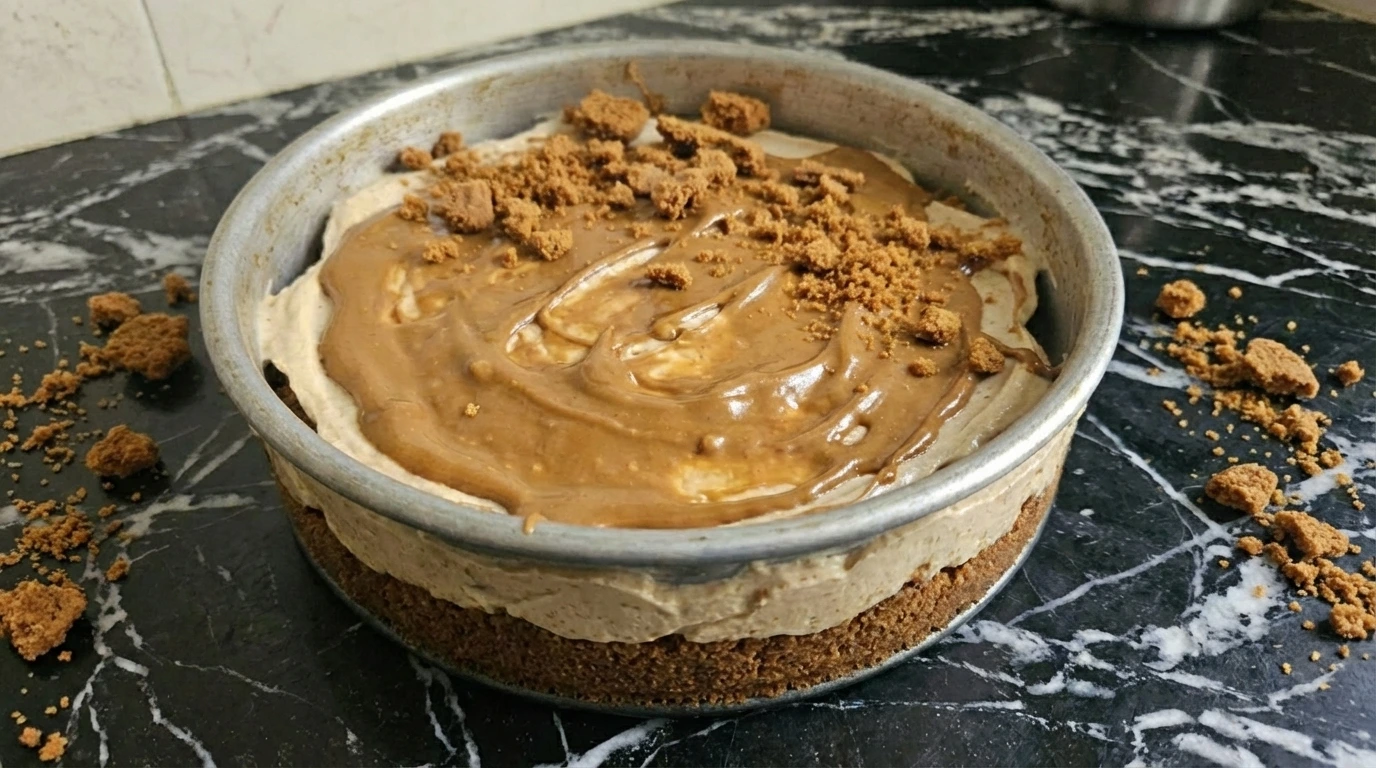
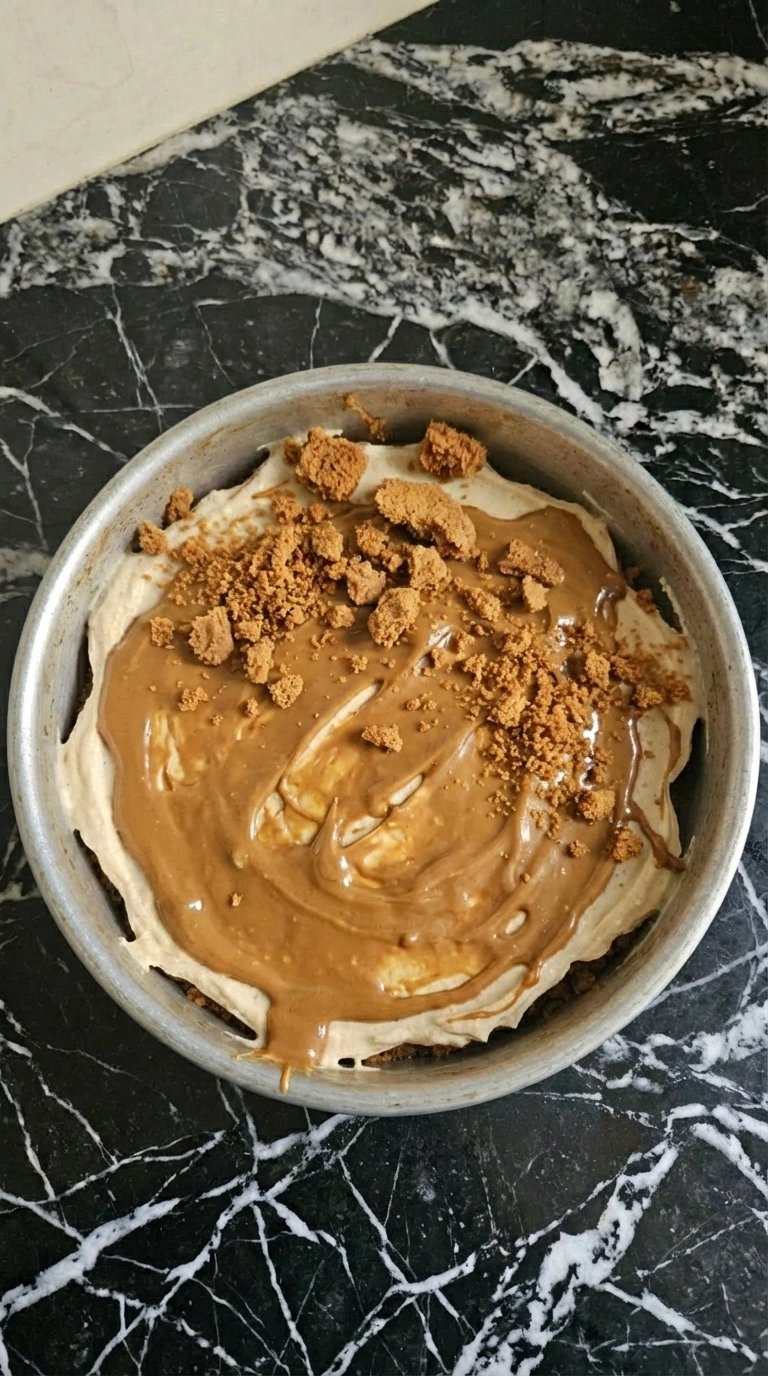
Step 5: Pour over the melted Biscoff topping and scatter cookie crumble

The chilled cheesecake gets its final visual jump when the remaining Biscoff spread loosens into a glossy darker layer that drapes over the pale filling and settles into natural pools. Crumbled cookies land unevenly over the top and some pieces sink slightly while others stay crisp on the surface. Now the cheesecake looks finished and sliceable with clear contrast between the darker topping and the lighter centre and the crumb base underneath. The top should not look perfect and a few rough patches and thicker drips make it far more inviting.
Tip: Warm the topping only enough to loosen it so it pours softly without becoming thin and runny.
Pro Tips
- Use full fat cream cheese for the firmest chilled slices.
- Chill the crust before adding the filling so the layers stay neat.
- Warm the Biscoff spread gently so it flows but still sets with shine.
- Let the cheesecake chill overnight for the cleanest texture and deepest flavour.
Storage Instructions
Keep the cheesecake covered in the fridge and it will stay fresh for up to 4 days. The topping may lose a little shine over time yet the flavour stays lovely and the slices usually cut even better on day two. For longer storage freeze individual slices and thaw them overnight in the fridge. Add any extra cookie crumble after thawing if you want the top to keep its crunch.
No Bake Biscoff Cheesecake
Ingredients
Method
- Crushed Biscoff cookies turn darker and slightly glossy as the butter runs through them and the loose sandy crumbs begin to clump in irregular patches. The mixture looks shaggy rather than smooth and you can see dry bits and richer buttery bits sitting together. This is the first real visual shift and it matters because the crumbs stop looking dusty and start looking like something that will hold its shape. Keep the texture a little uneven so the base feels homemade rather than packed into a perfect uniform paste.

- Once the crumbs are pressed down they change from loose clusters into a compact layer with rough edges and tiny dips across the surface. The colour deepens slightly where the butter settles and the base looks solid enough to support the filling while still keeping a few craggy bits around the sides. That structure change is what you want here. The crumbs are no longer separate pieces and now read as one clear layer with a casual homemade finish rather than a perfectly flat factory base.
- Cream cheese and powdered sugar and vanilla and part of the Biscoff spread come together into a smooth pale tan filling with soft swirls and a noticeably thicker body. The streaks disappear as the ingredients fully mix and the colour shifts from bright white to a warm biscuit shade. This step adds both texture change and colour change. What started as separate soft ingredients becomes one creamy mass with enough body to mound slightly and hold loose ridges instead of sinking flat.

- As the whipped cream is folded through and the filling is spread into the pan the mixture becomes lighter and airier with broad soft ripples across the top. The crust disappears under the filling yet a little crumb still peeks through at the edges and the surface settles into relaxed uneven waves instead of a flat polished top. This is the structure change that turns the recipe into an actual cheesecake. You now have two clear layers and the filling looks soft and pillowy rather than dense which helps the chilled slice feel creamy rather than heavy.

- The chilled cheesecake gets its final visual jump when the remaining Biscoff spread loosens into a glossy darker layer that drapes over the pale filling and settles into natural pools. Crumbled cookies land unevenly over the top and some pieces sink slightly while others stay crisp on the surface. Now the cheesecake looks finished and sliceable with clear contrast between the darker topping and the lighter centre and the crumb base underneath. The top should not look perfect and a few rough patches and thicker drips make it far more inviting.
Notes
Frequently Asked Questions
Can I make No Bake Biscoff Cheesecake ahead of time?
Yes and it actually tastes better after a long chill because the filling firms up and the Biscoff flavour settles right through the cheesecake.
Can I freeze No Bake Biscoff Cheesecake?
Yes and freeze it whole or in slices and wrap it well and thaw it in the fridge so the texture stays creamy rather than wet.
What can I use instead of Biscoff cookies?
Another spiced biscuit works for the crust though the flavour will shift and you may need a touch more butter if the crumbs seem dry.
Why is my filling too soft?
Usually the cream was under whipped or the filling was over mixed or too much warm Biscoff spread was added before chilling.
Final Thoughts
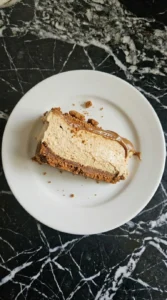
This simple No Bake Biscoff Cheesecake is beautiful and delicious!
A crisp Biscoff cookie crust with a creamy cheesecake filling and topped with glossy Biscoff spread.
So simple and oh-so good!
Biscoff began as a caramelised spiced biscuit and its deep toasted flavour makes it especially good in chilled desserts where the spice stays clear and rich.