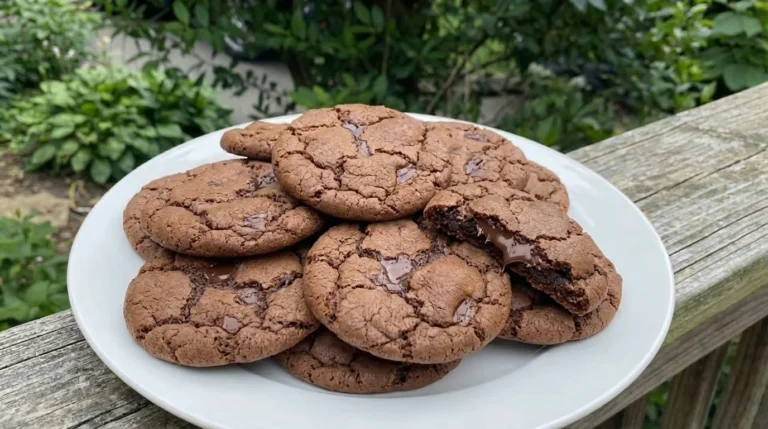
Halloween Cookies
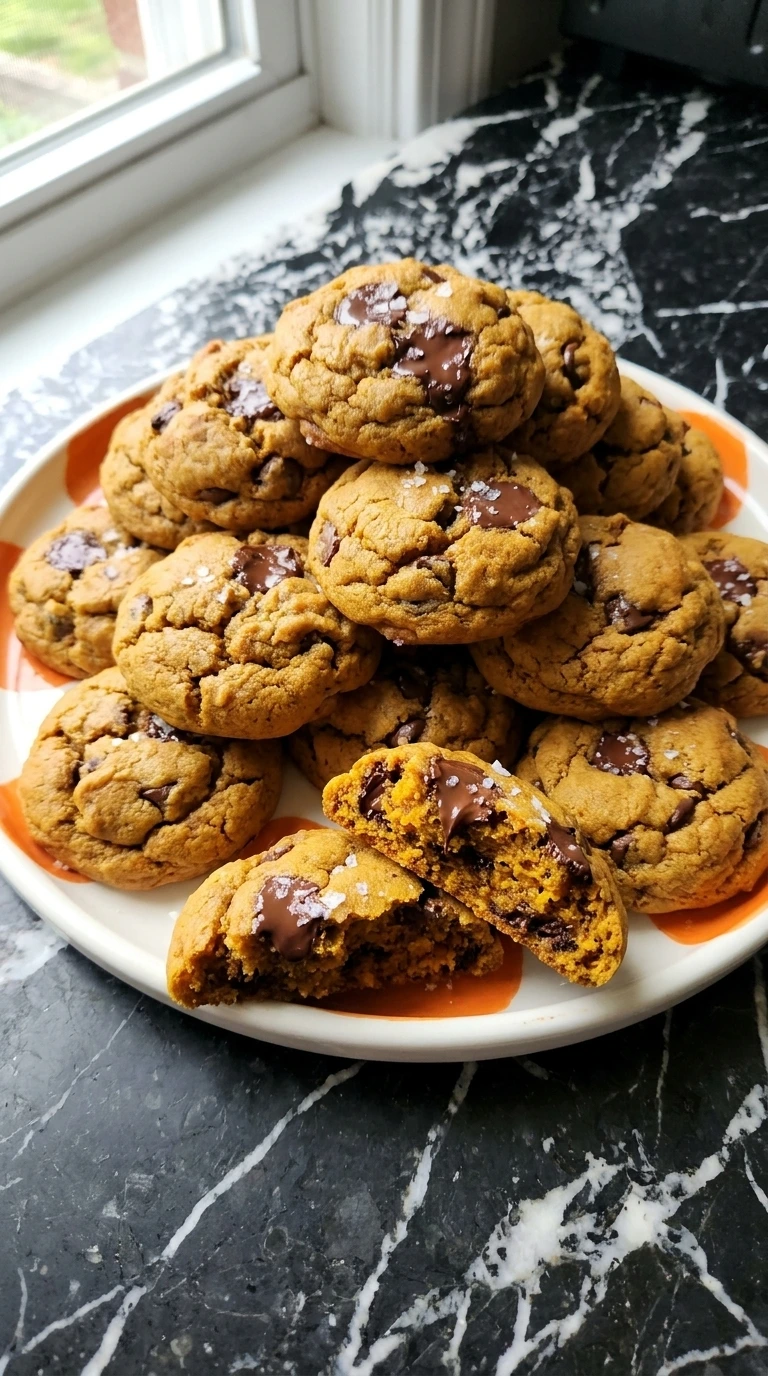
You guys! When my mom tasted this recipe, she said…” I think that’s one of the best things you’ve ever done”! I have to say, it’s one of my top five favorites! A Saturday afternoon experiment turned into the best Halloween Cookies ever!
They have the same texture as a bakery-style shortbread and peanut butter cookie, but they’re made with real ingredients, and they’re incredibly fun to assemble. These cookies are sweetened with granulated sugar and light brown sugar, and their base is unbleached all-purpose flour. I think you all know I’m a chocolate lover, I already tasted Oreo Dirt Cups and so many chocolate muffins before, I rarely love a recipe that doesn’t have chocolate in the name, but these are just to die for! The recipe makes 25 cookies, I typically like to make things in smaller batches since I do so much baking, but if you have a bigger group or want to make more, you can double the batch and make 50!

These cookies can be a dessert, or you can pair them with some sweet treats for a tasty holiday party. They’re also great for meal prep, if you want to make a large batch, store them in the freezer, and take them out for snacks during the week!
Why This Recipe Works
Baking at 350°F instead of a higher heat prevents the outer crust from setting before the center expands fully, which guarantees that perfect chewy texture with natural surface cracks. Creaming the butter and sugars for exactly 3 minutes builds a stable micro-foam structure that stops the cookies from flattening into thin disks on the pan.
Waiting precisely 5 minutes before pressing the chocolate cups down is the ultimate secret to success. This specific cooling window ensures the cookie is soft enough to embed the candy, but cool enough that the chocolate body does not melt into a flat pool.
If you enjoy rich baking experiments, try making our festive Chocolate Cupcakes for another chocolate party treat.
Shopping List
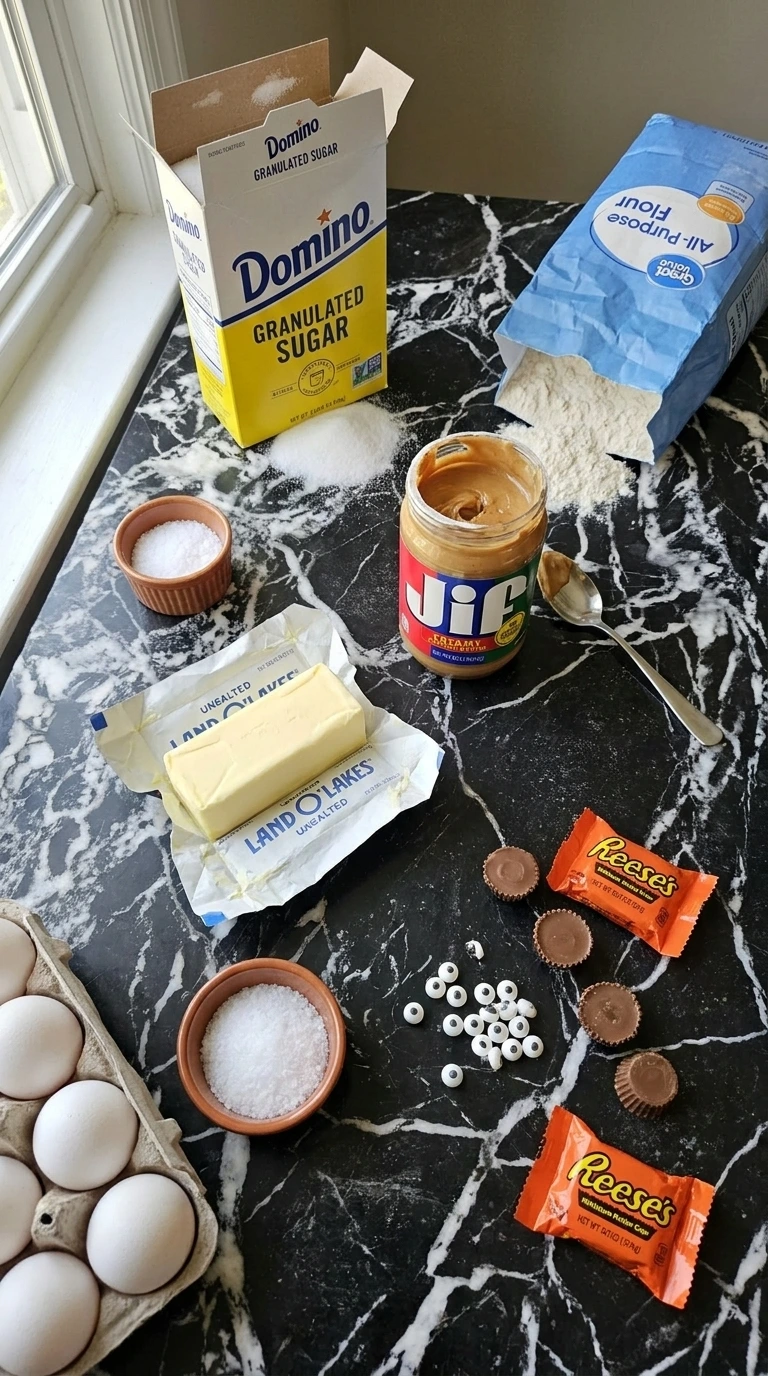
- unsalted butter: Bring to room temperature at 68°F before beating to ensure it creams smoothly with the sugars.
- granulated sugar: Provides sweetness and assists in aerating the butter during the creaming process.
- light brown sugar: Adds moisture and a subtle caramel depth that keeps the cookie center soft.
- creamy peanut butter: Use a standard shelf-stable brand for a consistent fat ratio that prevents spreading.
- large egg: Bring to room temperature to prevent the creamed butter from curdling upon contact.
- vanilla extract: Enhances the overall flavor profile and cuts through the richness of the fats.
- all-purpose flour: Unbleached variety provides the structural protein network needed to hold the cookie shape.
- baking soda: Acts as the chemical leavener to push the dough upward and create tender cracks.
- kosher salt: Balances the intense sweetness and amplifies the roasted nut flavors.
- miniature peanut butter cups: Unwrapped and chilled slightly to form the primary body of the spider decoration.
- black cookie icing: Glossy decorator icing used to pipe precise leg shapes and anchor the candy eyes.
- candy eyes: Small round sugar candies that add an adorable festive personality to the treats.
The Gear
- Aluminum sheet pan: A heavy-gauge rimmed aluminum sheet pan distributes heat evenly across the surface so the cookie bottoms do not scorch — thin steel trays create hot-spots that burn sugar.
- Electric hand mixer: A reliable electric hand mixer with sturdy beaters incorporates air into the butter and sugar efficiently — whisking by hand will fail to create the necessary fluffy structure.
- Silicone spatula: A flexible but stiff silicone spatula sweeps the entire curvature of the mixing bowl cleanly — weak plastic alternatives bend and leave unmixed pockets of flour.
- Small piping bag: A disposable plastic piping bag allows you to snip a tiny precise opening for drawing thin spider legs — using a spoon creates large messy blobs.
Method
Step 1: Cream the butter and sugars
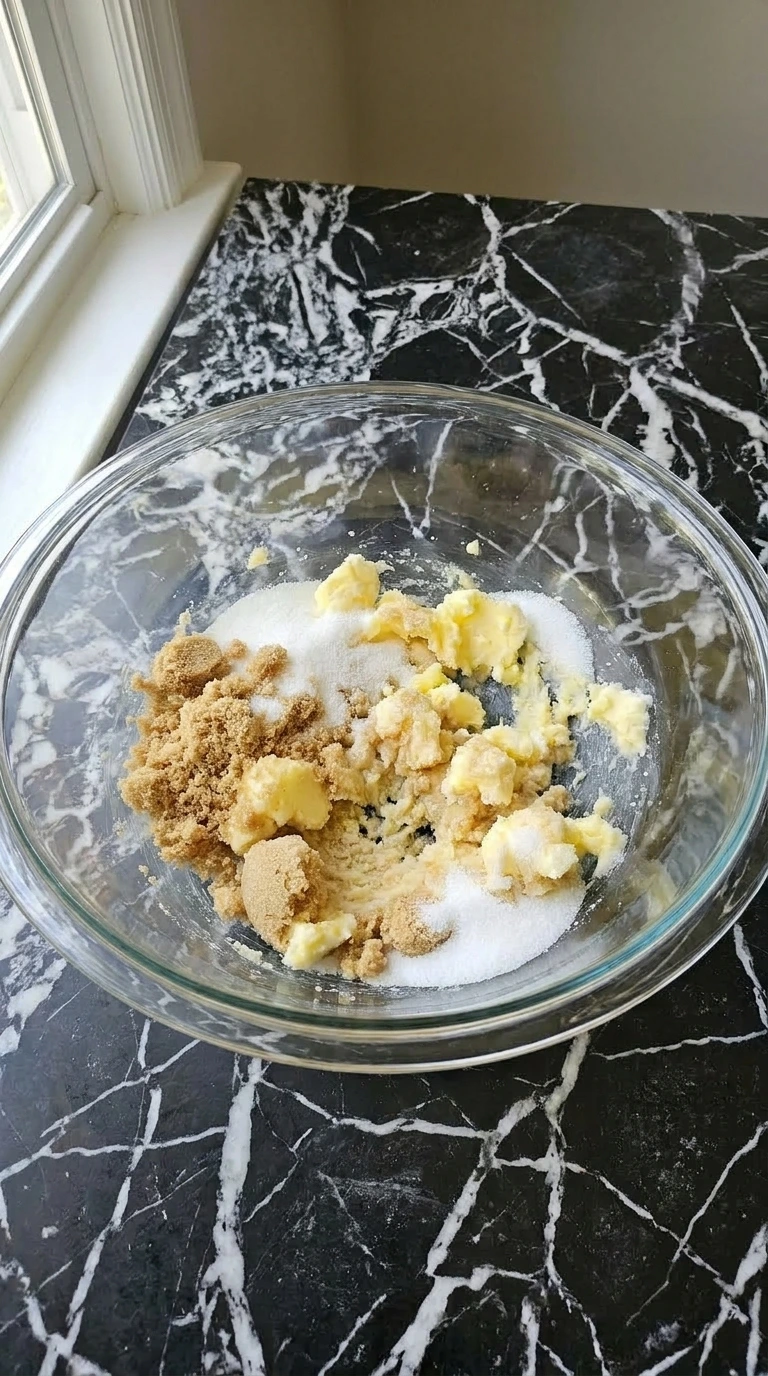
Place the softened Land O’Lakes unsalted butter, Domino granulated sugar, and C&H light brown sugar into a large clear glass mixing bowl. Use an electric hand mixer on medium speed (about 5 on a 10-dial) to beat the ingredients together for exactly 3 minutes. Scrape the bowl down with a spatula halfway through to make sure everything incorporates evenly.
You will see the mixture transform from dense yellow lumps into a fluffy pale-ivory paste. The grainy sugar crystals will mostly dissolve into the fat and you will hear the mixer motor ease up as the mixture aerates. (I tried using cold butter the first time and it just chased the sugar around the bowl, room temperature at 68°F is the fix.
) Miss this window and the cookies will turn out dense and heavy instead of tender. Beat on medium speed for 3 minutes, creaming traps vital air pockets that help the dough rise.
Tip: Make sure your butter is truly at room temperature. It should yield to gentle pressure from your thumb without melting or feeling greasy.
Step 2: Mix the wet ingredients
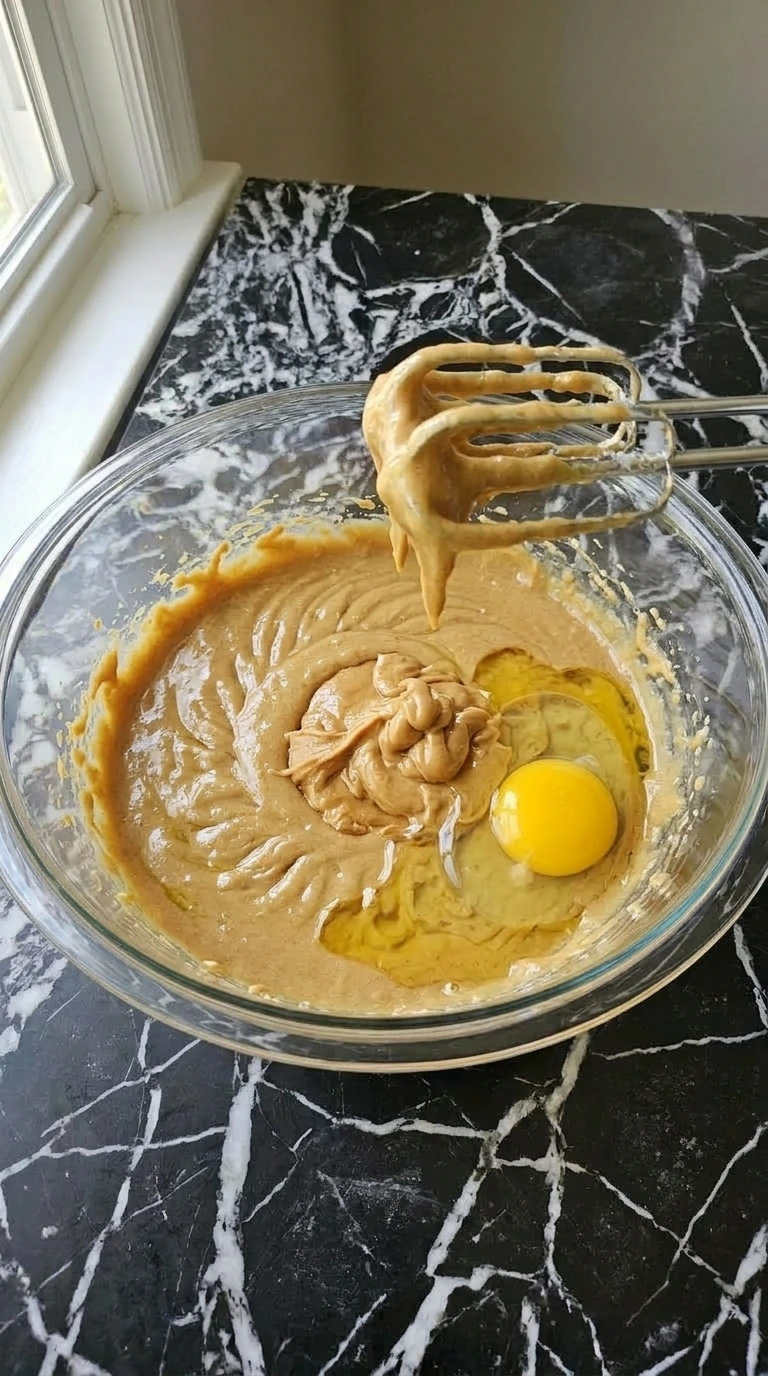
Add the large Eggland’s Best egg, Jif creamy peanut butter, and McCormick vanilla extract directly into the creamed butter mixture. Turn the hand mixer to low speed and blend for about 60 seconds until the liquid is fully absorbed. Do not overmix here because you do not want to whip too much air into the eggs.
The pale creamed base will quickly turn into a smooth uniform tan batter. The distinct smell of roasted peanuts and sweet vanilla will fill the air as the blades combine the fats and emulsify the liquid egg into the sugar base. Go past 60 seconds and the egg proteins will tighten up and make the final cookie tough.
Blend on low speed just until uniform, gentle mixing keeps the delicate emulsion stable without overworking the egg.
Tip: Crack your egg into a separate small cup before adding it to the bowl. This prevents any stray pieces of shell from ruining your smooth batter.
Step 3: Fold in the dry ingredients

Sift the Great Value all-purpose flour, Arm and Hammer baking soda, and Morton kosher salt directly over the wet batter. Use a stiff silicone spatula to fold gently with a rubber spatula in a J-shaped motion, cutting down through the middle and sweeping up the sides. Mix for about 90 seconds until no white streaks remain.
The wet batter will pull the dry flour in and form a thick tacky dough that aggregates into a large mass. You will see small uneven clumps form at first, but they will quickly merge into a cohesive beige dough that pulls away cleanly from the sides of the glass bowl. Skip the gentle fold and use a mixer instead and you will develop too much gluten.
Fold gently by hand for 90 seconds, manual mixing prevents a tough texture by limiting gluten activation.
Tip: Sifting the flour along with the baking soda and salt breaks up any dense lumps. This guarantees an even rise throughout the whole batch.
Step 4: Shape the dough balls

Scoop out tablespoon-sized portions of dough and roll them between your palms into smooth round spheres. Place them onto an ungreased aluminum sheet pan, spacing them exactly 2 inches apart to allow for spreading. You should have 25 round dough balls arranged in an alternating layout across the tray.
You will see uniform beige spheres with a slightly matte surface resting on the shiny metal tray. The dough will feel pliable and slightly oily from the peanut butter, holding its round shape perfectly without slouching or sticking to your hands. Leave uneven spacing and the cookies will merge into one giant block during baking.
Space the dough spheres exactly 2 inches apart, proper layout ensures hot air circulates evenly around each cookie.
Tip: Use a spring-loaded cookie scoop if you have one. This keeps all your dough portions identical so they finish baking at the exact same moment.
Step 5: Bake until lightly golden

Slide the aluminum sheet pan into a 350°F preheated oven and bake for exactly 10 to 12 minutes. Do not open the oven door during the first 8 minutes because a sudden draft can halt the rising process. Remove the pan immediately when the timer sounds.
The edges turn deep golden and a thin crust forms on the surface while the centers look slightly soft and puffed. You will smell a rich aroma of toasted sugar and roasted peanuts drifting from the oven right when the cookies are ready. Go past 12 minutes and the bottom scorches from the direct heat of the metal pan.
Bake at 350°F for 10 to 12 minutes, moderate heat sets the outer rim while keeping the center tender.
Tip: Every oven has unique hot spots. Rotate your baking sheet 180 degrees at the 6-minute mark to ensure the cookies brown evenly from front to back.
Step 6: Press the chocolate cups
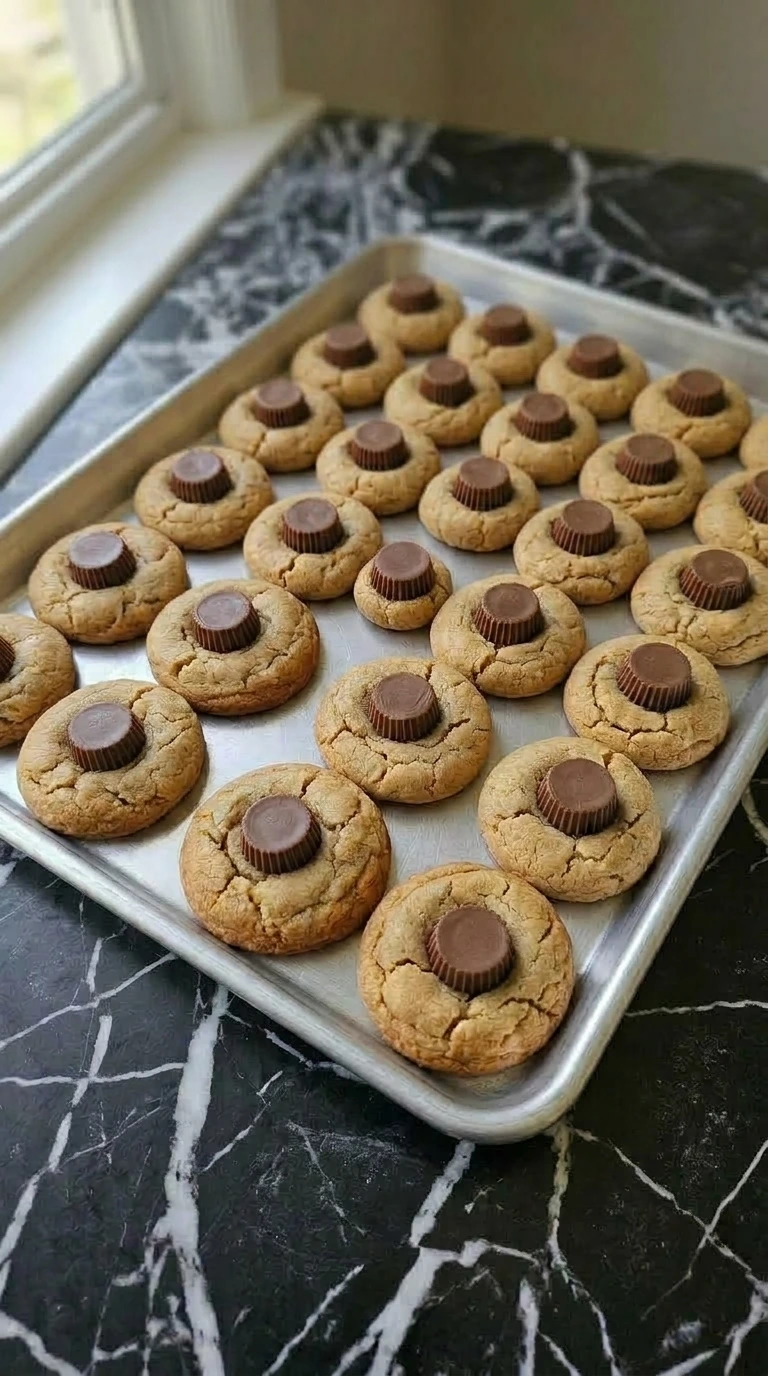
Let the cookies cool on the tray for exactly 5 minutes, then press an unwrapped Reese’s Mini Peanut Butter Cup upside down into the center of each soft cookie. Press firmly enough to imbed the chocolate but do not push all the way through to the bottom. The hot cookie will immediately start to melt the edges of the chocolate cup, creating a secure bond.
You will see the cookie center indent and crack slightly around the edges of the chocolate candy, creating a rustic homemade look. (My first batch was too hot and the chocolate melted into a puddle, waiting exactly 5 minutes is the secret. ) Press too early and the chocolate melts entirely into an unappealing brown smear.
Wait exactly 5 minutes before pressing, gentle cooling keeps the chocolate structural integrity intact while binding it.
Tip: Pop your chocolate cups into the freezer for 10 minutes before unwrapping them. The cold candy resists melting too quickly when it hits the warm cookies.
Step 7: Decorate the spider details

Let the cookies cool completely for 20 minutes until the chocolate firms up. Use a small plastic piping bag filled with melted black cookie icing to dot two small spots on the chocolate cup and press the candy eyes into place. Then pipe eight small jointed legs extending outwards onto the cookie surface, starting from the chocolate base.
You will see cute spooky spiders emerge as the white candy eyes pop against the brown chocolate and the glossy black icing legs freeze into place. The final cookies look beautifully hand-crafted with charming imperfections and natural spacing. Decorate while the cookie is warm and the icing will run into a messy black blur.
Cool completely before piping details, a cold surface ensures the icing lines stay sharp and distinct.
Tip: Cut a microscopic hole in the tip of your piping bag. A tiny opening gives you complete control over the thin leg lines so they do not look messy.
Tips and Tricks
- Measure your flour by fluffing it with a spoon and leveling it off in the cup, because scooping directly from the bag packs the flour and yields dry cookies.
- Cool the baked cookies on the metal sheet pan for exactly 5 minutes before touching them, because moving them instantly will tear the soft warm bottoms.
- Chill your hands in cold water before rolling the dough balls, because warm palms melt the butter fats and make the mixture unmanageably sticky.
- Use a toothpick to map out your spider leg positions before piping the black icing, which prevents accidental spacing mistakes on your finished canvas.
- Store the candy eyes in a dry pantry rather than the fridge, because humidity causes the black sugar pupils to bleed into the white background.
- Sift your baking soda through a fine mesh strainer into the flour, which eliminates tiny bitter alkaline pockets in the finished dough.
- Keep the unbaked dough balls in the fridge if your kitchen is warmer than 72°F, because warm dough spreads aggressively onto the pan.
- Add 1 tablespoon of dark cocoa powder to the dry mix for a double chocolate spider version that looks dark and muddy.
- Roll the raw dough balls in orange sparkling sugar before baking to create a shimmering festive border around the spider body.
- Swap the chocolate cups for large malted milk balls to create tall spherical jumping spider shapes that stand out on the platter.
Ingredient Swaps
- creamy peanut butter: creamy sunflower seed butter — Works wonderfully as a direct nut-free swap, but the cookie dough will bake up slightly quicker so check the oven at minute 9.
- all-purpose flour: 1-to-1 gluten-free baking flour — Use the exact same quantity, but ensure your blend contains xanthan gum or the cookies will crumble easily after cooling.
- light brown sugar: dark brown sugar — Provides a much deeper molasses flavor and a slightly darker appearance, making the cookies a bit moisture-heavy and extra soft.
- unsalted butter: block vegan butter — Use a firm stick variety rather than a tub spread because tub versions contain too much water and cause the cookies to thin out during baking. If you want more seasonal dairy-free inspiration check out our delicious Pumpkin Muffins for autumn mornings.
Keeping Leftovers
Keep your finished cookies in a wide airtight plastic container at room temperature. They’ll stay fresh for up to five days this way. Make sure to arrange them carefully in a single layer. Stacking them is a bad idea because it’ll crush those delicate candy eyes and snap the piped icing legs right off.
If you want to prep ahead, you can freeze the plain baked cookie bases without any decorations for up to three months. Just wrap them tightly in aluminum foil and slide them into a heavy-duty freezer bag. When you’re ready to use them, set the frozen bases on the counter for about an hour to thaw out before you start decorating. Don’t use a microwave or oven to speed things up.
Heating them will just dry out the peanut butter crumbs and ruin the texture. If they’ve been sitting out too long, check for staleness or a soft texture to know if air got to them.
Halloween Cookies
Ingredients
- 0.5 cup unsalted butter Bring to room temperature at 68°F before beating to ensure it creams smoothly with the sugars.
- 0.5 cup granulated sugar Provides sweetness and assists in aerating the butter during the creaming process.
- 0.5 cup light brown sugar Adds moisture and a subtle caramel depth that keeps the cookie center soft.
- 0.5 cup creamy peanut butter Use a standard shelf-stable brand for a consistent fat ratio that prevents spreading.
- 1 large egg Bring to room temperature to prevent the creamed butter from curdling upon contact.
- 1 teaspoon vanilla extract Enhances the overall flavor profile and cuts through the richness of the fats.
- 1.75 cups all-purpose flour Unbleached variety provides the structural protein network needed to hold the cookie shape.
- 1 teaspoon baking soda Acts as the chemical leavener to push the dough upward and create tender cracks.
- 0.5 teaspoon kosher salt Balances the intense sweetness and amplifies the roasted nut flavors.
- 25 miniature peanut butter cups Unwrapped and chilled slightly to form the primary body of the spider decoration.
- 1 tube black cookie icing Glossy decorator icing used to pipe precise leg shapes and anchor the candy eyes.
- 50 candy eyes Small round sugar candies that add an adorable festive personality to the treats.
Instructions
- Place the softened Land O’Lakes unsalted butter, Domino granulated sugar, and C&H light brown sugar into a large clear glass mixing bowl. Use an electric hand mixer on medium speed (about 5 on a 10-dial) to beat the ingredients together for exactly 3 minutes. Scrape the bowl down with a spatula halfway through to make sure everything incorporates evenly. You will see the mixture transform from dense yellow lumps into a fluffy pale-ivory paste. The grainy sugar crystals will mostly dissolve into the fat and you will hear the mixer motor ease up as the mixture aerates. (I tried using cold butter the first time and it just chased the sugar around the bowl, room temperature at 68°F is the fix.) Miss this window and the cookies will turn out dense and heavy instead of tender. Beat on medium speed for 3 minutes, creaming traps vital air pockets that help the dough rise.

- Add the large Eggland’s Best egg, Jif creamy peanut butter, and McCormick vanilla extract directly into the creamed butter mixture. Turn the hand mixer to low speed and blend for about 60 seconds until the liquid is fully absorbed. Do not overmix here because you do not want to whip too much air into the eggs. The pale creamed base will quickly turn into a smooth uniform tan batter. The distinct smell of roasted peanuts and sweet vanilla will fill the air as the blades combine the fats and emulsify the liquid egg into the sugar base. Go past 60 seconds and the egg proteins will tighten up and make the final cookie tough. Blend on low speed just until uniform, gentle mixing keeps the delicate emulsion stable without overworking the egg.

- Sift the Great Value all-purpose flour, Arm and Hammer baking soda, and Morton kosher salt directly over the wet batter. Use a stiff silicone spatula to fold gently with a rubber spatula in a J-shaped motion, cutting down through the middle and sweeping up the sides. Mix for about 90 seconds until no white streaks remain. The wet batter will pull the dry flour in and form a thick tacky dough that aggregates into a large mass. You will see small uneven clumps form at first, but they will quickly merge into a cohesive beige dough that pulls away cleanly from the sides of the glass bowl. Skip the gentle fold and use a mixer instead and you will develop too much gluten. Fold gently by hand for 90 seconds, manual mixing prevents a tough texture by limiting gluten activation.

- Scoop out tablespoon-sized portions of dough and roll them between your palms into smooth round spheres. Place them onto an ungreased aluminum sheet pan, spacing them exactly 2 inches apart to allow for spreading. You should have 25 round dough balls arranged in an alternating layout across the tray. You will see uniform beige spheres with a slightly matte surface resting on the shiny metal tray. The dough will feel pliable and slightly oily from the peanut butter, holding its round shape perfectly without slouching or sticking to your hands. Leave uneven spacing and the cookies will merge into one giant block during baking. Space the dough spheres exactly 2 inches apart, proper layout ensures hot air circulates evenly around each cookie.

- Slide the aluminum sheet pan into a 350°F preheated oven and bake for exactly 10 to 12 minutes. Do not open the oven door during the first 8 minutes because a sudden draft can halt the rising process. Remove the pan immediately when the timer sounds. The edges turn deep golden and a thin crust forms on the surface while the centers look slightly soft and puffed. You will smell a rich aroma of toasted sugar and roasted peanuts drifting from the oven right when the cookies are ready. Go past 12 minutes and the bottom scorches from the direct heat of the metal pan. Bake at 350°F for 10 to 12 minutes, moderate heat sets the outer rim while keeping the center tender.
- Let the cookies cool on the tray for exactly 5 minutes, then press an unwrapped Reese’s Mini Peanut Butter Cup upside down into the center of each soft cookie. Press firmly enough to imbed the chocolate but do not push all the way through to the bottom. The hot cookie will immediately start to melt the edges of the chocolate cup, creating a secure bond. You will see the cookie center indent and crack slightly around the edges of the chocolate candy, creating a rustic homemade look. (My first batch was too hot and the chocolate melted into a puddle, waiting exactly 5 minutes is the secret.) Press too early and the chocolate melts entirely into an unappealing brown smear. Wait exactly 5 minutes before pressing, gentle cooling keeps the chocolate structural integrity intact while binding it.

- Let the cookies cool completely for 20 minutes until the chocolate firms up. Use a small plastic piping bag filled with melted black cookie icing to dot two small spots on the chocolate cup and press the candy eyes into place. Then pipe eight small jointed legs extending outwards onto the cookie surface, starting from the chocolate base. You will see cute spooky spiders emerge as the white candy eyes pop against the brown chocolate and the glossy black icing legs freeze into place. The final cookies look beautifully hand-crafted with charming imperfections and natural spacing. Decorate while the cookie is warm and the icing will run into a messy black blur. Cool completely before piping details, a cold surface ensures the icing lines stay sharp and distinct.

Notes
Nutrition
Frequently Asked Questions
Yes you can prepare this dough up to three days before baking. Wrap the cohesive dough mass tightly in double layers of plastic wrap and store it in the refrigerator at 38°F. When you are ready to bake let the dough sit on the counter for 20 minutes so it softens enough to scoop and roll without cracking your palms.
This happens when you press the chocolate candies into the cookies too quickly after removing them from the oven. The internal heat of the cookie dough at minute one is high enough to liquefy cocoa butter completely. Make sure to use a timer and wait exactly 5 minutes so the cookie cools down to a safe temperature.
These decorated treats will keep their optimal texture for up to five days when stored properly. Place them in a wide airtight plastic container arranged in a single layer so the piped spider legs do not smash each other. Keep the container in a cool dry pantry at room temperature away from direct sunlight.
Freezing decorated cookies is not recommended because the sugar candy eyes absorb ambient moisture as they thaw out. This moisture causes the black icing details to run and bleed across the cookie face. If you want to freeze them wrap the baked plain cookies securely for up to three months and decorate fresh.
Excessive spreading is usually caused by using a warm baking sheet or using butter that was completely melted instead of softened. Never place fresh dough balls onto a hot pan from a previous batch. Ensure your butter is cool to the touch and lets your thumb leave an indentation without sliding around.
Final Thoughts
If you make this on a weekend afternoon with music playing, the way I do, you’ll understand why it’s been in our family rotation for years now. The little trick I mentioned about not rushing the final step is honestly the difference between okay and really good.
Tag me on Instagram if you make it, I love seeing what you cook. And Liam says hi (he ate almost half of this when I tested it, which is the highest endorsement you’ll get from a 5-year-old).
Did you know the classic peanut butter blossom cookie was actually a total accident? Back in 1957, a baker named Freda Smith from Ohio was right in the middle of making cookies when she realized she ran out of chocolate chips. She didn’t panic, though. She just grabbed some solid chocolate kisses instead and pressed them right into the center, creating an instant holiday icon.