Halloween Pudding Dirt Cups
A spooky kitchen idea came alive when I made these dessert cups for the first time and my family said they looked like a tiny Halloween garden. I have to say, these Halloween Pudding Dirt Cups became one of my favorite treats for October nights. A simple pudding experiment turned into a fun dessert with creamy layers, chocolate crumbs and playful decorations.
These cups are made with chocolate pudding, crushed chocolate sandwich cookies and colorful Halloween candies. I think you all know I love desserts that are simple but still feel special, and how to make halloween pudding dirt cups became one of those recipes I wanted to share again and again. If you enjoy festive sweets, try our Chocolate Halloween Cookies for another seasonal idea.
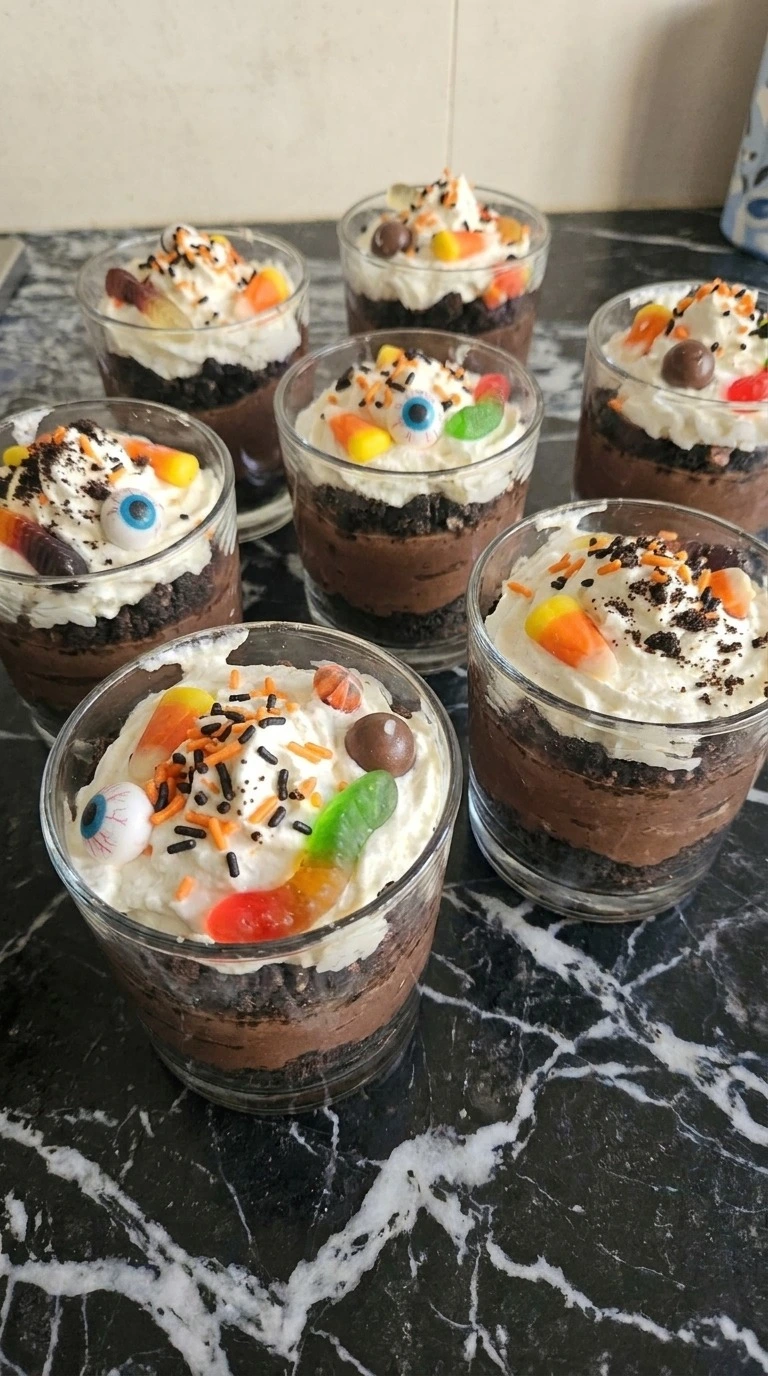
These halloween dirt pudding cups work well as a dessert after dinner, or you can bring them to a school event or family party. They are also great when you want to prep ahead because the layers hold well in the fridge and the finished cups keep their fun look.
Why This Recipe Works
The texture turns out well because instant chocolate pudding needs cold milk and a little time to rest before you start layering. I like keeping the crushed chocolate sandwich cookies a bit varied, since bigger pieces add more texture than turning everything into a fine powder.
Keeping the cups chilled at 40°F helps the pudding stay firm while the cookie crumbs slowly soften. If you’re looking for another fun dessert idea, try our Chocolate Halloween Cookies after making these cups.
Ingredients

- whole milk: Cold milk used to hydrate the pudding mix and create a creamy base.
- instant chocolate pudding mix: Whisked with milk to form the thick chocolate layer.
- chocolate sandwich cookies: Crushed into uneven crumbs to create the dirt-like texture.
- whipped cream: Added as a soft topping for contrast and extra creaminess.
- Halloween candy decorations: Used as colorful finishing pieces for the spooky theme.
Kitchen Equipment
- Mixing bowl: A medium 3-quart bowl gives enough room to whisk the pudding without spills and a larger bowl helps prevent uneven mixing.
- Dessert cups: Use six 8-ounce dessert cups so each layer stays visible and smaller cups may hide the cookie and pudding contrast.
- Rubber spatula: A flexible spatula helps fold and scrape the pudding cleanly while a stiff tool can leave mixture behind.
How to Make It
Step 1: Mix the chocolate pudding base
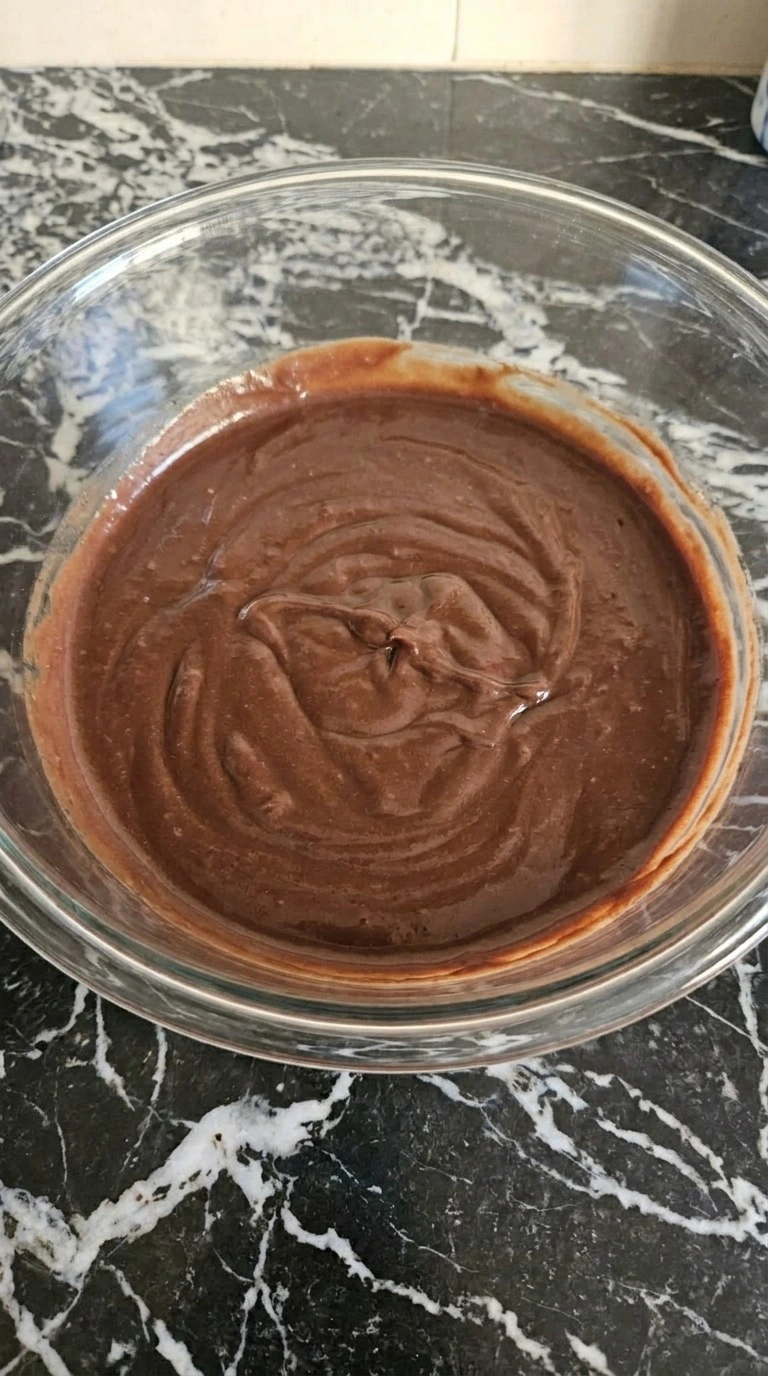
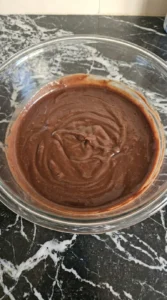
Whisk 3 cups cold whole milk with instant chocolate pudding mix for 2 minutes using quick circular motions until the powder disappears and the mixture thickens. Chill the pudding for 5 minutes at 40°F before adding more layers. You’ll notice a smooth dark brown texture forming.
It feels thick. (I tested a longer chill once and the pudding became too firm to layer well. ) The pudding should coat the spoon and show soft waves when stirred.
Skip the 5-minute chill and the cups can turn watery later. Chill 5 minutes at 40°F, because the starch needs time to hydrate.
Tip: Use cold milk straight from the fridge at about 40°F because warm milk can leave the pudding thinner.
Step 2: Crush the chocolate cookies
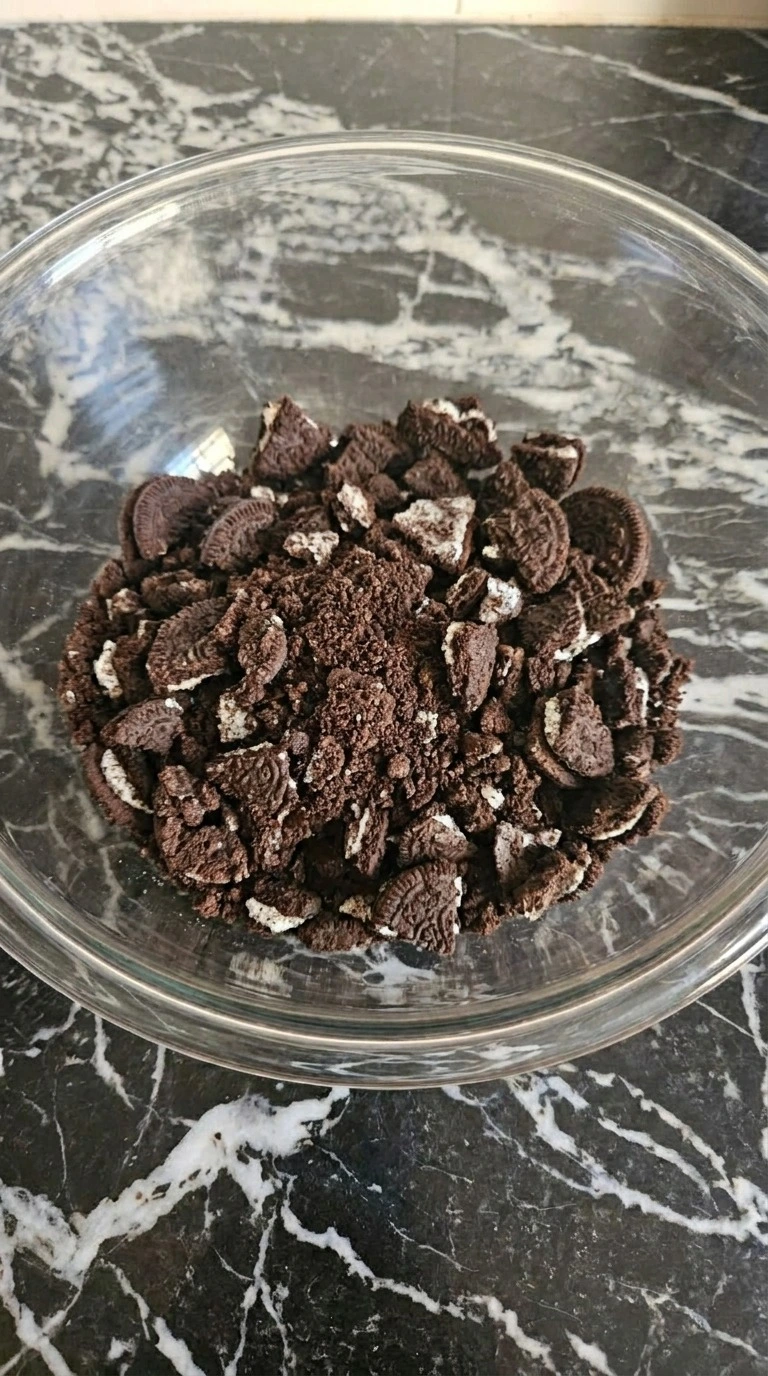
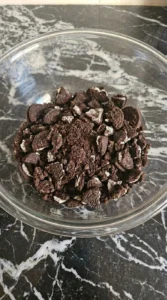
Break 24 chocolate sandwich cookies into uneven crumbs by pressing them with firm downward motions for 3 to 4 minutes. Keep some small chunks because the mixed sizes create a better dirt texture. Use the crumbs right away at room temperature for the best crunch.
You want rough pieces. Don’t crush them into powder. The cookie pieces should look dark and varied with crunchy edges visible.
If you grind them too fine, the layer becomes pasty instead of crumbly. Crush gently for 4 minutes, so the crumbs keep their texture.
Tip: Leave about 1/4 of the cookies in larger pieces because the contrast makes each spoonful more interesting.
Step 3: Layer pudding and cookie crumbs
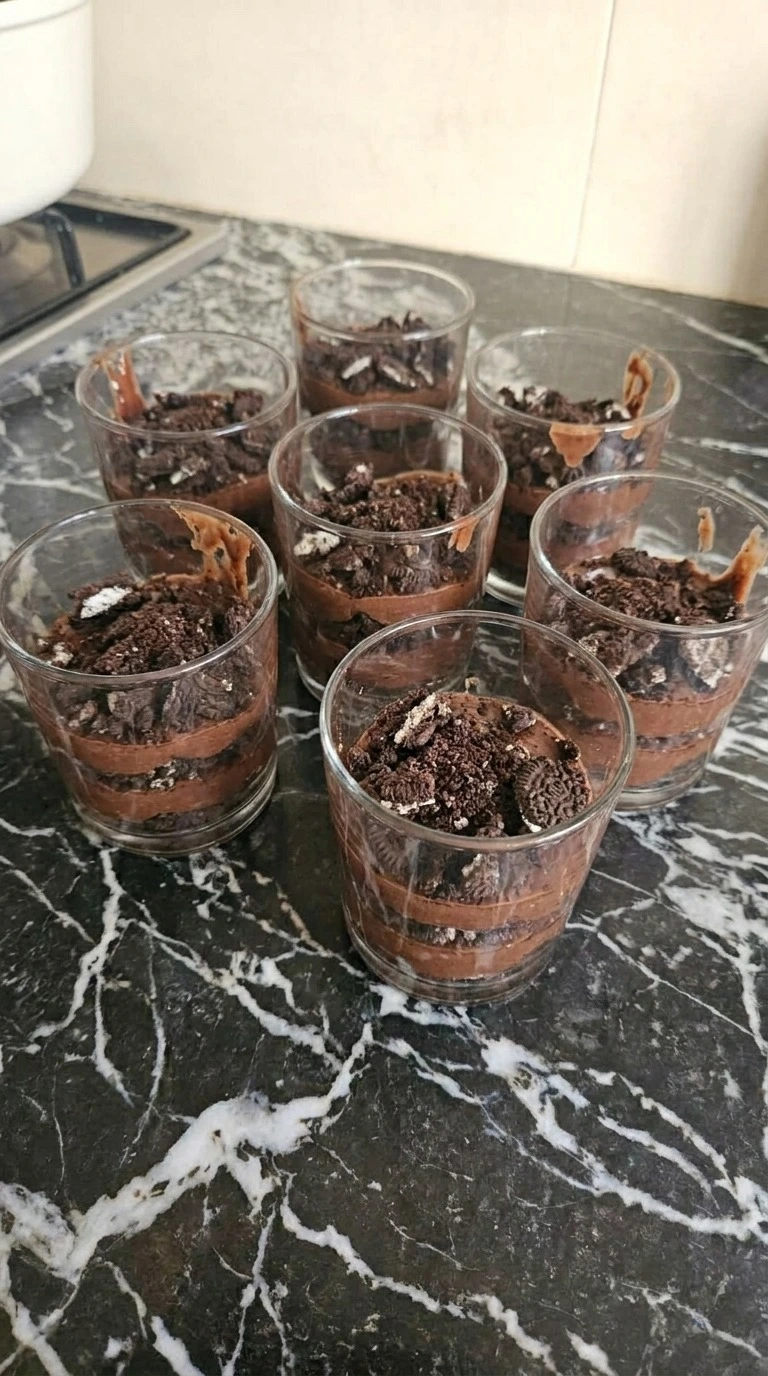
Spoon the chilled chocolate pudding and crushed chocolate sandwich cookies into 6 dessert cups in alternating layers for 8 to 10 minutes. Add about 1/2 cup pudding and 1/4 cup cookie crumbs per cup, then press lightly with the back of a spoon. The layers should stay loose, not packed.
Work at 40°F with chilled pudding. You’ll see clear stripes. Miss this timing and the crumbs absorb too much moisture.
The cookie layer darkens slightly as it touches the pudding and the cups gain their dirt cup shape. I used to overfill these cups and the layers collapsed before serving. Layer gently because the structure depends on air between the crumbs.
Tip: Make the first cookie layer slightly thicker than the top layer for a stronger visual contrast.
Step 4: Finish the spooky dessert cups
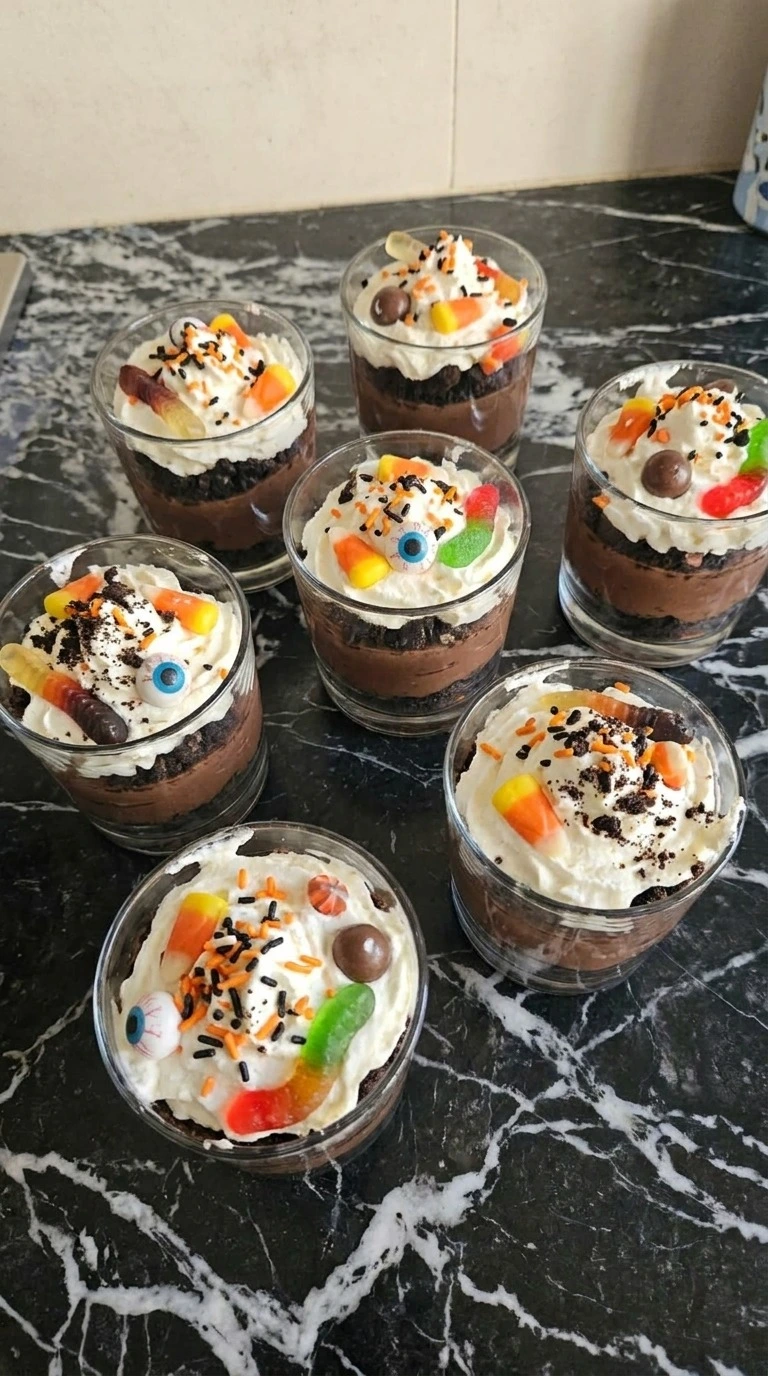
Top each layered cup with 1/2 cup whipped cream and assorted Halloween candy decorations over 5 minutes while the dessert stays chilled at 40°F. Add the whipped topping in loose swirls and place candy pieces unevenly with your fingers. The surface should look playful and homemade.
Don’t press too hard. The topping stays fluffy and the candies add bright color against the dark crumbs. Go past the 5-minute assembly window and the whipped cream can soften.
Keep the topping cold because the dairy structure stays stable.
Tip: Add gummy worms or candy shapes just before serving so they keep their color and soft texture.
Pro Tips
- Chill the dessert cups for at least 30 minutes before serving because the pudding layer becomes firmer and the cookie crumbs keep a better bite.
- Choose fresh instant chocolate pudding mix with an expiration date at least 3 months away because older mix can create a thinner texture.
- Use 8-ounce clear cups because the visible layers make the Halloween Pudding Dirt Cups look more playful and easier to portion.
- Crush the chocolate sandwich cookies for 3 to 4 minutes and stop when you still see different crumb sizes instead of a fine powder.
- Keep whipped cream chilled below 40°F until the last step because warm topping can lose its shape before guests see the dessert.
- Add candy decorations within 15 minutes of serving because gummy pieces and sugar details keep their best texture when fresh.
- For a stronger chocolate taste, mix 1 tablespoon cocoa powder into the pudding base and taste before adding the cookie layers.
- Don’t overfill each cup above the rim because leaving about 1/2 inch space prevents the topping from spilling during storage.
- Add 2 tablespoons orange zest to the pudding mixture for a bright citrus note that pairs with the chocolate layers.
- Create a graveyard theme by adding small chocolate cookie tombstones and 1/4 cup green candy sprinkles for a garden effect.
- Make mini Halloween Pudding Dirt Cups with 4-ounce cups and reduce each layer amount by half for party trays.
- Use strawberry pudding mix and red candy decorations for a monster-themed version with a fruity flavor twist.
Substitutions & Variations
- whole milk: unsweetened almond milk — Use the same 3 cups amount for a dairy-free version. The pudding may set slightly softer and have a lighter flavor because almond milk has less fat.
- instant chocolate pudding mix: instant vanilla pudding mix plus 3 tablespoons cocoa powder — This creates a homemade chocolate taste but the color will be lighter. Add the cocoa slowly so the texture stays smooth.
- chocolate sandwich cookies: gluten-free chocolate sandwich cookies — Use the same 24 cookies for a gluten-free option. The crumbs may be slightly more delicate, so avoid crushing them too finely.
- whipped cream: coconut whipped topping — Choose a chilled coconut topping for a dairy-free finish. It adds a mild coconut note and may hold better after 30 minutes in the fridge.
- Halloween candy decorations: dark chocolate chips and orange sugar sprinkles — This swap keeps the spooky look while reducing artificial colors. Use about 1/2 cup chocolate chips and 2 tablespoons sprinkles.
Storage Instructions
Keep Halloween Pudding Dirt Cups covered in individual containers in the fridge for up to 3 days at 40°F. Freezing isn’t recommended because the pudding separates and the cookie layer loses its crumbly texture.
Serve chilled and don’t reheat this dessert. If the whipped topping softens, add a fresh spoonful before serving and discard cups with sour smell or watery separation.
Halloween Pudding Dirt Cups
Ingredients
- 3 cups whole milk Cold milk used to hydrate the pudding mix and create a creamy base.
- 1 package instant chocolate pudding mix Whisked with milk to form the thick chocolate layer.
- 24 chocolate sandwich cookies Crushed into uneven crumbs to create the dirt-like texture.
- 1/2 cup whipped cream Added as a soft topping for contrast and extra creaminess.
- 1 cup Halloween candy decorations Used as colorful finishing pieces for the spooky theme.
Instructions
- Whisk 3 cups cold whole milk with instant chocolate pudding mix for 2 minutes using quick circular motions until the powder disappears and the mixture thickens. Chill the pudding for 5 minutes at 40°F before adding more layers. You’ll notice a smooth dark brown texture forming. It feels thick. (I tested a longer chill once and the pudding became too firm to layer well.) The pudding should coat the spoon and show soft waves when stirred. Skip the 5-minute chill and the cups can turn watery later. Chill 5 minutes at 40°F, because the starch needs time to hydrate.
- Break 24 chocolate sandwich cookies into uneven crumbs by pressing them with firm downward motions for 3 to 4 minutes. Keep some small chunks because the mixed sizes create a better dirt texture. Use the crumbs right away at room temperature for the best crunch. You want rough pieces. Don’t crush them into powder. The cookie pieces should look dark and varied with crunchy edges visible. If you grind them too fine, the layer becomes pasty instead of crumbly. Crush gently for 4 minutes, so the crumbs keep their texture.
- Spoon the chilled chocolate pudding and crushed chocolate sandwich cookies into 6 dessert cups in alternating layers for 8 to 10 minutes. Add about 1/2 cup pudding and 1/4 cup cookie crumbs per cup, then press lightly with the back of a spoon. The layers should stay loose, not packed. Work at 40°F with chilled pudding. You’ll see clear stripes. Miss this timing and the crumbs absorb too much moisture. The cookie layer darkens slightly as it touches the pudding and the cups gain their dirt cup shape. I used to overfill these cups and the layers collapsed before serving. Layer gently because the structure depends on air between the crumbs.

- Top each layered cup with 1/2 cup whipped cream and assorted Halloween candy decorations over 5 minutes while the dessert stays chilled at 40°F. Add the whipped topping in loose swirls and place candy pieces unevenly with your fingers. The surface should look playful and homemade. Don’t press too hard. The topping stays fluffy and the candies add bright color against the dark crumbs. Go past the 5-minute assembly window and the whipped cream can soften. Keep the topping cold because the dairy structure stays stable.
Notes
Frequently Asked Questions
Yes, prepare the pudding layers up to 24 hours before serving and keep the cups covered in the fridge at 40°F. Add whipped cream and candy decorations within 2 hours of serving so the topping stays fresh.
Store them for up to 3 days in sealed dessert containers kept at 40°F or colder. The cookie crumbs soften after the second day, but the flavor remains good.
You can replace whole milk with unsweetened almond milk and use coconut whipped topping. Let the pudding rest for 10 minutes instead of 5 minutes because the texture may develop more slowly.
Watery cups usually happen when the pudding mix doesn’t fully hydrate or when warm milk is used. Whisk the mixture for 2 minutes and chill it at 40°F for at least 5 minutes before layering.
Yes, double all ingredients to make 12 dessert cups. Mix the pudding in two batches if your bowl is smaller than 5 quarts so the powder blends evenly.
Freezing is not recommended because the pudding texture changes after thawing and the cookie crumbs become soft. Keep them refrigerated instead and serve within 3 days.
Final Thoughts
After sharing these Halloween Pudding Dirt Cups at a family gathering, I knew this playful dessert would return every October. The creamy pudding, cookie crumb layers and spooky details make this version special because each cup feels personal and fun.
This recipe shows how to make halloween pudding dirt cups with simple steps, and halloween dirt pudding cups are a treat everyone enjoys. Try them for your next party and share your spooky creations with friends.
Dirt cups became popular as a fun children’s dessert because crushed cookies can mimic garden soil. Halloween versions add candy decorations to turn a simple pudding treat into a seasonal creation.