Honey Garlic Chicken
I don’t make a ton of chicken recipes, but this one keeps coming back into my rotation. It’s that balance of sweet and savory that actually feels right, not overly sugary, not flat either. Just a sticky glaze that clings to juicy chicken. Most people assume honey garlic chicken leans too sweet.
But when you cook it at the right heat and let the sauce reduce properly, it turns rich and savory with a little edge. I like pairing it with something fresh like this Healthy Quinoa Salad: https://leagueofcooking. com/healthy-quinoa-salad/ to keep things balanced. It’s the kind of dinner you make when you want something comforting but still quick.
Not fussy. Just a pan, a few ingredients, and a good glaze that actually sticks.
The Secret to This Recipe
Coating the chicken lightly in cornstarch creates a thin crust that helps the glaze cling instead of sliding off. Cooking at medium heat around 375°F builds color without burning the honey. The sauce reduces at a gentle simmer so it thickens slowly and coats the chicken evenly instead of breaking.
Ingredient List

- Chicken thighs: Boneless or bone-in thighs stay juicy and hold up well to browning.
- Salt: Brings out the natural flavor of the chicken before cooking.
- Black pepper: Adds mild heat to balance the sweetness.
- Cornstarch: Light coating that helps the chicken crisp and gives the sauce something to grip.
- Neutral oil: Use something like canola or vegetable oil for even browning.
- Garlic: Freshly minced for the best aroma and depth.
- Honey: Creates the sticky glaze and caramel notes.
- Soy sauce: Adds saltiness and deep umami flavor.
- Rice vinegar: Cuts the sweetness and keeps the sauce balanced.
- Chicken broth: Loosens the sauce so it can simmer and reduce properly.
- Red pepper flakes: Adds a subtle heat that rounds everything out.
- Green onions: Fresh finish with a bit of crunch.
- Sesame seeds: Light nutty garnish for contrast.
Kitchen Equipment
How to Make It
Step 1: Coat the chicken with seasoning and cornstarch
Start with the chicken at room temp for about 10 minutes so it cooks evenly. Toss it with salt, pepper, and cornstarch using your hands, pressing lightly so it sticks. Aim for a thin, even dusting, not thick patches. You’ll notice the surface turn matte and slightly pale. That’s what you want. If it still looks wet, add a pinch more cornstarch and rub again. Miss this step and the coating won’t crisp, and the sauce won’t cling later.
Tip: Work in a wide bowl so you can spread the pieces out and coat them evenly.
Step 2: Pour together the honey garlic sauce

In a bowl, whisk the sauce at room temp until the honey fully loosens, about 30 to 45 seconds. Use a circular motion and scrape the sides once halfway through so everything blends evenly. The mixture should look glossy with small garlic bits floating around. If you still see thick streaks of honey, keep mixing. If you skip this, the sauce cooks unevenly and can burn in spots.
Tip: Warm the honey slightly if it’s too thick, it blends much faster.
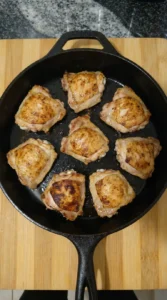
Step 3: Brown the coated chicken
Heat oil in a skillet over medium heat, about 375°F surface temp, then add the chicken in a single layer. Let it cook undisturbed for 4 to 5 minutes before flipping once. Don’t crowd the pan. You’re looking for golden edges and a light crust. You’ll hear a steady sizzle and smell the browning. Flip and cook another 4 minutes. If you move it too soon, it won’t develop color and can turn soft instead of crisp.
Tip: Use a heavy pan so the heat stays steady when the chicken goes in.
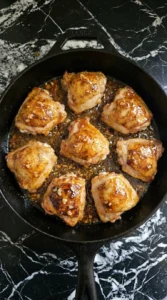
Step 4: Simmer the chicken in the sauce
Pour the sauce in and reduce heat to medium-low, about a 4 on a 10 dial. Let it simmer for 6 to 8 minutes, turning the chicken every 2 minutes with tongs so it gets coated evenly. The sauce will bubble and thicken until it coats the back of a spoon. You’ll smell the garlic mellow out. (I used to rush this step, but the glaze never stuck right.) Go past this point and it gets too thick and sticky.
Tip: Tilt the pan slightly and spoon the sauce over the chicken for extra coating.
Step 5: Plate and finish with green onions and sesame
Turn off the heat and let the chicken sit in the pan for 1 minute so the glaze settles. Then plate and scatter green onions and sesame seeds right away while it’s still hot. The glaze should look shiny and slightly thick, not runny. If it dulls too fast, it cooked too long. Miss the timing here and the garnish won’t stick well to the surface.
Tip: Slice the green onions thin so they spread evenly across the dish.
Pro Tips
- Chicken thighs stay juicier and brown better than breast meat.
- Keep the cornstarch coating thin for a clean, glossy finish.
- Let the sauce reduce slowly until it coats instead of pooling.
- Scatter garnish lightly so it looks natural, not packed on.
Make It Your Own
- Chicken thighs: Chicken breast — Leaner and cooks faster, but can dry out if overcooked.
- Soy sauce: Tamari or coconut aminos — Tamari keeps it gluten-free, coconut aminos are sweeter and milder.
- Honey: Maple syrup — Works, but the glaze is thinner and less sticky.
- Cornstarch: Arrowroot powder — Similar effect, but slightly lighter texture.
- Rice vinegar: Apple cider vinegar — A bit sharper, but still balances the sauce well.
- Chicken broth: Water with a pinch of salt — Loses some depth, but still works in a pinch. Pair it with this Quinoa Veggie Bowl: https://leagueofcooking.com/?p=3234
Storage Instructions
Let the chicken cool, then store it in an airtight container with the sauce for up to 4 days. The glaze will thicken in the fridge but loosens again when reheated. Reheat gently over medium-low heat until warmed through. Add a splash of broth if it feels too thick. Always add fresh green onions after reheating.
Honey Garlic Chicken
Ingredients
- 8 boneless skinless thighs Chicken thighs
- 1 teaspoon Salt
- 1/2 teaspoon Black pepper
- 3 tablespoons Cornstarch
- 2 tablespoons Neutral oil
- 6 cloves minced Garlic
- 1/3 cup Honey
- 1/4 cup Soy sauce
- 1 tablespoon Rice vinegar
- 1/4 cup Chicken broth
- 1/4 teaspoon Red pepper flakes
- 2 sliced Green onions
- 1 teaspoon Sesame seeds
Instructions
-
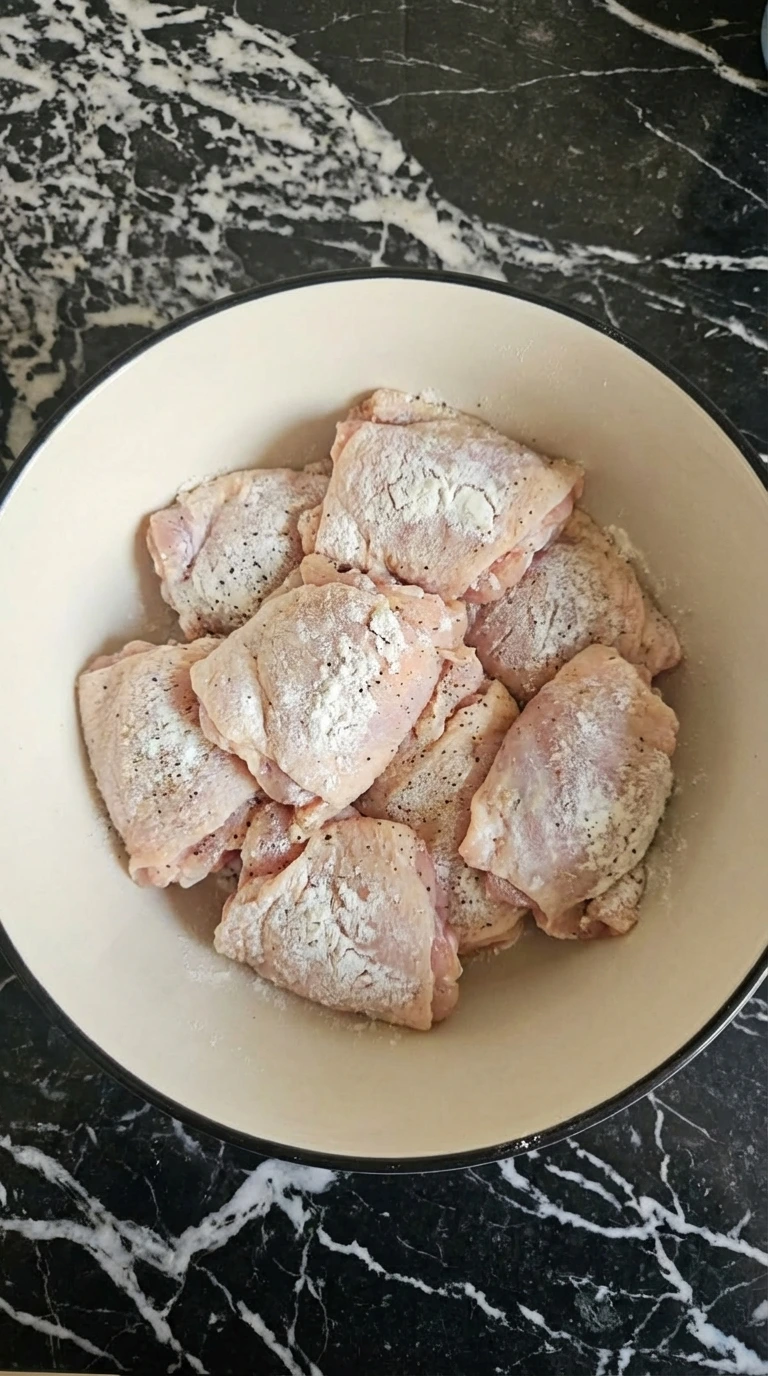
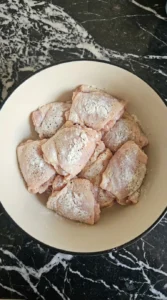
The chicken starts as plain pink thighs and then takes on a dry white coating as the salt and pepper and cornstarch cling to the surface. The pieces should look lightly dusted rather than heavily buried and the shapes should stay irregular with slight overlap and natural gaps. You want every thigh covered enough to turn slightly matte and pale while the edges still look uneven and soft. This step creates the first real visual shift because the chicken changes from slick and raw to seasoned and lightly coated.
-
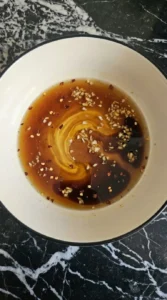
The separate sauce ingredients turn into one loose amber mixture once the honey and soy sauce and vinegar and broth and garlic and pepper flakes meet. You should still see tiny bits of garlic floating unevenly through the liquid and the color should look deeper near the honey streaks and lighter where the broth has not fully blended. This step matters because the ingredients are no longer separate and the sauce now has a clear identity and color. The mixture should look glossy and slightly uneven rather than fully uniform.
-
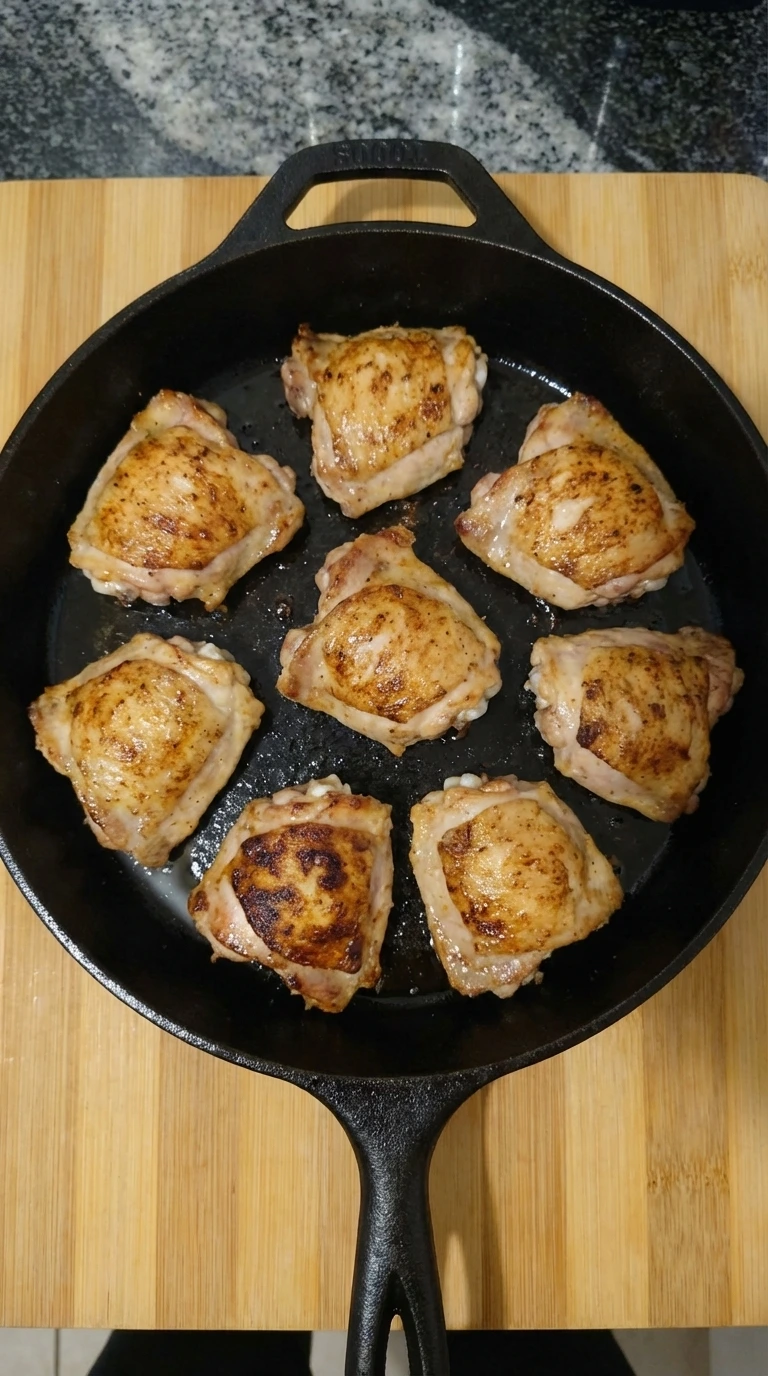
As the coated chicken cooks the surface changes from pale and powdery to golden in spots with deeper brown edges. Some areas color faster than others and the thighs shrink slightly and sit in a looser arrangement than before with a few pieces turned at different angles. This is the first hot transformation and it should be obvious. The coating firms up and the chicken looks structured and lightly crisp on the outside while still thick and juicy in the center.
-
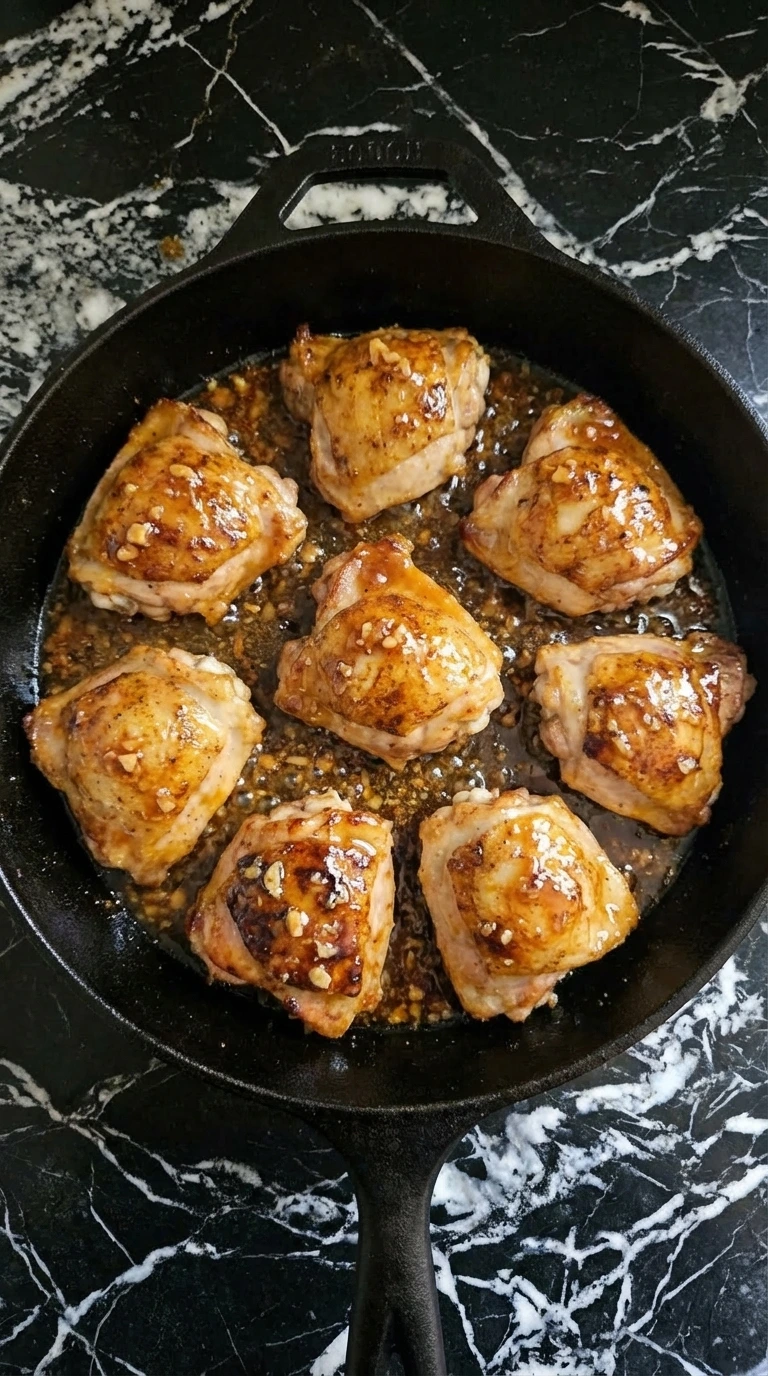
Once the sauce is poured over the browned chicken the skillet changes from dry seared surfaces to bubbling glaze around each piece. The chicken looks darker and shinier as the sauce clings to the ridges and settles into the low spots while garlic bits collect unevenly around the edges. This step creates the sticky transformation that gives the dish its character. The sauce thickens from a thin liquid into a glossy coating and the browned chicken becomes lacquered and richly colored.
-
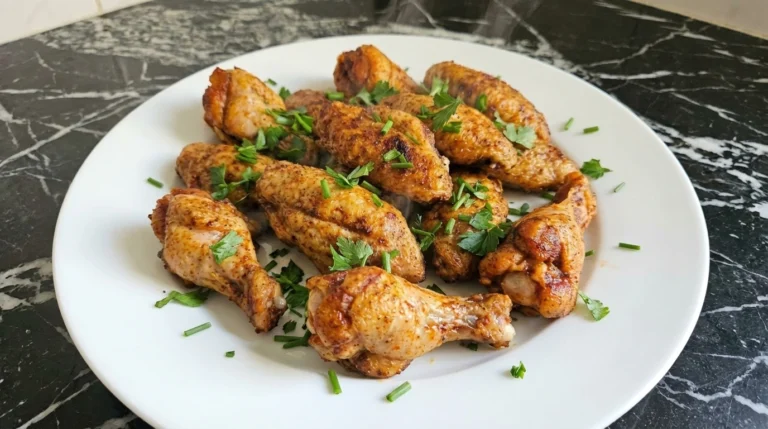
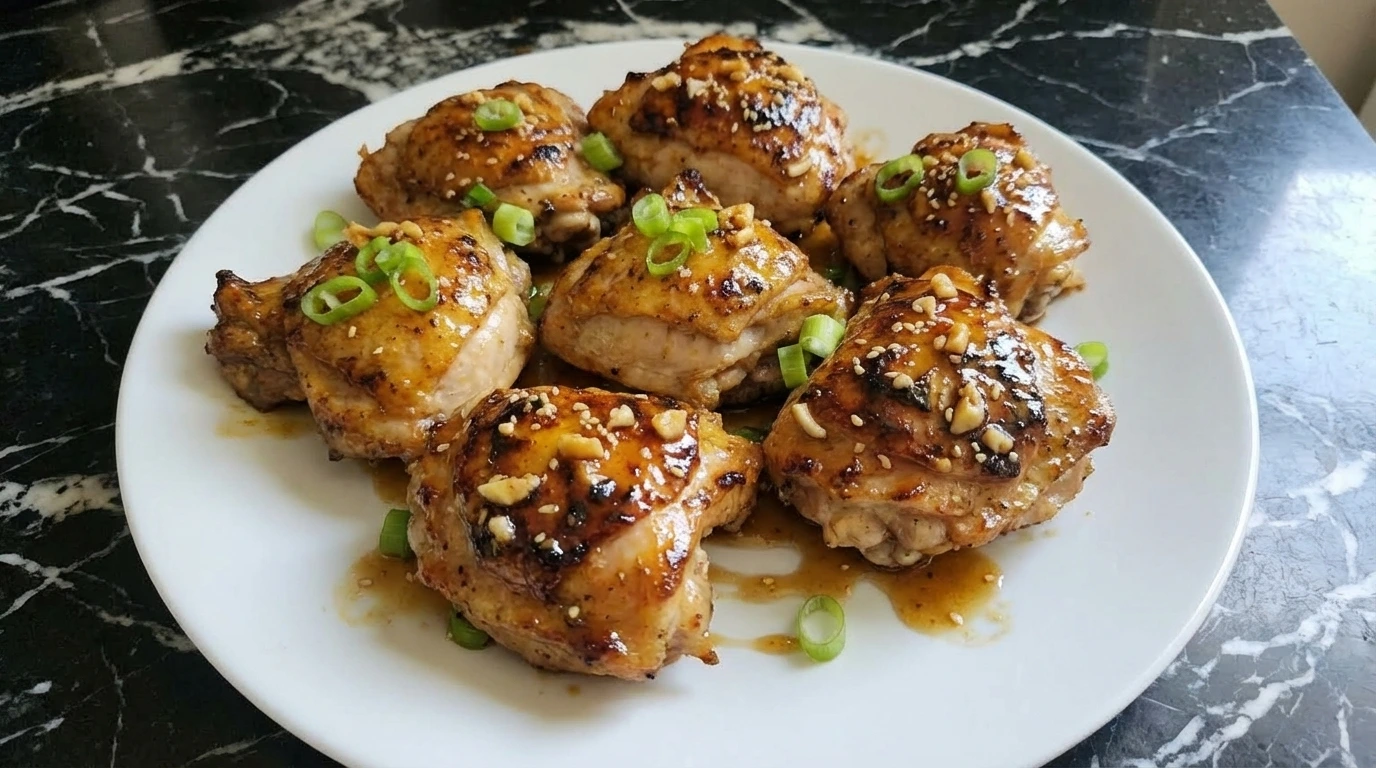
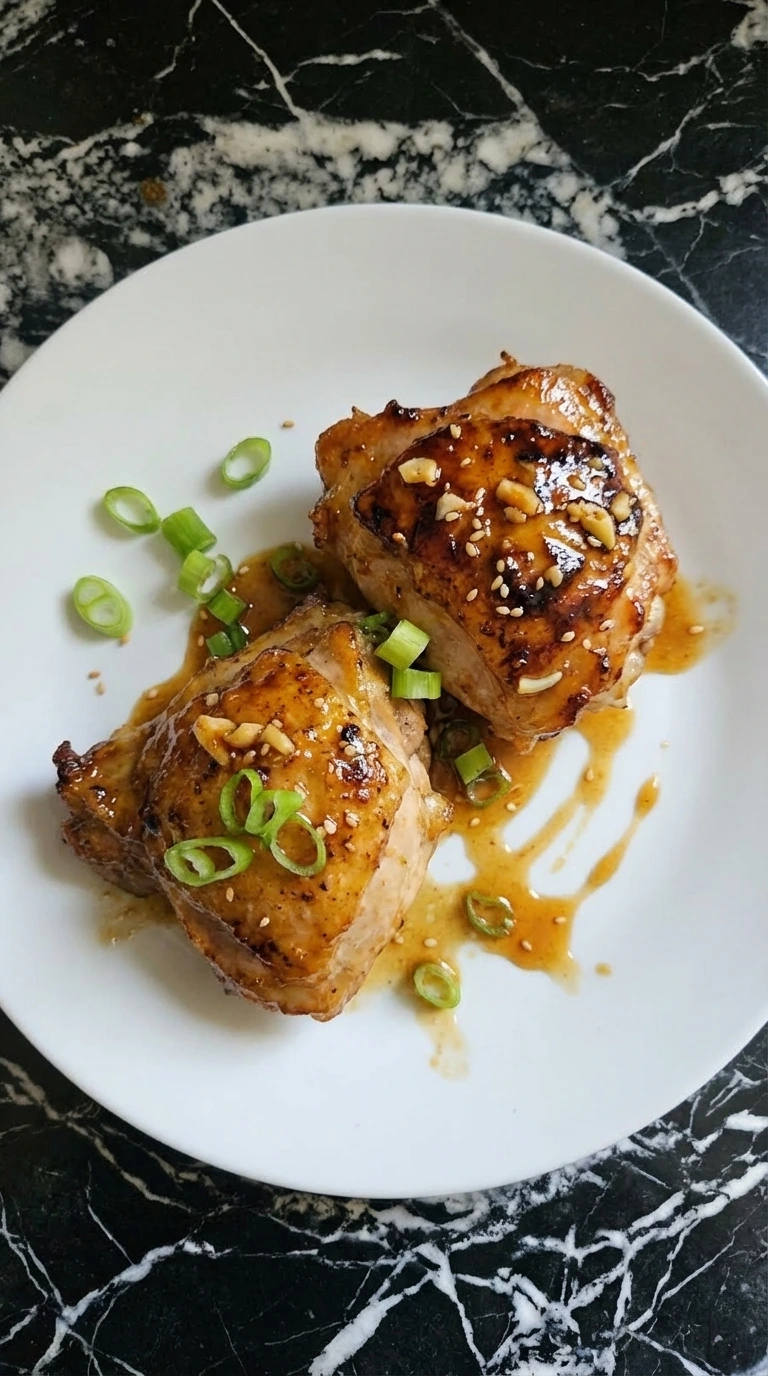
The final dish looks fully cooked and glossy with visible browning and a thick amber glaze that sits unevenly over the chicken. The green onions and sesame seeds break up the darker color and the pieces rest casually on the plate with a little sauce pooling between them rather than under perfect control. This last step gives the dish its finished look and makes the textures easy to read at a glance. You should see sticky glaze and browned edges and soft juicy chicken with a homemade feel.

Notes
Common Questions
Yes, you can cook it fully and store it. The flavor actually deepens a bit overnight. Just reheat gently so the glaze doesn’t over-thicken.
It likely needs more time at a steady simmer. Keep it at medium-low and let it reduce slowly. If the heat is too high, it can thin out instead.
You can bake at 400°F for about 20 minutes, but you’ll miss the same browning. The pan gives better texture and glaze adhesion.
A Final Note
This honey garlic chicken is one of those recipes that just works every time. Sticky, savory, and simple enough for a weeknight.
If you’re planning a full meal, pair it with something like Spaghetti and Meatballs: https://leagueofcooking. com/?
p=3162 for another comfort favorite.
Honey caramelizes at a lower temperature than sugar, which is why it creates that glossy glaze so quickly in a hot pan.